Why four weeks is the right moment for a second look
The first day hides a lot. A compression fitting that was snug enough when dry may weep after a few hundred heating cycles, a new floor can settle a fraction under a loaded unit, and a drain hose tucked behind a cabinet can shift the first time someone pushes the machine back after cleaning. None of this shows up while the installer is still in the kitchen.
A month also gives the household enough use to notice patterns: ice that never quite fills the bin, a dish care cycle that leaves water behind, a laundry machine that has crept an inch from the wall. Writing those down in the first weeks turns this check from a general inspection into a targeted one. A one-month check on a new install is also well timed for paperwork, since some makers give only 30 days to report cosmetic damage.
What to have in hand
An appliance thermometer, a flashlight, a tape measure, a small spirit level and a few sheets of dry paper towel. Nothing on the list opens a cabinet panel, loosens a fitting or needs the power off at the panel.
Source: True Residential — 42/48 built-in installation manual — Stainless steel doors, handles and shelves carry a 30-day warranty for cosmetic defects
Cold storage: a night on a shelf thermometer
FDA's guidance is to keep the fresh-food compartment at 40°F or below and the freezer at 0°F, and it points out that few refrigerator controls show the actual temperature. Put a standalone appliance thermometer in a glass of water on a middle shelf overnight and read it before anyone opens the door in the morning. Whirlpool's own targets, 37°F and 0°F, leave a margin under the FDA line.
Look at how the doors behave too. Whirlpool sets the front of a freestanding unit slightly higher than the back so the doors swing closed on their own, and notes that a cabinet which rolls forward when a heavy door opens usually still has its front leveling legs up and is resting on its rollers.
- Thermometer at or below 40°F in the fresh-food side, 0°F in the freezer
- Doors close by themselves from half open
- Cabinet stays put when a full door swings open
- Ice bin full, with cubes of normal size and no hollow centers
Source: FDA — Refrigerator thermometers: cold facts about food safety — Keep the refrigerator at 40°F or below and the freezer at 0°F; few controls show actual temperatures; Whirlpool — How long to wait before adding food to a new refrigerator — Set 37°F for the refrigerator and 0°F for the freezer; Whirlpool — Refrigerator moves when doors are opened — Lower the front leveling legs to lift the rollers; set the front slightly higher so doors self-close

Water and drain joints: a dry-towel round
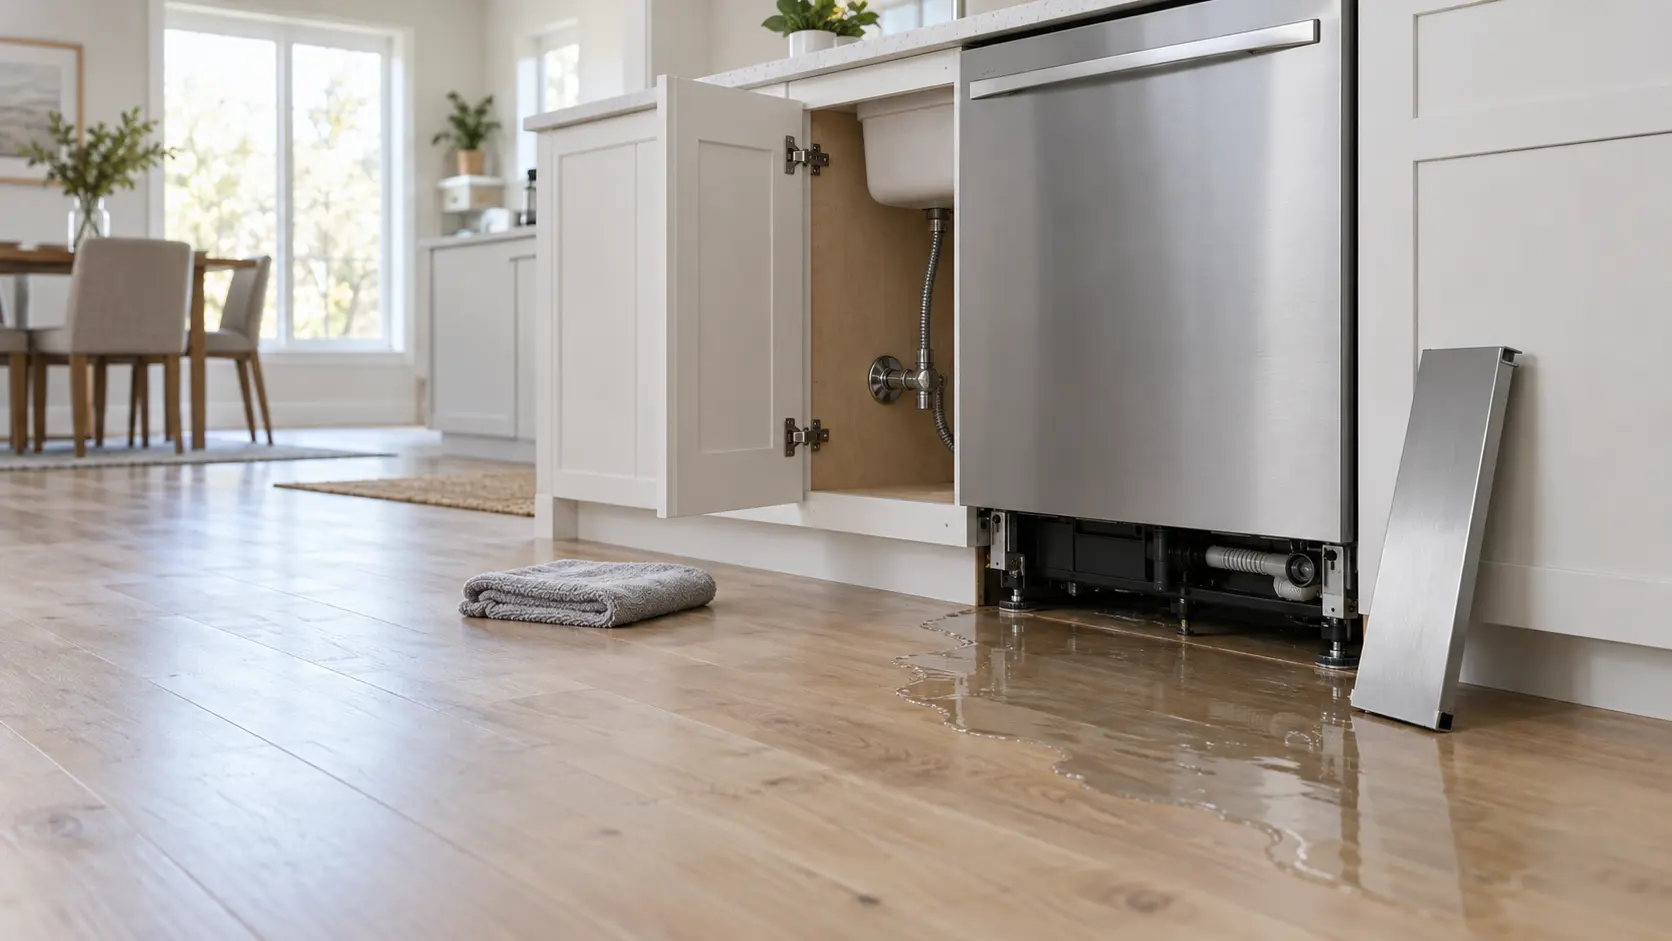
Slow seeps are the problem a month uncovers best. Lay a dry paper towel under each joint you can reach, such as the valve under the sink, the drain clamp at the disposer or tailpiece and the fill hose ends behind the laundry machine, and leave them overnight with the appliances in normal use. A towel that dries out again tells you nothing; a stain or a ring of mineral crust tells you exactly which joint to report.
Measure the dish care drain loop while you are under the sink. Whirlpool wants the high point of the drain hose at least 20 inches above the floor, with an air gap used below that, and GE's instructions add that the hose must not be pinched between the machine and the cabinets beside it.
The laundry drain at the standpipe
Whirlpool asks for the drain hose to reach at least 4.5 inches into the standpipe, loose rather than taped or sealed, so air can move around it. LG's version clips the hose into its elbow bracket within 4 inches of the end and secures it with a tie strap. A hose that has worked its way up and out, or one someone sealed with tape to stop splashing, is worth correcting before it floods the floor or siphons.
Source: Whirlpool — Checking the drain loop height — Drain loop at least 20 inches from the floor; below that, use an air gap; GE Appliances — Installation instructions, built-in dishwasher — Drain hose must not be pinched between the dishwasher and adjacent cabinets or walls; Whirlpool — Front load washer installation checklist — Drain hose more than 4.5 inches into the standpipe, not sealed with tape; rock the washer front to back and side to side to check level; LG Electronics — Washer owner's manual (WM4080) — Clip the drain hose into the elbow bracket within 4 inches of its end and secure it with the tie strap
Cooking appliances: bracket, burner caps and the floor beneath
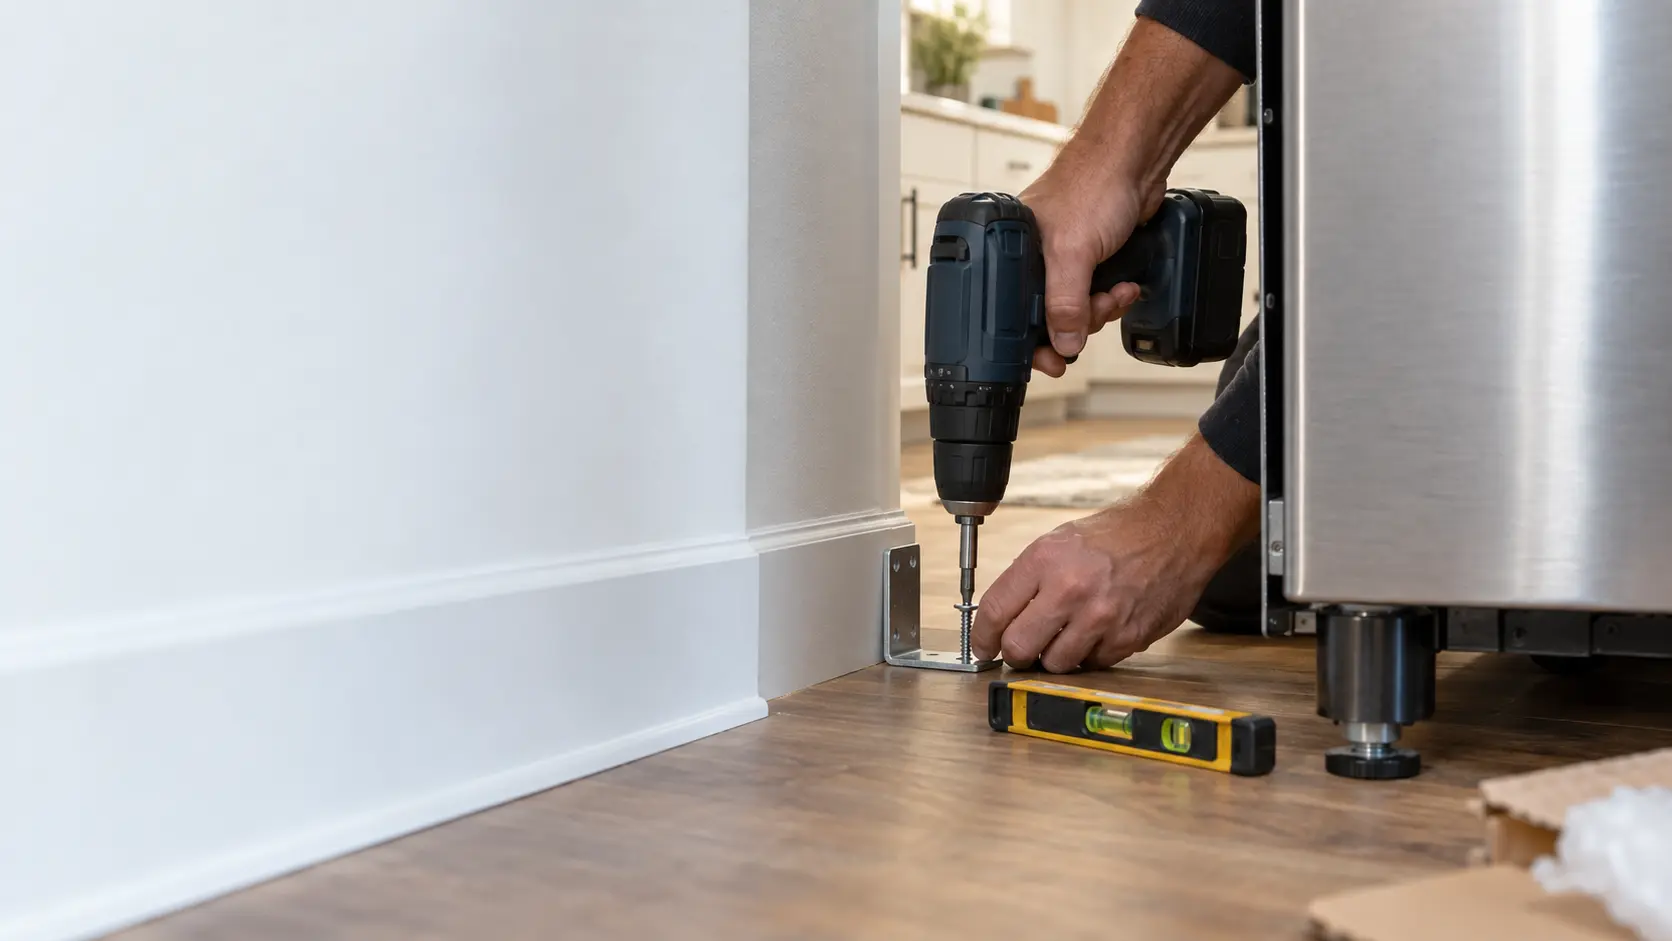
The anti-tip bracket is easy to disengage by accident in the first weeks, when a freestanding unit gets pulled out to recover a dropped utensil or to clean the side gaps. Whirlpool's check for models without a removable drawer is to brace a foot against the bottom front, grasp the control panel or the back, and tilt slowly. Immediate resistance means the rear foot is held; a rear that lifts more than 1/2 inch without resistance means it is not engaged, and a snap or pop as it lifts suggests it was only partly seated.
On gas models, look at each burner cap and make sure it still sits flat on its base after a month of cleaning. On any model, a look at the floor in front of the toe space for scorch marks or a lifting edge tells you whether the flooring under the appliance is coping with the heat.
Models with a removable storage drawer
Whirlpool's simpler route on these is visual: take the drawer out, shine a flashlight underneath and confirm the rear foot sits inside the slot of the bracket. No tilting is needed.
Source: Whirlpool — Checking the anti-tip bracket installation — Rear lifting more than 1/2 inch without resistance means the foot is not engaged; a snap or pop means it may be partly engaged; drawer models can be checked by flashlight
Laundry: level under a real load, and the exhaust at the outside wall
A month of spin cycles is the real test of how a front-loader was leveled. Whirlpool's check is to grip the top and rock the machine front to back, then side to side; if it moves, a foot has lost contact with the floor and needs adjusting as the installation instructions describe. Walking, knocking during spin or a machine that has shifted away from its marks is the same message louder.
Then go outside while the drying machine runs. Whirlpool wants the exhaust hood at least 12 inches above the ground or anything that could block it, with its flap opening freely. A new drying machine connected to an old house duct may still dry slowly, and Whirlpool notes that duct runs to the outside need cleaning every one to two years.
- No rocking front to back or side to side
- Drain hose seated in the standpipe and strapped
- Exhaust flap opening while the machine runs, clear of plants and mulch
- Lint screen clean, with no lint collecting behind the machine
Source: Whirlpool — Front load washer installation checklist — Drain hose more than 4.5 inches into the standpipe, not sealed with tape; rock the washer front to back and side to side to check level; Whirlpool — How to check your dryer venting system — Exhaust hood at least 12 inches from the ground or obstructions; house venting cleaned every one to two years