

Gas Smell After a Hookup: Leave the House, Then Call
Usually turns out to be
What to check first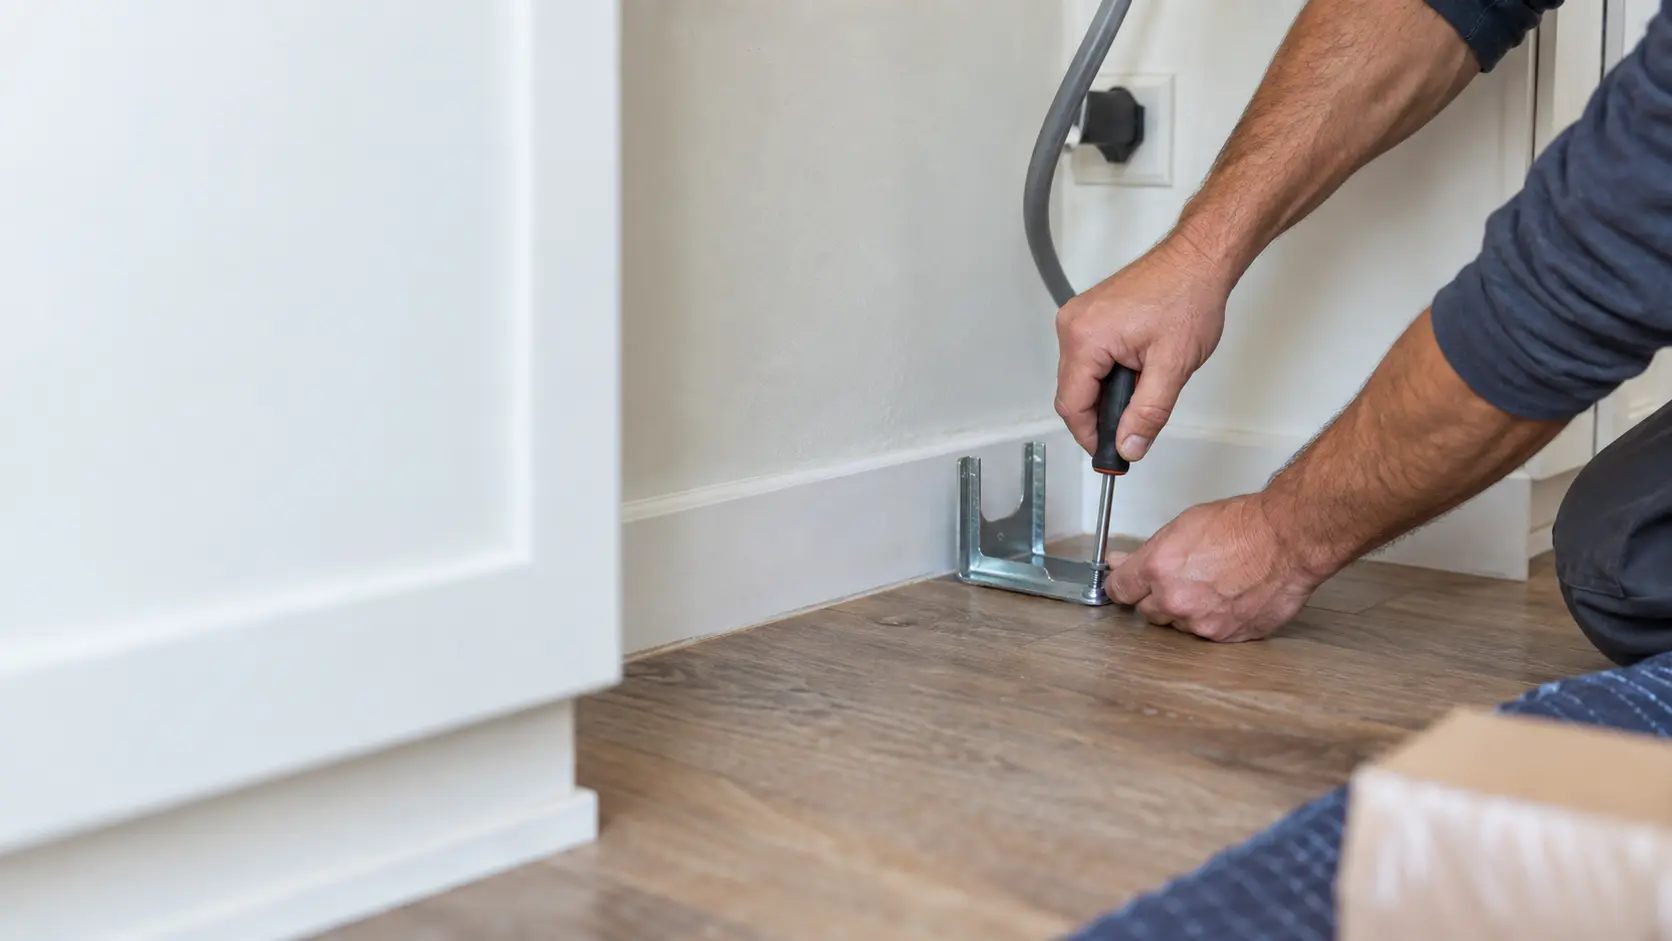
What we do
Ten installations we take on. Each has a page of its own: which appliances it applies to, what the maker's installation instructions require, what has to be in place in the house before we arrive, and which parts of the job belong to an electrician or a plumber rather than to us.
Mon–Sat, 8am–8pm
Book a visit
Three short steps, about a minute.
or call (844) 638-8309
Loading appointment form…
The appointment form couldn’t load. Please try again.
Familiar brands. Expert care.
Independent repair service. Not affiliated with, authorized or endorsed by any manufacturer. Brand names and model numbers are the property of their respective owners and are used here for identification only, to describe the appliances we service.
In the order it gets done: the cheapest cause first, and the expensive answer at the bottom where it usually belongs.
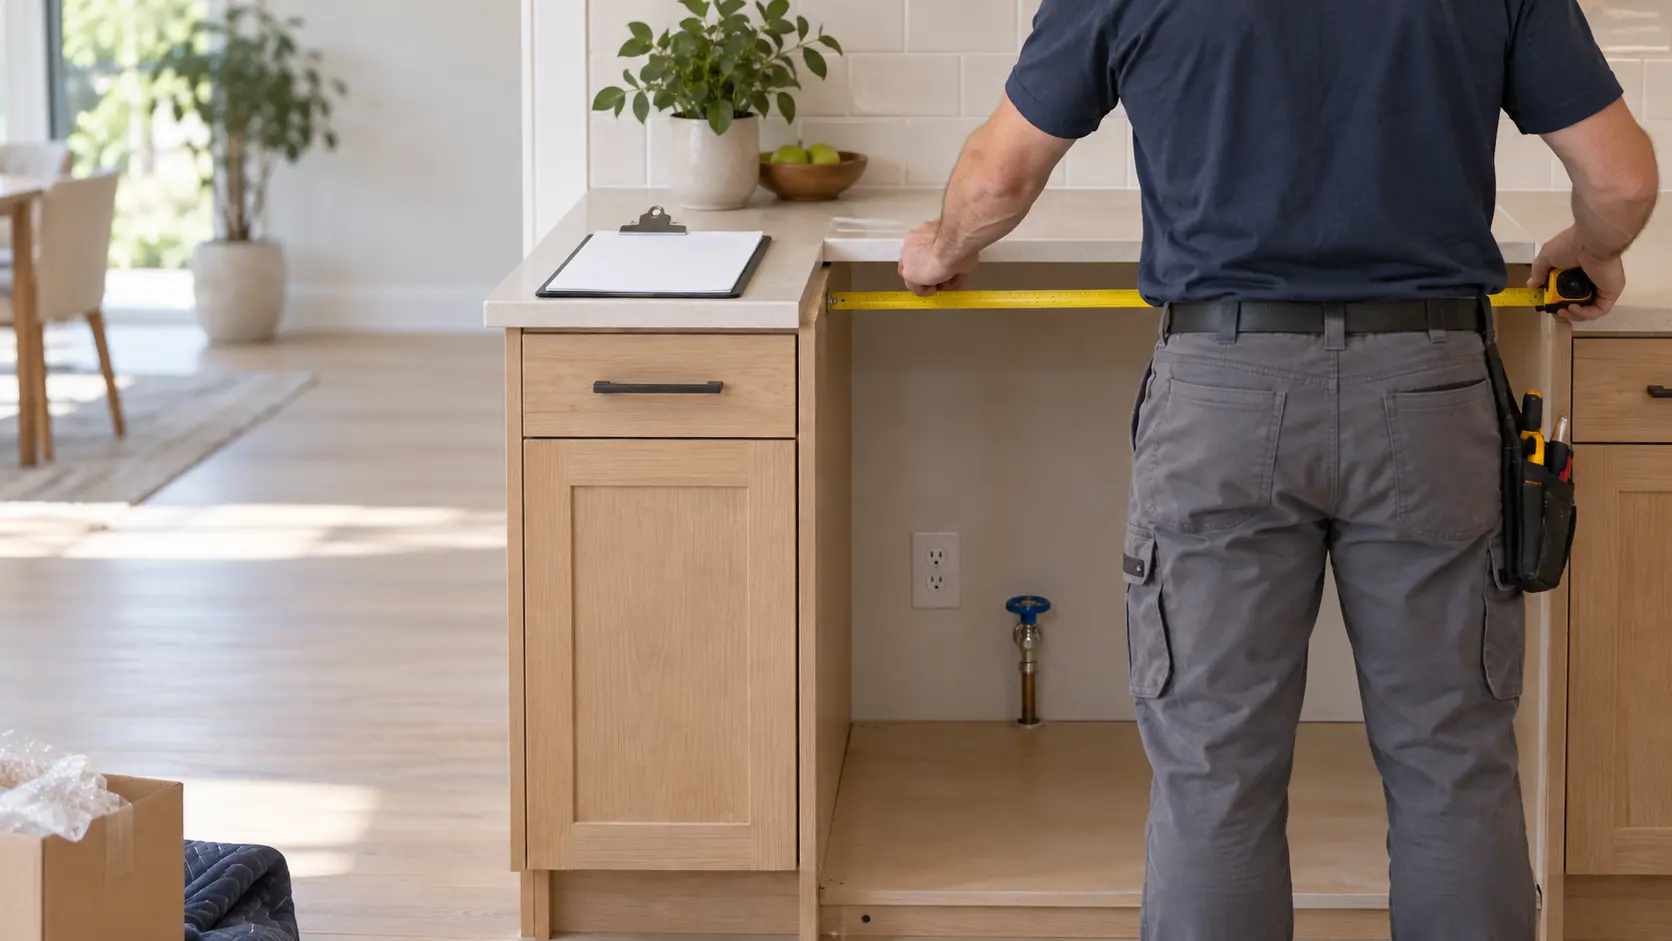
A visit before you order: opening, path in, gas, water, drain, power and exhaust checked against the spec sheet.

A new gas appliance joined to your shutoff with a new connector, every joint leak-tested, flames read.

New supply lines from a working quarter-turn stop to each water appliance, tested under pressure.

Drain hoses run through a high loop, air gap or standpipe, clamped and proved on a first drain.
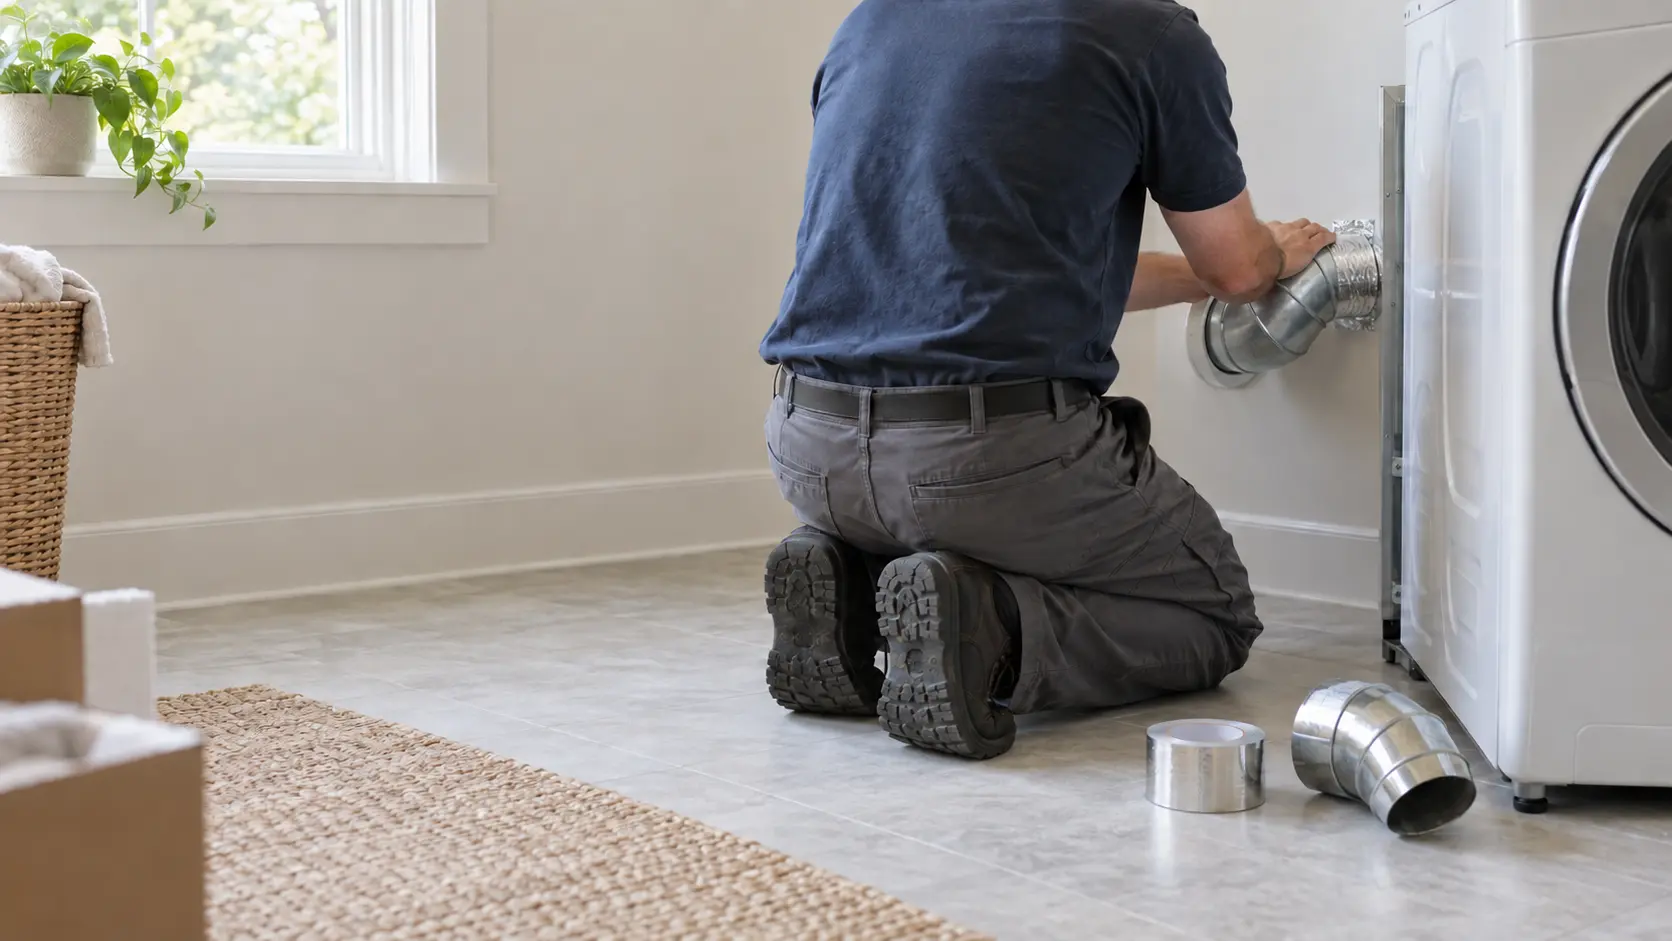
A metal exhaust path from a new dryer to the outdoors: short transition, taped joints, a working hood.
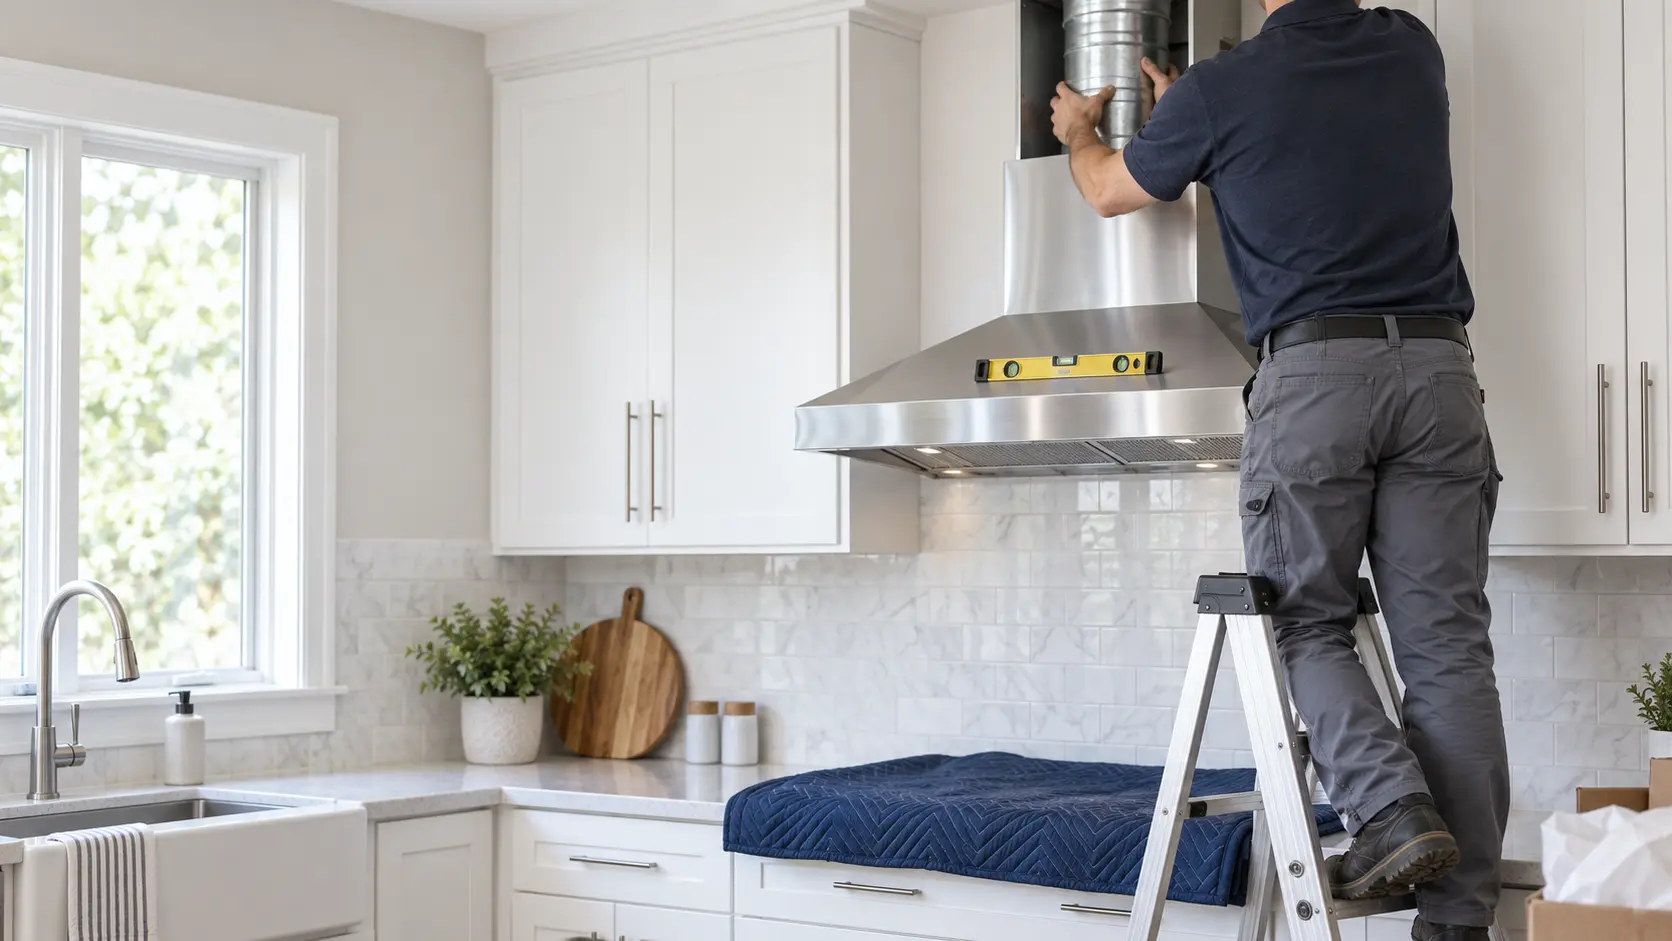
A hood hung and ducted outdoors at full size, with a working damper and makeup air planned.

Built-in columns, drawers, wall ovens and panel-ready models set to the cutout, anchored, connected, and custom panels hung and aligned.
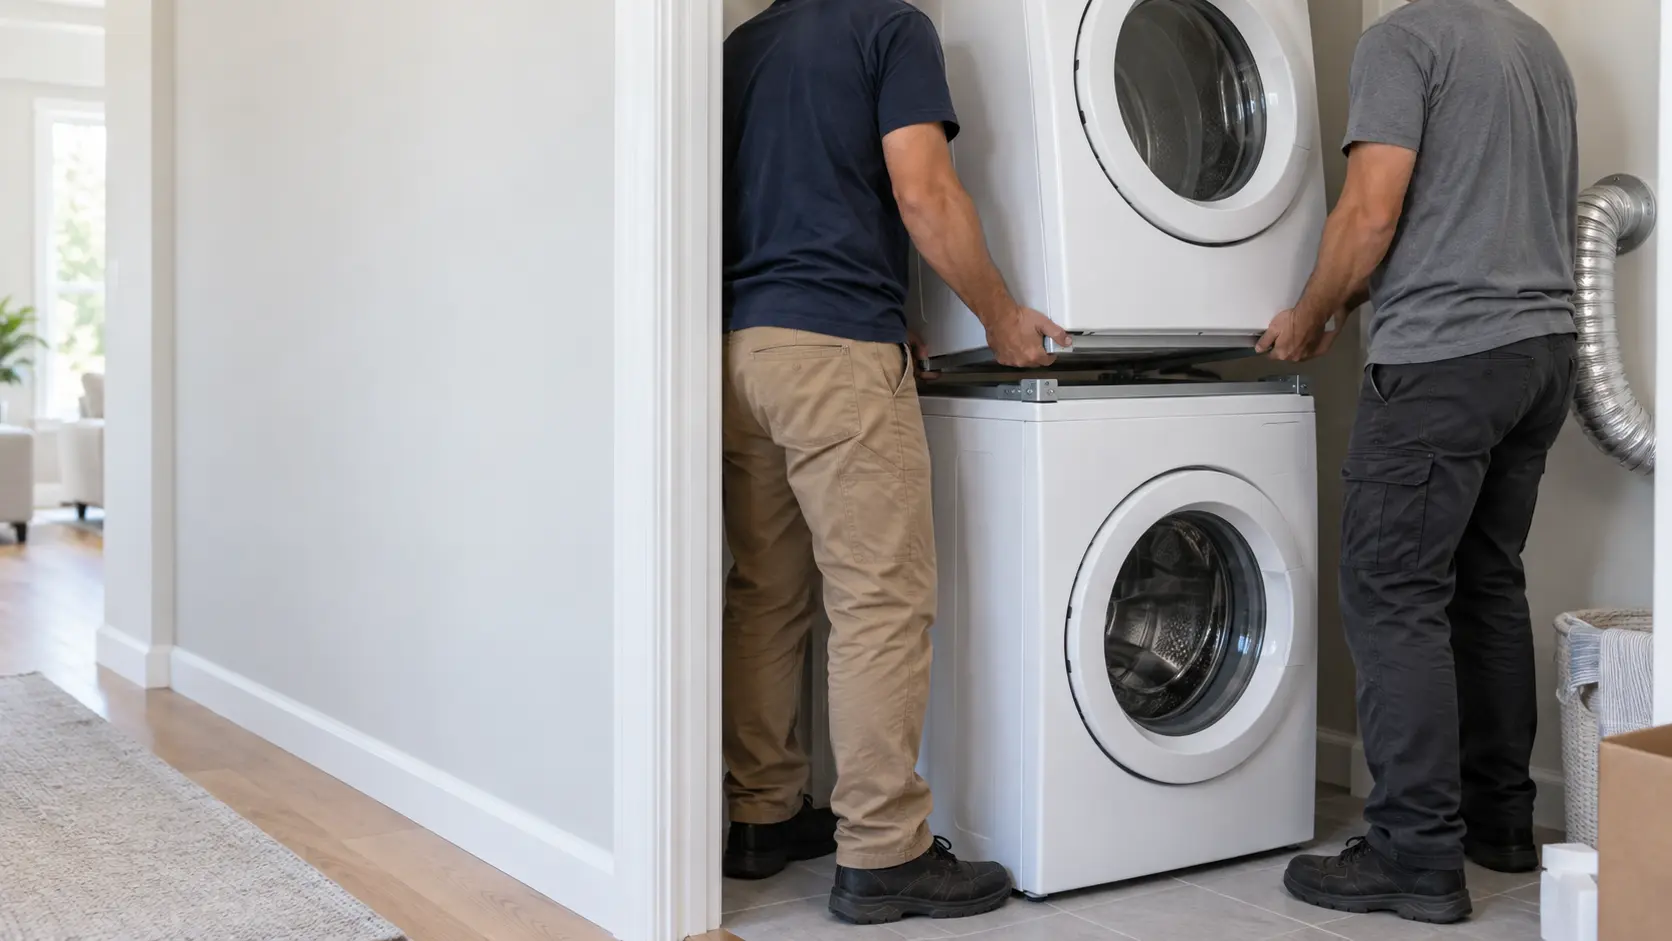
A matched laundry pair stacked with the maker's kit, or raised on its pedestals, then leveled, connected and run together.
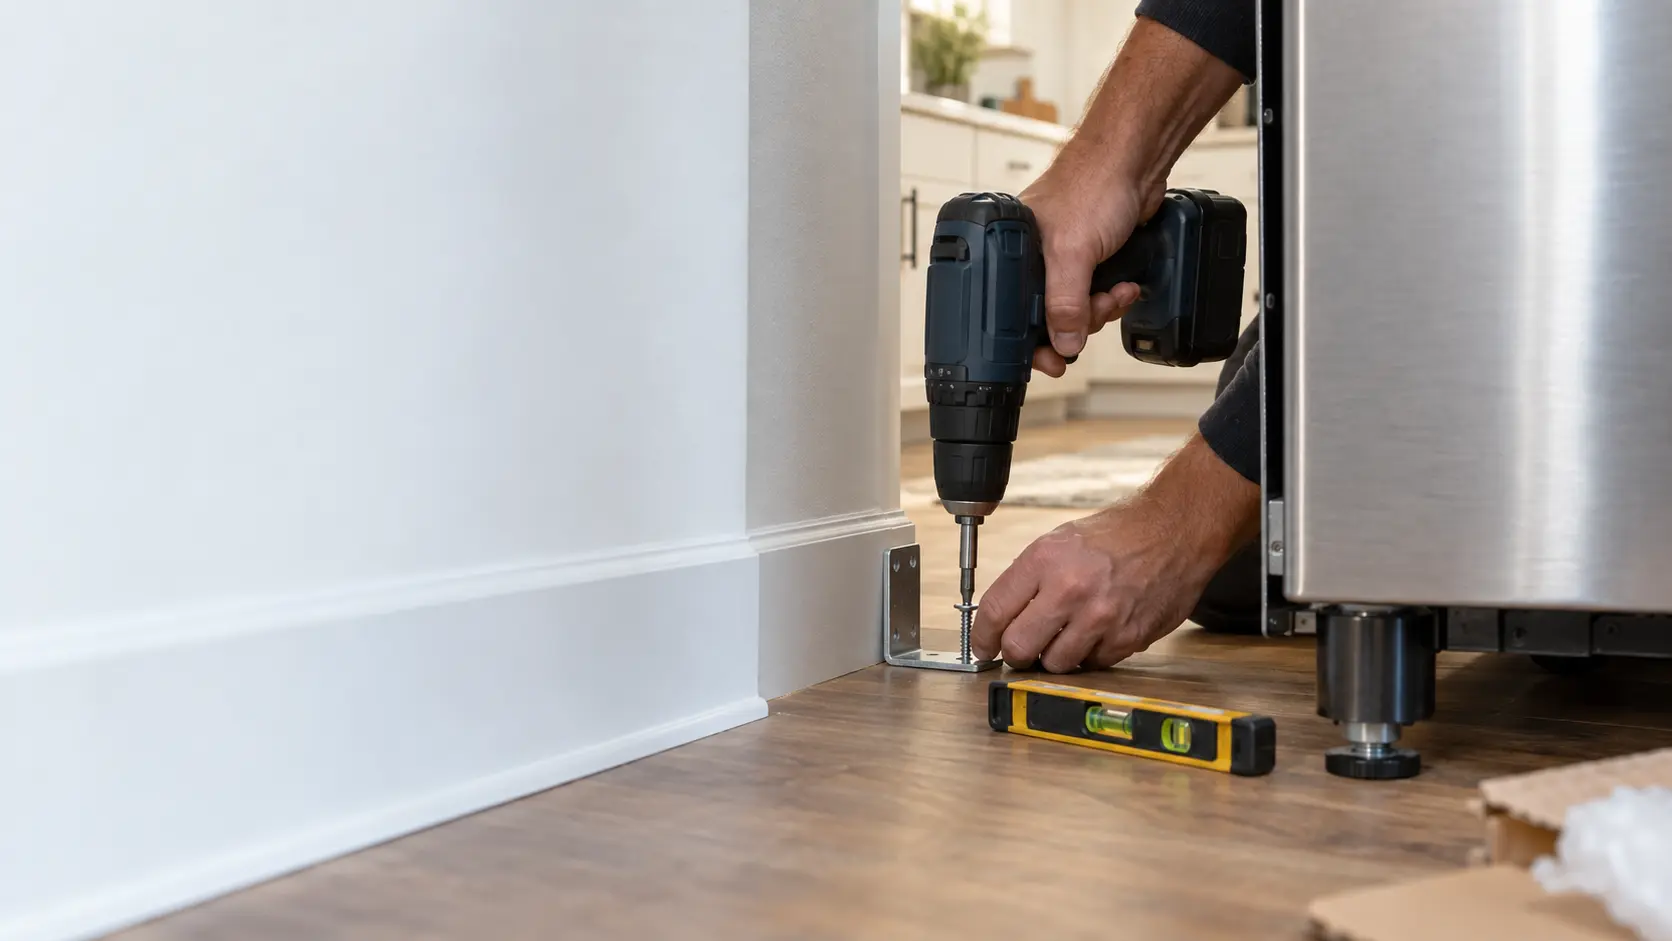
Anti-tip bracket fastened and engaged, leveling legs set, doors square, every foot firm.

The old unit shut off, disconnected, capped and carried out, its opening cleaned for the new one.
Before you bookBands rather than prices, because nobody can quote a figure before the appliance has been looked at — and the diagnostic visit that decides it, set against the installation.
10 installationsCheapest firstDiagnostic visit Read the cost guideWeigh an installation against what a poor one leads to, not against doing it yourself for nothing. A gas connector leak-tested at the joints, a supply line with a real stop valve and a drain with its high loop take an hour or two; a slow leak under a new floor, a range that tips or a dryer exhaust folded behind the wall can cost far more than the appliance did. The price of an installation is mostly set by what the house already has. When the gas valve, the water stop, the drain, the receptacle and the exhaust are where the new unit needs them, the job is short. When one of them is missing, the missing piece is often the work of a licensed plumber or electrician, and it is better to know that before the delivery date than on it. A site check before you order is the cheapest way to find out.
| Installation | Relative cost | Notes |
|---|---|---|
| New gas range, cooktop, wall oven or dryer connected with a new connector, conversion kit fitted if needed, every joint leak-tested and the first flame read | low to moderate | A like-for-like swap on natural gas, with a working valve right behind the unit, sits at the light end. A propane conversion, a pro-style range with many burners or a valve that has to be replaced at the stub moves it up. |
| New supply line and quarter-turn stop for a refrigerator, ice maker, dish care machine or laundry pair, flushed and tested under pressure | low | One braided line onto a valve that already works is a short job. Replacing a saddle valve, a long run to an island or two machines with hot and cold hoses each takes a little longer. |
| Drain hose routed through a high loop, an air gap or into a standpipe, disposer knockout removed, first drain checked | low | Reusing a sound drain connection with a new clamp is modest. Fitting a new countertop air gap, a drain pump for an ice maker or a standpipe adapter adds parts and time. |
| Metal exhaust transition and reachable wall run fitted from a new dryer to the outside hood, joints taped, airflow confirmed | moderate | A short run straight through the wall behind the machine is the lighter end. A long run with several elbows, a roof or soffit exit, a closet that needs a periscope transition or a booster fan is the fuller job. |
| Wall, island, insert or downdraft hood mounted and ducted outdoors at full size, damper and cap fitted, fan and lights tested | moderate to highest | Swapping a hood onto an existing duct of the right size is the lighter case. A new route through a wall or roof, an island hood hung from the ceiling or ducting enlarged to meet a bigger fan takes much longer. |
| Built-in column, integrated drawer, wall oven or panel-ready model set to its cutout, anchored, connected and its panels or trim aligned | highest | One built-in into a cutout made for it is the lighter end of the top step. A column pair, several drawers with panels, a heavy unit carried up stairs or a first fit after a kitchen remodel makes it the fullest job here. |
| Laundry pair stacked with the maker's kit or raised on pedestals, leveled, connected and run together | low to moderate | Pedestals under a pair on an open floor are modest. A stack in a tight closet, with the dryer's exhaust and fuel connected before it goes back, is the fuller visit. |
| Anti-tip bracket fastened and engaged, leveling legs set, doors squared on a range, cold storage unit, dish care machine or laundry machine | lowest | A bracket into a wood floor and four legs turned is the smallest job on this page. Tile over concrete, a heated floor that moves the bracket to the wall or several appliances in one trip add a little time. |
| Old appliance shut off, disconnected, capped and carried out, opening cleaned, disposal or recycling arranged | low | A plugged-in unit on the ground floor is quick. A hard-wired or gas unit, a heavy built-in, a basement or an upper floor, and cold storage that needs refrigerant recovery sit higher. |
Most people arrive knowing the symptom, not the installation. These are the jobs each one usually turns out to be, cheapest first — and every one of them starts with the pre-installation site check.
Usually turns out to be
What to check firstUsually turns out to be
Usually turns out to be
What to check firstUsually turns out to be
What to check firstUsually turns out to be
What to check firstUsually turns out to be
Usually turns out to be
What to check firstUsually turns out to be
What to check first
Back to your everyday
Three short steps online, or one call. Tell us what you are seeing and pick a window that works.