

Dish Care Installation
Fitting a new dishwasher or dish drawer under the counter: supply line, drain loop or air gap, power, mounting brackets and a first test cycle.
Mon–Sat, 8am–8pm
- 4 things that fail on it
- 27 makes build it
- 6 problems it shows
Book a visit
Three short steps, about a minute.
or call (844) 638-8309
Loading appointment form…
The appointment form couldn’t load. Please try again.
Is yours
a dish care machine?
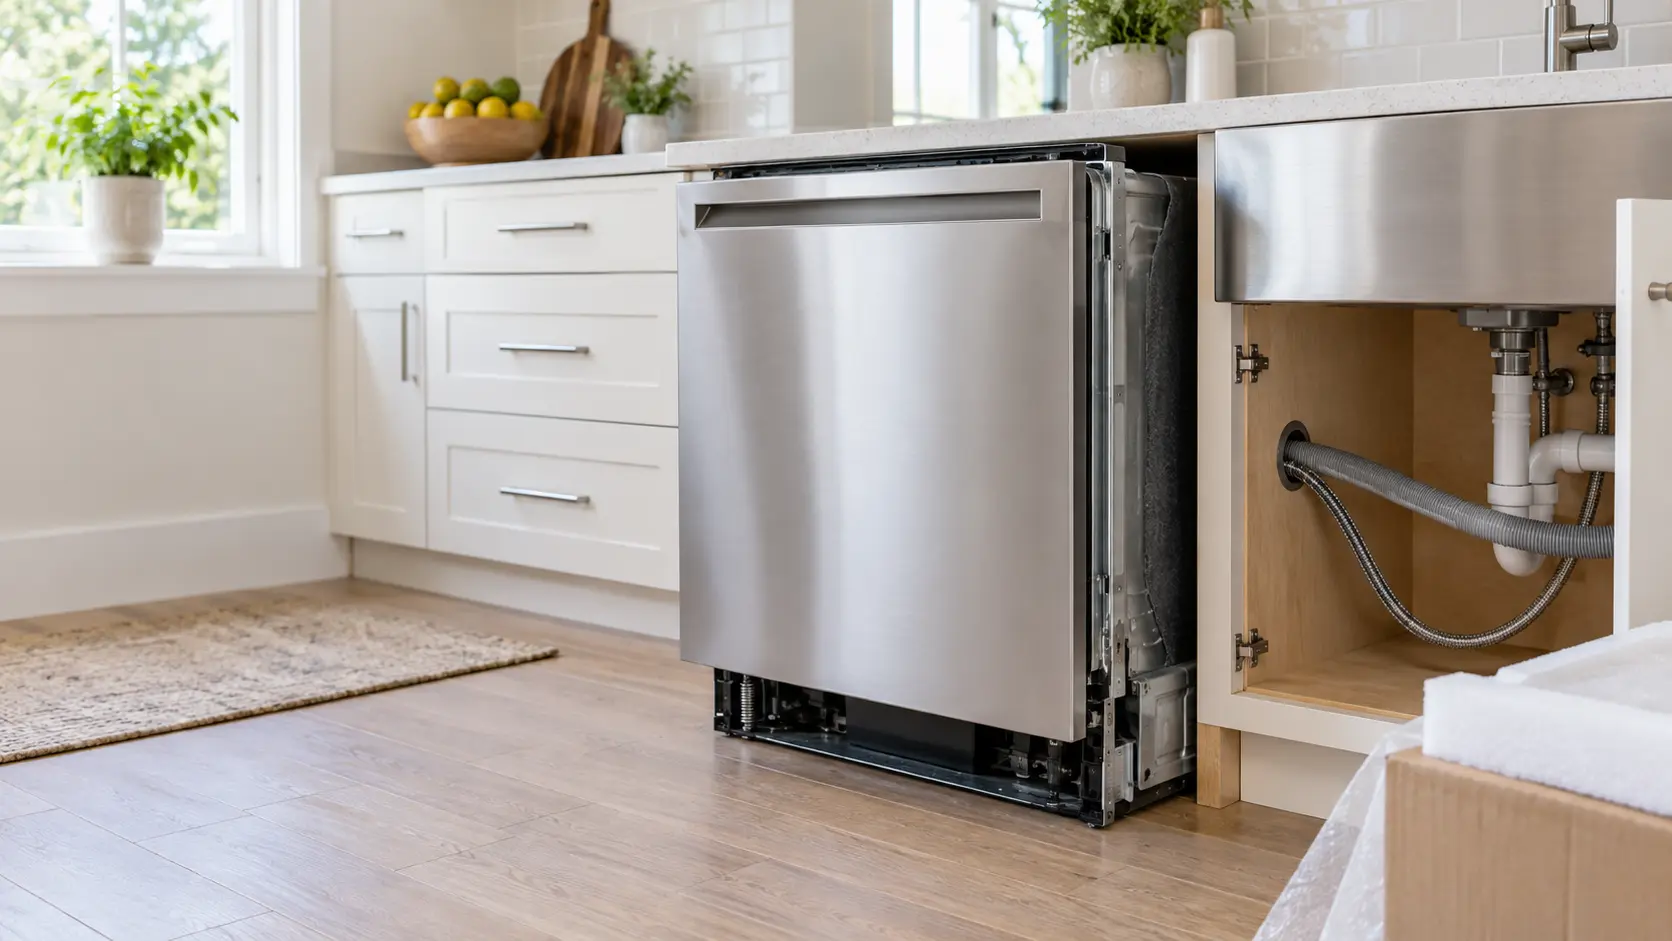
A dish care installation happens in a space about two feet wide, under a counter, with water, a drain and power all meeting in one corner of it. The opening is checked first: its height from the floor to the underside of the counter, its depth, and whether a new floor was laid in front of the old machine and now traps it. The old dishwasher comes out after its water valve is closed, its breaker is off and its drain hose is freed from the sink or the disposer. The new one gets a fresh supply line with the right elbow fitting, a drain hose that rises in a high loop or runs to an air gap where local code asks for one, and a power connection that is either a cord and plug or a hard-wired junction box, whichever the house has and the model supports. If the drain goes into a new disposer, the knockout plug inside the disposer inlet has to come out first, or water has nowhere to go. The machine is slid in without kinking any of those lines, leveled on its feet so the door closes square, and fastened to the counter or the side cabinets with its brackets. Dish drawers and panel-ready models add a front panel and tighter tolerances. The first cycle is watched, with the kick plate off and a flashlight on the connections.
 What fails on a dish care machine
How to tell
It washes dishes: a built-in dishwasher, a single or double dish drawer, a panel-ready model behind cabinet fronts, or a compact unit under a small counter.
Behind its kick plate sit three connections in one corner: a water supply, a drain hose and a cord or a wiring box.
Its carton holds mounting brackets for the underside of the counter or the side cabinets, and often a drain hose clamp and a template.
Its drain ends in a loop high under the sink, an air gap on the countertop, a disposer inlet or a branch tailpiece on the sink drain.
Not yours?Cold storageCooking appliancesLaundry
What fails
on this design.
On a dish care machine: gray water finding its way back, a disposer that still has its plug, a supply fitting that was not sealed, brackets that were never fastened.
The problems it showsGray water finding its way back
When the hose simply lies on the floor of the sink cabinet, gray water from the sink can find its way down into the machine. The hose has to climb to the underside of the counter, or into an air gap, before it drops to the drain.
A disposer that still has its plug
New disposers ship with a knockout plug sealing the dishwasher inlet. Forget to punch it out and the first cycle ends with standing water in the tub and an error on the panel.
A supply fitting that was not sealed
The brass elbow at the inlet valve needs thread sealant on its pipe threads and none on its compression end. A drip here runs under the machine, out of sight, until the floor or the cabinet below shows it.
Brackets that were never fastened
An unfastened machine tips forward when the loaded door is pulled down, and it shifts a little on every cycle until the door no longer closes square and the lines behind it are strained.
Getting at it,
and whether to.
Empty the cabinet under the sink before the visit; the supply valve, the drain connection and often the power are reached from there.
What installations costOn the visit
- Tell us whether a new floor has gone in since the old machine was fitted, since a raised floor can lock it into its opening.
- Tell us what the drain connects to now, a disposer, a sink tailpiece or an air gap, and whether the disposer itself is new.
- Have the new model's installation guide ready, with its required opening size and the power it asks for, a plug or a hard-wired connection.
Repair or replace
A dishwasher that has stopped draining or heating may be a repair, and the sister repair site for that appliance is the place to ask. When a new machine is the answer, the standard twenty-four-inch opening makes the swap straightforward in most kitchens, and the same supply, drain and power are reused if they are in good shape. It gets more involved when the counter is lower than usual, the floor was raised, the cabinet is being converted from a drawer base, or the house has no dedicated circuit for it. That last one is an electrician's job before the installation day.
Book a visit for a dish care machineThe problems
it shows.
On a dish care machine, most often water leak after an install: close the supply valve first.
All problems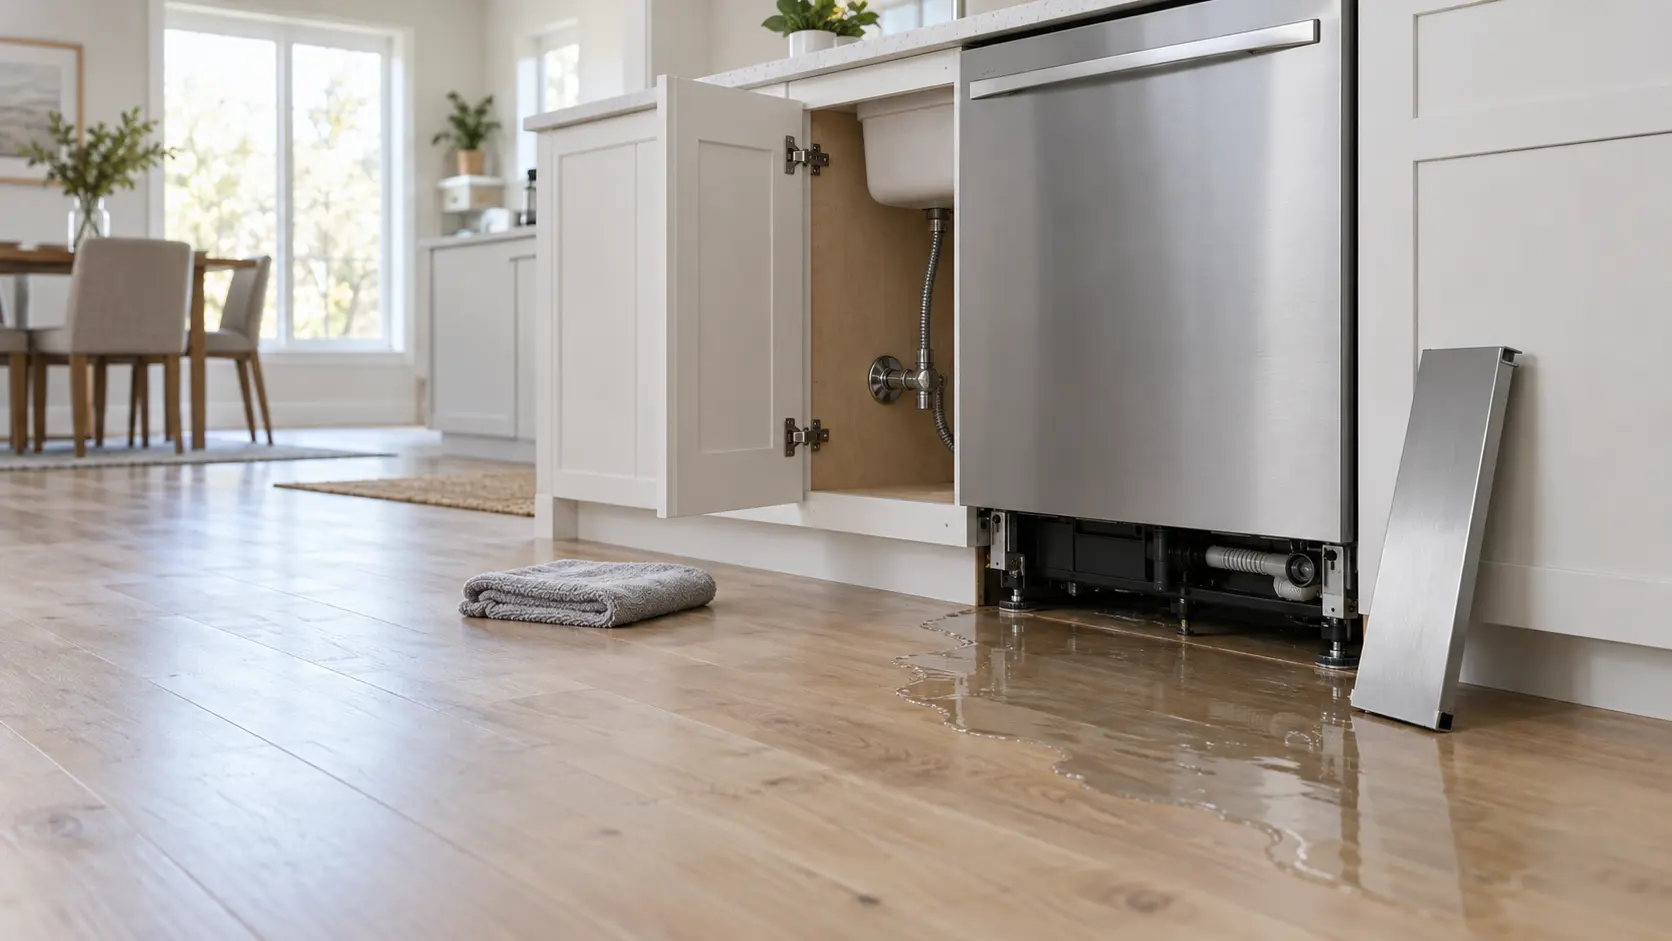
Water Leak After an Install: Close the Supply Valve First
6 causes, cheapest first

Drain Backing Up After an Install: Plug, Loop and Standpipe
6 causes, cheapest first

Door Not Closing Flush After the Install
6 causes, cheapest first

Unit Too Big for the Opening: Cutout, Depth and the Delivery Path
6 causes, cheapest first

Water Hammer After a Hookup: Banging Pipes When a Valve Shuts
6 causes, cheapest first

Appliance Installation Code on a New Unit: Setup Modes and Hookup Messages
8 causes, cheapest first
Who builds
a dish care machine.
27 of the makes on this site build a dish care machine. Each mark opens that make's own page.
All 37 brandsDish care installation,
where we come out.
9 metros, each with its own page.
All service areasTampa BayFL · 31 areas
Miami / South FloridaFL · 47 areas
New York MetroNY · 75 areas
HoustonTX · 36 areas
ChicagoIL · 50 areas
Los AngelesCA · 95 areas
San DiegoCA · 31 areas

Questions about
dish care machines.
Is an air gap required on a dish care installation?
Can a dish care machine share a circuit with the disposer?
Why does the first cycle on a new machine sometimes take so long?
Back to your everyday
Is it a dish care machine?
Say so when you book — it changes what the technician brings and how the visit is planned.