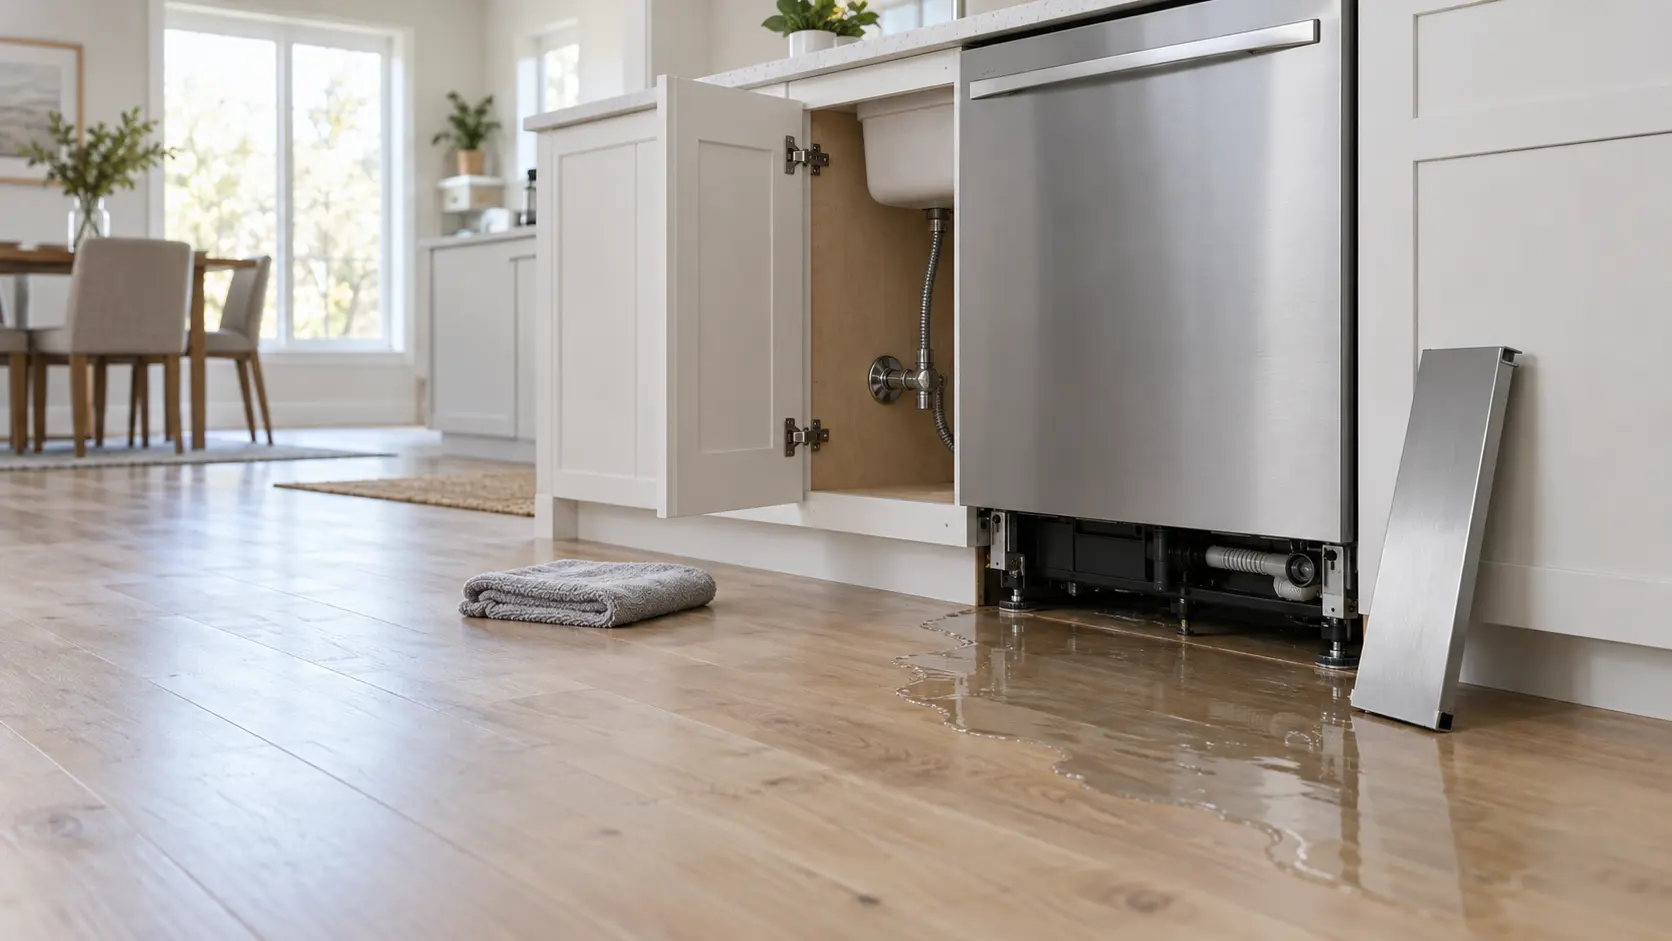
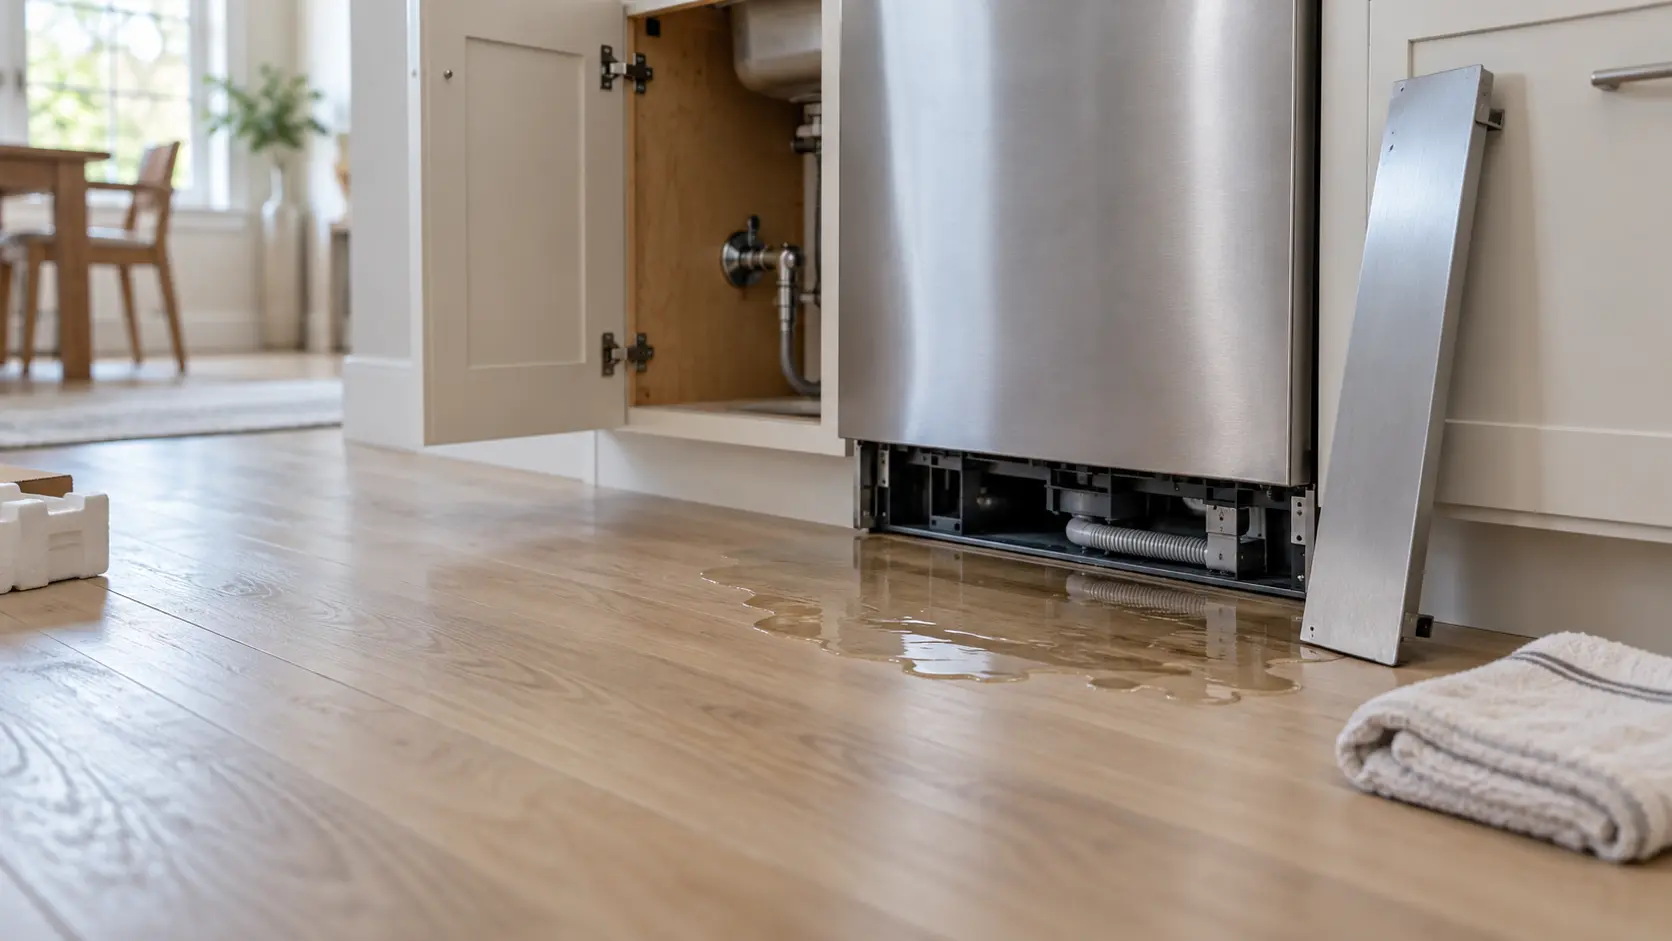

Water Leak After an Install: Close the Supply Valve First
A water leak after an install is water on the floor, a drip behind the kick plate or a wet cabinet in the first days after a new appliance was connected to water or a drain.
Mon–Sat, 8am–8pm
- Hazard after a hookup
- 5 questions that narrow it
- 6 causes, cheapest first
Book a visit
Three short steps, about a minute.
or call (844) 638-8309
Loading appointment form…
The appointment form couldn’t load. Please try again.
Gas in the air? Get out. Water, smoke or a trip? Power off
Close the water supply valve first, stay away from any outlet, cord or power strip that is wet, and switch the breaker off only from a panel that stands on a dry floor. Leave the valve closed until the connection has been remade and tested.
What it
usually means.
Every appliance that takes water brings a handful of new joints into the house on installation day: the stop valve, the supply line at both ends, the inlet valve, the drain hose clamp and sometimes a drain pump or an air gap. A leak in the first hours or days almost always comes from one of those joints, not from a part inside the new appliance. The usual story is simple: a compression nut that was snug but not tight, a hose washer left out or seated crooked, a supply line pinched as the unit slid back, a drain clamp over the wrong part of the barb, or an old saddle valve that started weeping as soon as it was disturbed. Water that reaches an outlet, a power strip or the wiring box of a dishwasher turns a leak into an electrical hazard, which is why the order matters: close the water first, keep clear of anything electrical that is wet, and cut power at the breaker only if the panel itself stands on dry ground. Then the joints are opened, remade with new washers or ferrules where needed, and watched under pressure. A leak that comes from inside a new appliance is a warranty question for the maker.
 The 6 causes, cheapest first
Answer these first
Where is the water: in front of the kick plate, behind the unit, inside the sink cabinet or on the ceiling below?
Did it appear during a fill, during a drain, or while nothing was running?
Is the water clean, or gray and smelling of food or detergent?
Is there an outlet, a power strip or a cord in or near the water?
Is the old supply line or the old stop valve still in use, or were both replaced?
Check these
before you book.
Water leak after an install: 5 checks, and none of them costs anything.
Turn the stop valve for this appliance to off; if it is out of reach, use the house main instead.
Keep clear of outlets, cords and power strips near the water, and do not unplug anything standing in it.
Switch off the appliance's breaker only if the panel is on a dry floor away from the water.
Also worth checking
- Soak up the water with towels, and open the kick plate or the sink cabinet to find where it is coming from.
- Leave the valve closed and photograph the wet joint before booking the visit.
The causes,
cheapest first.
6 things water leak after an install: close the supply valve first turns out to be, from a compression nut not fully tightened to a leak from inside the new appliance.
The cost guide-
01 low
A compression nut not fully tightened
The nut at the stop valve or the inlet valve holds only when the ferrule is seated evenly. A joint that weeps slowly is opened, checked and made up again, then dried and watched with the water on.
-
02 low
A rubber seal missing from a hose coupling
Laundry fill hoses and many braided lines seal with a rubber washer inside the coupling. One that fell out or folded during fitting drips at the coupling from the first fill; it is replaced and the coupling retightened.
-
03 low
A line trapped when the unit went home
Pushing a dish care machine or a refrigerator home can crush its supply line against the floor or the cabinet. The unit is pulled forward, the line replaced, and the route cleared before it goes back.
-
04 low
A drain clamp off the barb
A drain hose clamp that sits beyond the ridges of the disposer or tailpiece barb lets water out on each pump-out. The hose is reseated, the clamp placed over the barb, and a first drain is watched.
-
05 low to moderate
An old saddle valve that began to weep
A needle-piercing valve left in service often leaks once it is turned for the first time in years. It is replaced with a quarter-turn stop where the pipe allows; moving the water line itself is a plumber's job.
-
06 moderate
A leak from inside the new appliance
When every outside joint is dry and water still appears, the leak may be inside the unit: a tub seal, an internal hose or a valve body. That is covered by the maker's warranty, or by our sister repair site if it is not.
What else
it could be.
Most often confused with water hammer after a hookup: banging pipes when a valve shuts, then drain backing up after an install: plug, loop and standpipe.
All problems

The makes
it happens on.
37 makes on this site; water leak after an install: close the supply valve first can show up on any of them. Each mark opens that make's own page.
All 37 brandsWater Leak After an Install: Close the Supply Valve First,
where we come out.
9 metros, each with its own page.
All service areasTampa BayFL · 31 areas
Miami / South FloridaFL · 47 areas
New York MetroNY · 75 areas
HoustonTX · 36 areas
ChicagoIL · 50 areas
Los AngelesCA · 95 areas
San DiegoCA · 31 areas

Questions about
water leak after an install: close the supply valve first.
The leak stopped once the cycle ended. Can I keep using the machine?
How can I tell a supply leak from a drain leak?
Should the floor under a new appliance be dried out?
Is a leak from a new appliance covered by its warranty?
Back to your everyday
Still seeing water leak after an install: close the supply valve first?
Book with what you checked above — 5 answers save the technician the first part of the visit.