
Why the week after is worth a schedule
An installation is judged on the day it happens, but most connections are tested only later. A compression fitting meets hot water for the first time on the third dish cycle, a laundry machine's feet bed into vinyl over a few loads, and a gas joint sees its first long oven session at the weekend. The first week after installation is the window in which each of those happens at least once.
It is also the week in which help is easiest to get. The crew remembers the job, the store's paperwork is on the counter and the packaging may still be in the garage. A problem found on day five is a quick return visit; the same one found in month three becomes an argument about when it started.
- Day 1: before the crew leaves, one full cycle of every machine that was connected
- Day 2: cold storage temperatures read on a thermometer
- Day 3: every water joint looked at after several heat cycles
- Day 5: gas flame color, oven lighting time, machines still standing where they were set
- Day 7: paperwork, model and serial numbers, and anything still bothering you written down
Cold storage: trust the thermometer, not the display
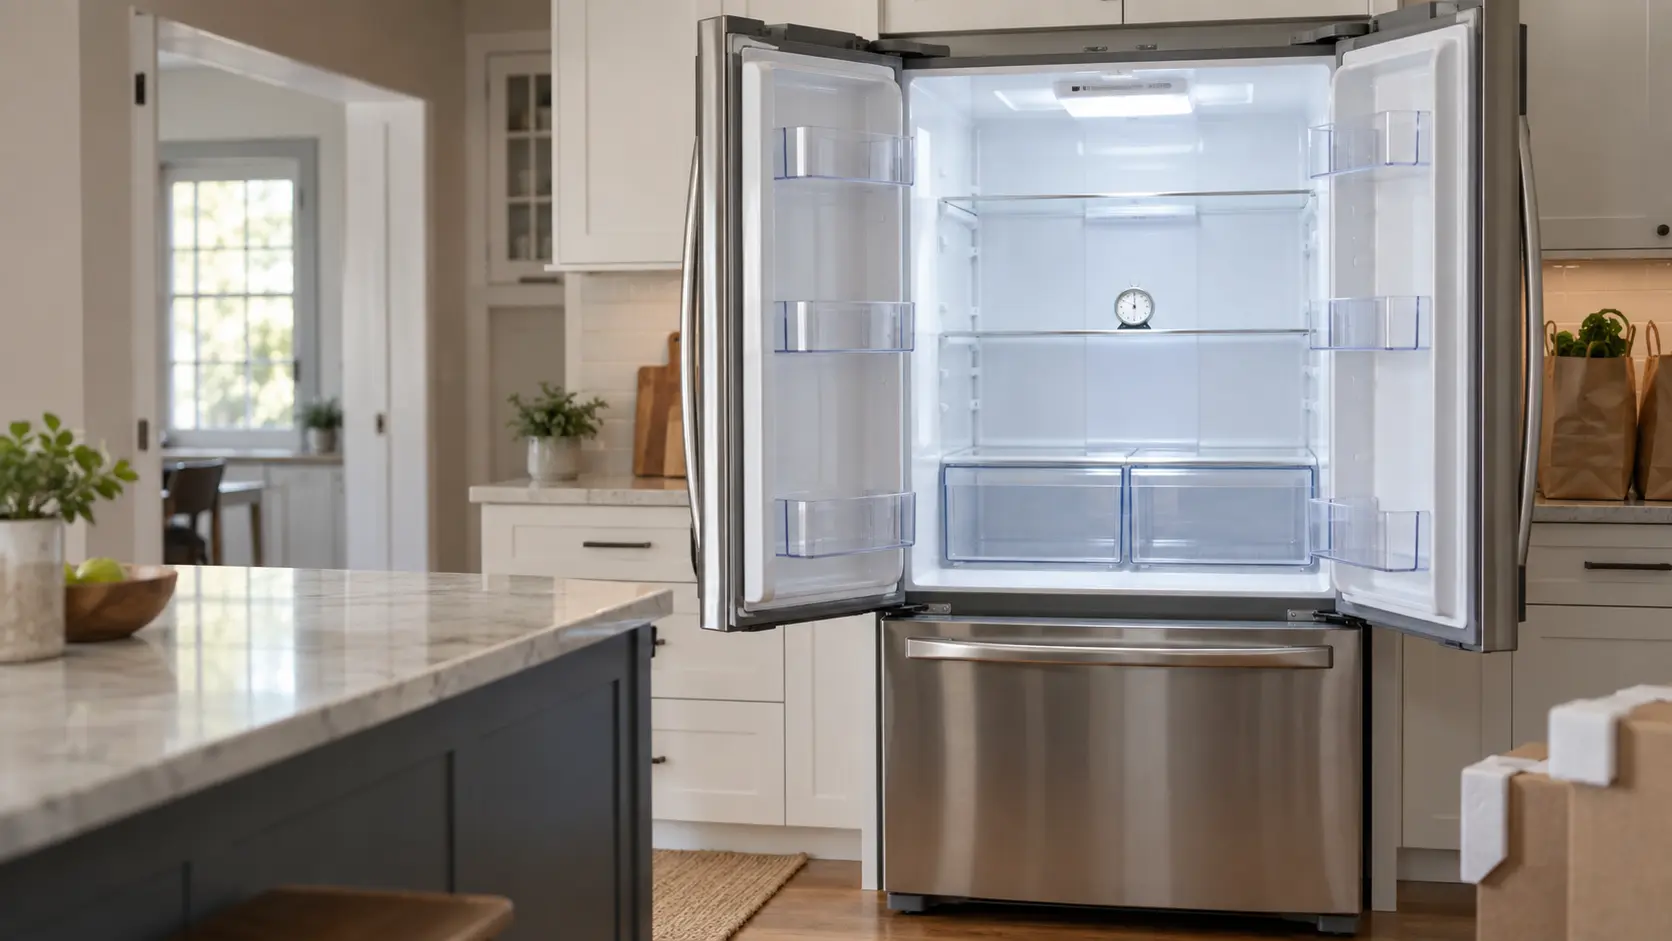
Two inexpensive thermometers do this job: one sitting in a cup of water mid-fridge, one tucked among the frozen goods. FDA's guidance is to keep a refrigerator at or below 40°F and a freezer at 0°F, and it calls appliance thermometers the best way of knowing. Read them first thing in the morning, before the doors have been opened, on the second and fourth days.
Numbers that drift up after a good start usually have a plain explanation: doors that do not fall shut because the cabinet was set too level front to back, a kick plate or mat over the air grille, or less space behind than the instructions call for. Each of those is an installation detail rather than a failure.
Loading in stages
A full grocery run pushed into a unit that has only just reached temperature lifts it straight back up. Load perishables first, the rest over a day or two, and leave space for air to move between shelves until the readings have held steady for a full day.
Source: FDA — Are you storing food safely? — Keep the refrigerator at or below 40°F and the freezer at 0°F; appliance thermometers are the best way of knowing

Water joints after the first heat cycles
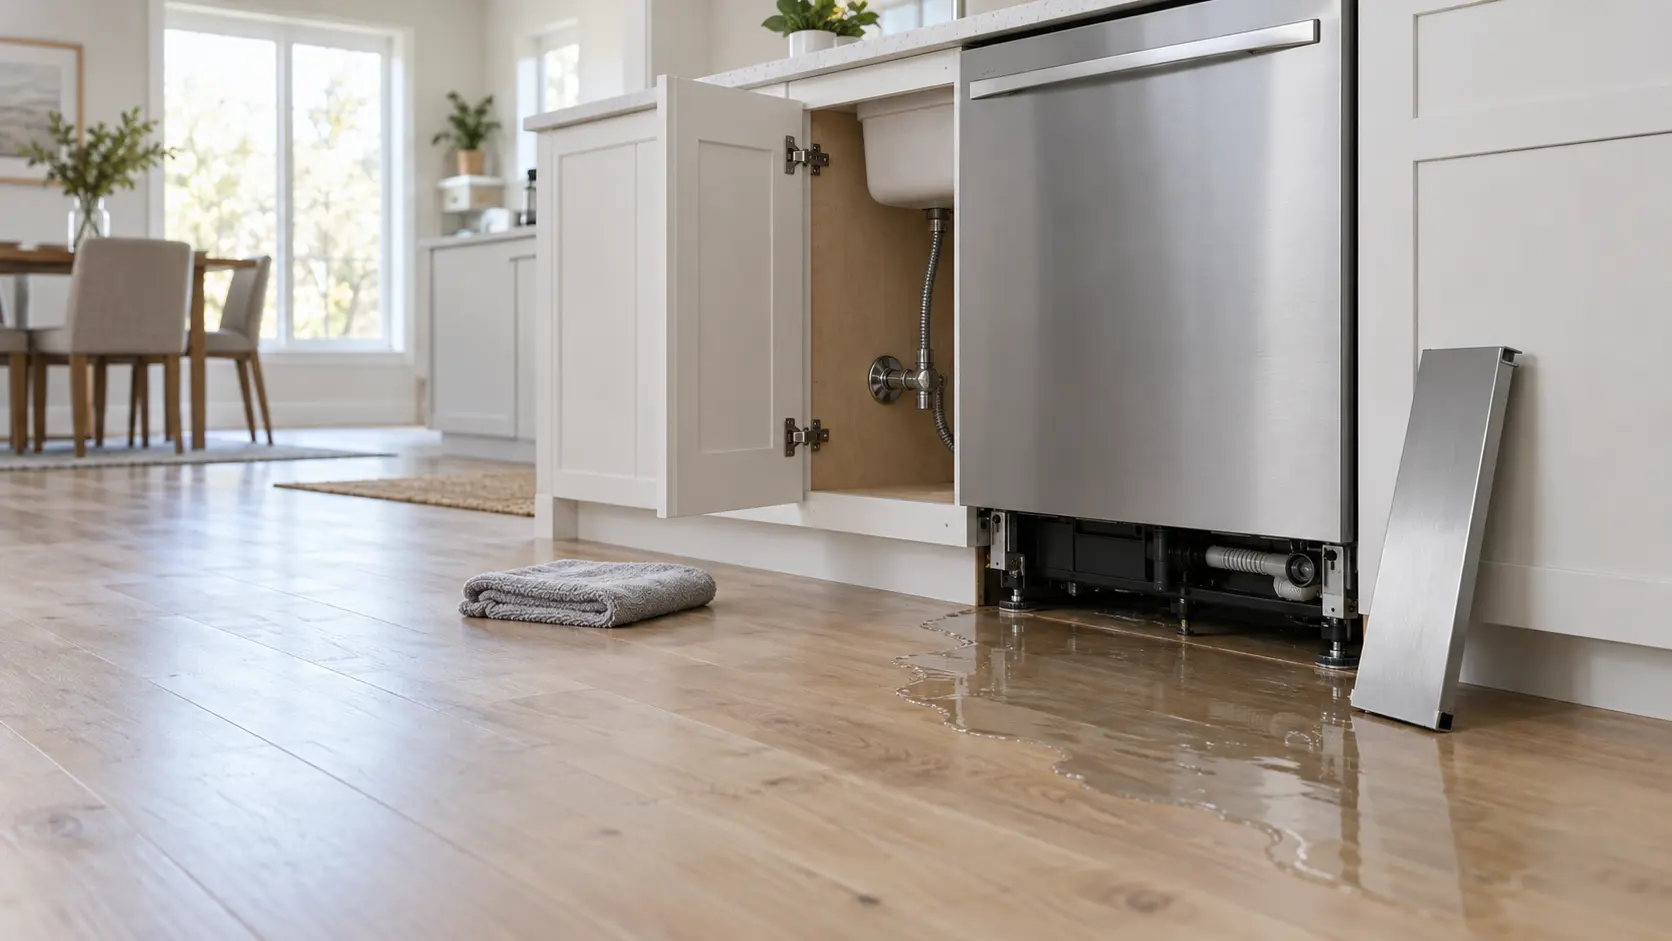
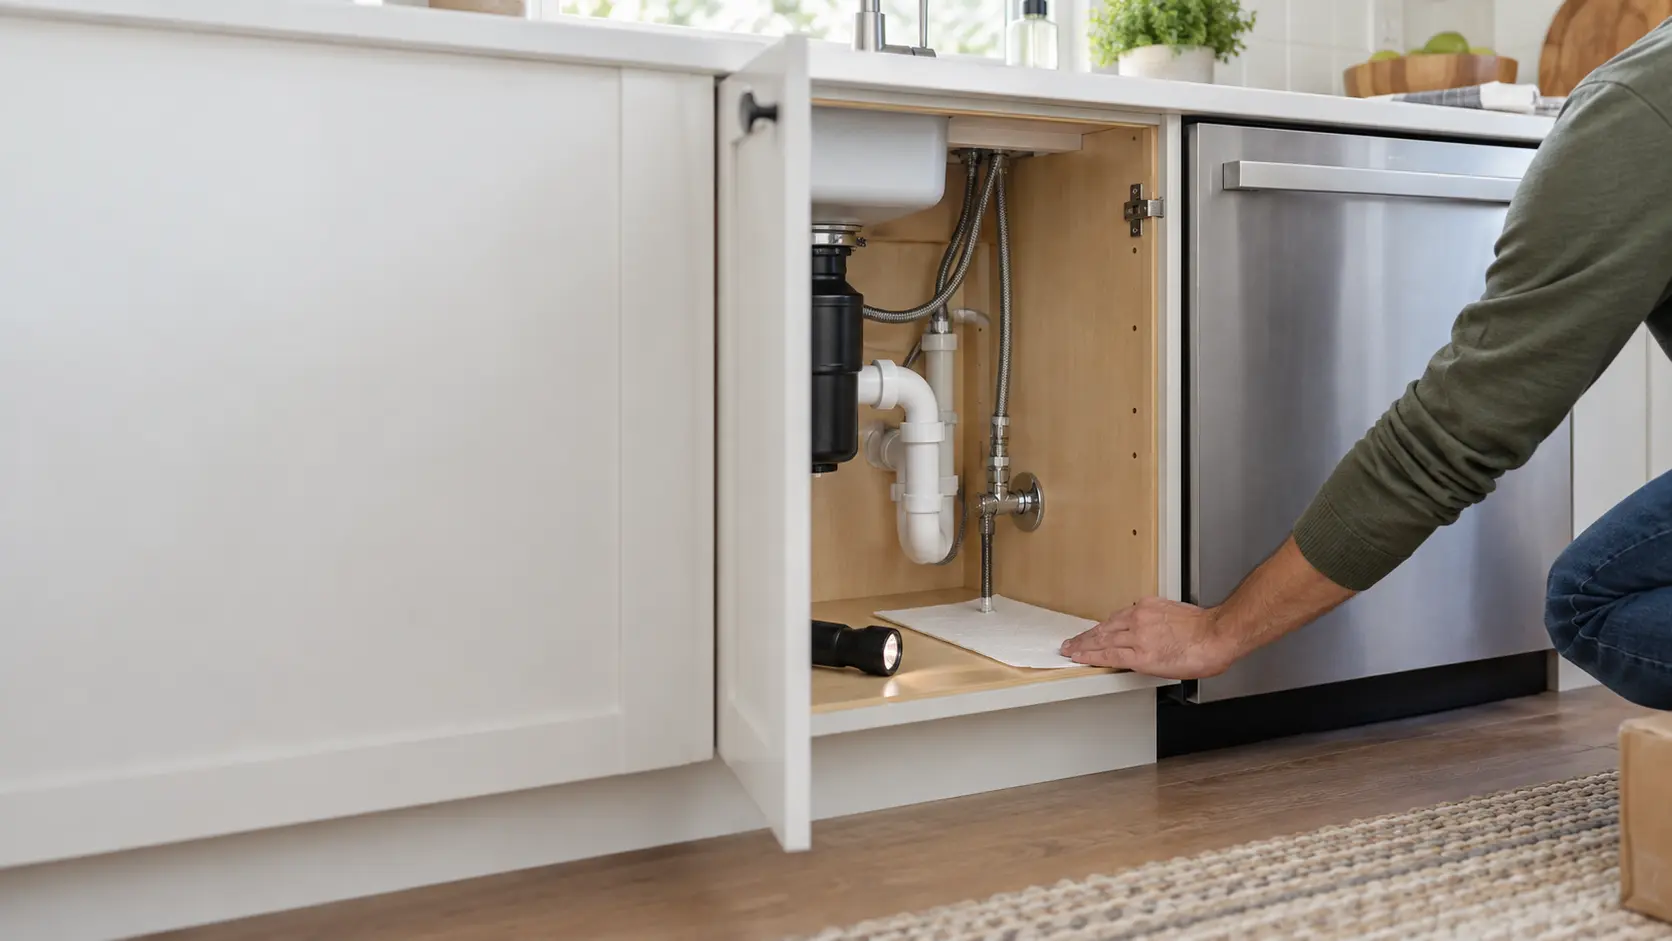
The seep that matters rarely shows on day one. Brass compression fittings and rubber hose washers move a little as they warm and cool, and the drip they can start is slow enough to soak into a cabinet floor before it reaches the kitchen. On day three, lay a sheet of dry paper towel under each valve and joint you can reach and leave it overnight; a single drop shows as a gray spot by morning.
Look at the drain as well as the supply. Under the sink, the hose clamp at the disposer or waste tee should be dry and the high loop still clipped in place. Behind a laundry pair, the drain hose should still be strapped into the standpipe; LG warns that a drain hose that is not properly secured can flood the room.
The floor under a laundry pair
LG wants the floor clean and dry under the feet, because feet that can slide add vibration and noise, and asks that carpet never block the opening under the machine. After a week of loads, pull the pair forward a hand's width and look for scuff marks or a foot that has turned. A machine that has moved has told you its leveling is not finished.
Source: LG Electronics — Front-load washer owner's manual (WM4080) — An unsecured drain hose can flood; keep the floor clean and dry so the feet cannot slide; do not block the bottom opening with carpet
Gas cooking: flame color and lighting time
GE's installation instructions describe what to look for. Soft blue flames are normal; yellow tips on the outer cones are normal with propane; flames that are yellow throughout call for service. On bake, the oven burner should light within 30 to 90 seconds. Check each surface burner on low and high once during the week, in daylight, with the hood off so the flame is not pulled sideways.
Keep the installation instructions with the appliance. GE asks installers to leave them for the local inspector and for the owner, and they carry the conversion details and the flame drawings you will want later. If the home sits above 6,000 feet, GE requires a high-altitude kit for either fuel, so ask whether one was fitted.
A smell of gas at any point in the week
The calendar stops the moment gas is in the air. Turn every knob to off, shut the appliance valve if your hand is already beside it, leave lights and switches exactly as they are, crack a window as you go, and ring the gas company or 911 once everyone stands outside.
Source: GE Appliances — Gas range installation instructions (31-2001181) — Soft blue flames normal, yellow tips normal with propane, yellow flames call for service; bake burner lights in 30 to 90 seconds; save instructions for the local inspector; high-altitude kit over 6,000 feet
At the end of the week: notes and paperwork
Write down what you noticed, even if it seemed minor: a door that needed a second push, a cycle that ran long, a noise on the spin. Photograph the rating plate of each new appliance so the model and serial numbers are on your phone. Put the receipt, the installation instructions and the owner's manuals in one folder, and file the transit bolts or conversion parts with them. Our guide to keeping installation records covers what else belongs there.
- Receipt and delivery paperwork with the date of installation
- Installation instructions and owner's manual for each unit
- A photo of each rating plate
- Transit bolts, leftover orifices and bracket hardware in a labeled bag
- Your week-one notes, dated