
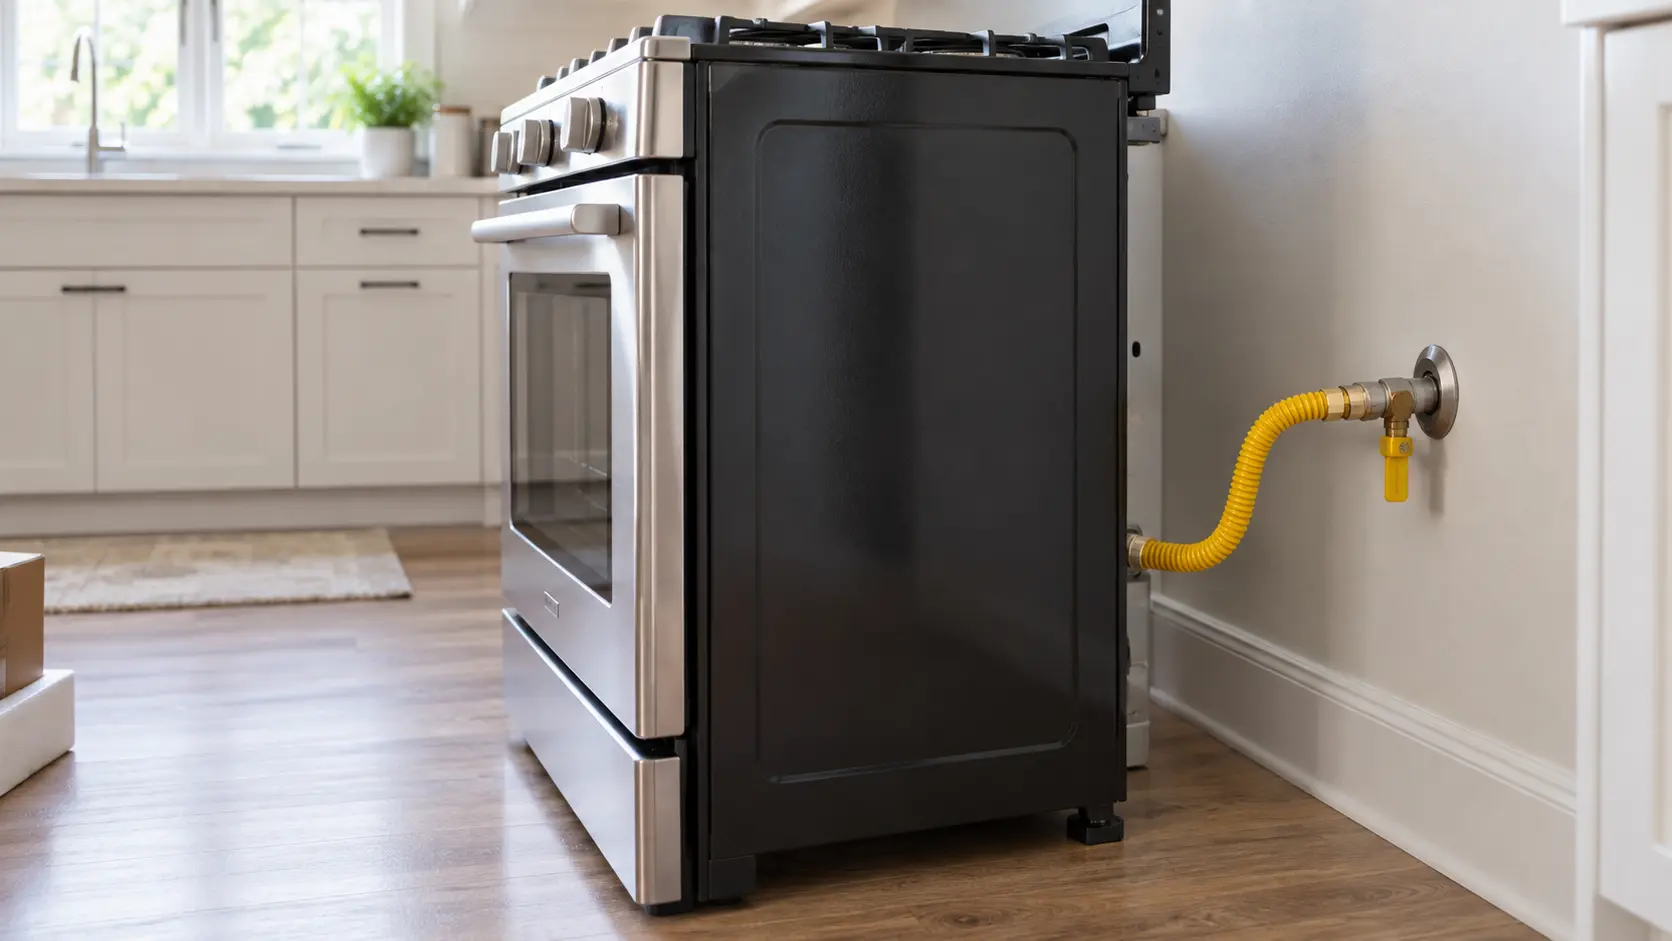
What the bracket is there to prevent
A freestanding cooking appliance is heavy but narrow front to back, and its open door is a long lever. A child standing on the door to see into a pot, or an adult leaning on it to lift a roasting pan, can shift the center of gravity forward far enough to bring the whole appliance down together with whatever is on the burners. Whirlpool and GE print the same warning in their instructions: a child or adult can tip the appliance and be killed.
CPSC notes that voluntary standards have required new units to be supplied with an anti-tip bracket since 1991. The part is often still in the box when the installer leaves: Whirlpool tapes it inside the storage or warming drawer, where it is easy to overlook.
Floor bracket or wall bracket
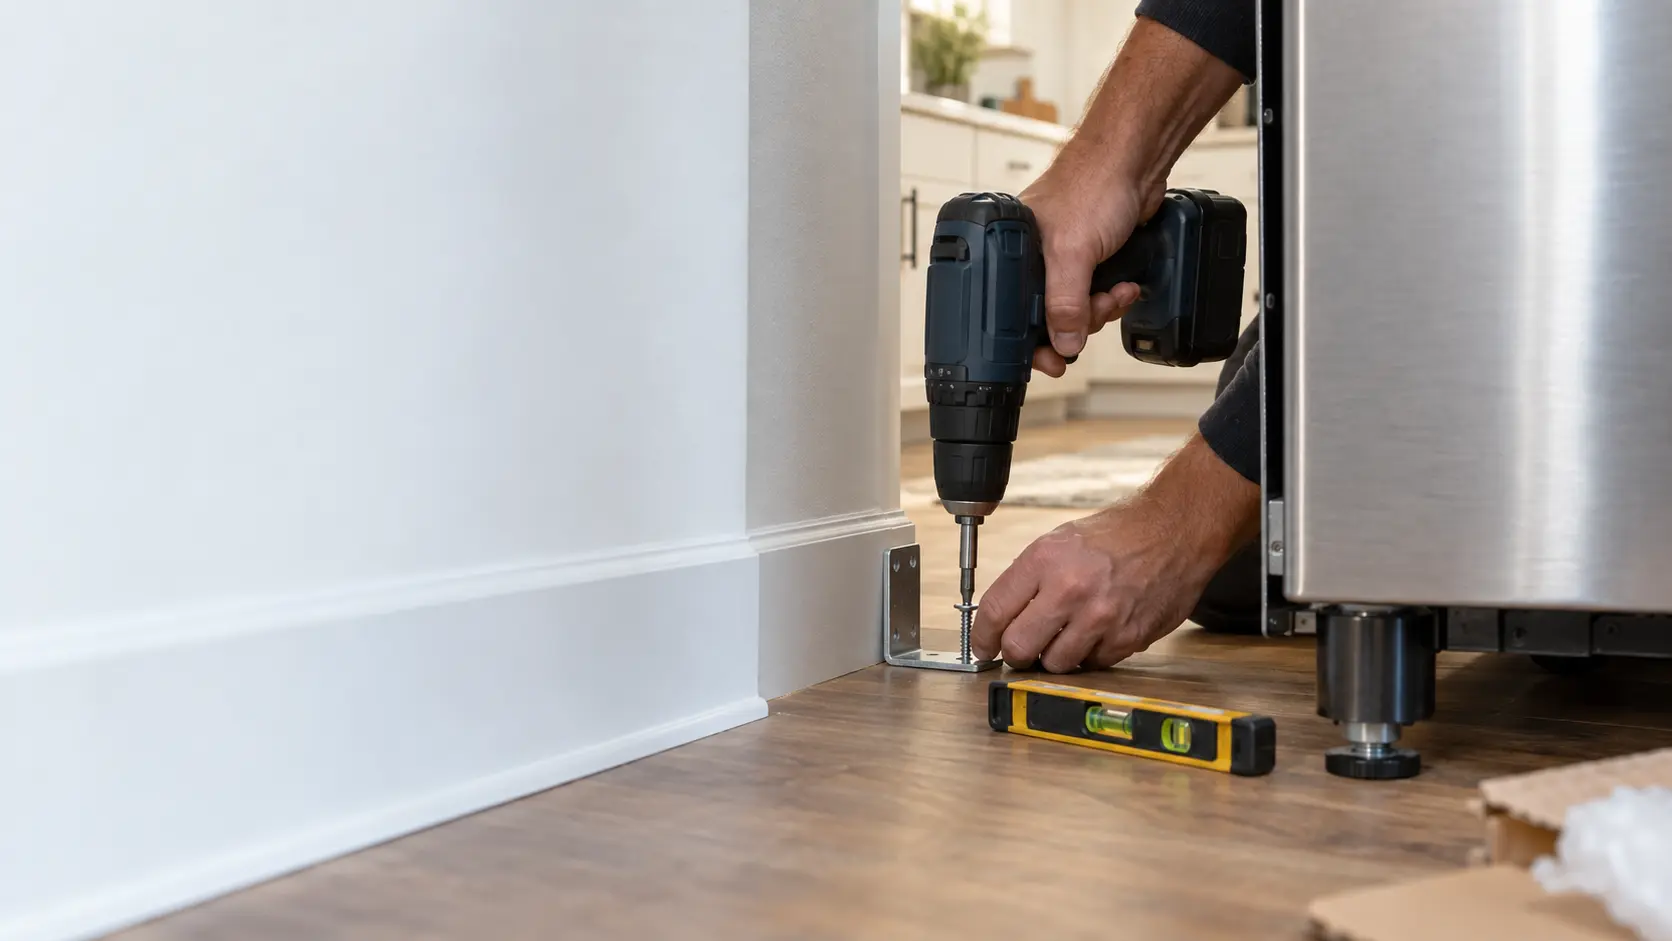
CPSC describes two common types: a fork-shaped bracket at the joint of floor and wall that catches a rear leveling leg, and a bracket on the wall that holds the back of the appliance. Whirlpool's instructions let the installer choose, suggest the wall method on stone or masonry floors, and require floor mounting in a mobile home.
Source: CPSC — Tips on checking your range's stability (Publication 5007) — Since 1991 voluntary standards have required new ranges to be supplied with an anti-tip bracket; fork-shaped floor bracket or wall bracket; Whirlpool — Installation instructions, 30-inch freestanding gas ranges (W10658550) — A child or adult can tip the range and be killed; bracket taped inside the drawer; wall method on stone or masonry floors, floor mounting in mobile homes; V-notch 12 9/16 in. from the cutout centerline
How the bracket goes in during the install
Placement comes from the installation instructions, not by eye. Whirlpool has the installer mark the centerline of the cutout and set the bracket's V-notch a fixed distance from it, 12 9/16 inches on its 30-inch models, so the rear leg lands exactly in the slot. The bracket is screwed down, the appliance is slid back, and the leg is felt entering the slot before the leveling is finished.
GE adds a detail that is easy to get wrong while leveling: the legs must never be fully removed, or the appliance will not be held by the bracket at all. A slide-in model follows the same rule as a freestanding one.
- Bracket found in the drawer or carton before the appliance goes back
- Position measured from the cutout centerline, per the instructions
- Screws into solid wood or masonry anchors, not just flooring or drywall
- Rear leg felt entering the slot as the appliance slides home
- Engagement tested before the installer leaves
New flooring and a bracket that no longer reaches
A bracket fitted before new tile or a thicker floating floor goes down may end up too low for the leg once the appliance is raised on the new surface. Remodels that change the floor are a common reason for an appliance that seems pushed back yet slides out of its bracket at the first tug.
Source: Whirlpool — Installation instructions, 30-inch freestanding gas ranges (W10658550) — A child or adult can tip the range and be killed; bracket taped inside the drawer; wall method on stone or masonry floors, floor mounting in mobile homes; V-notch 12 9/16 in. from the cutout centerline; GE Appliances — Single oven gas ranges owner's manual (49-2000316) — Applies to free-standing and slide-in ranges; never completely remove the leveling legs; inspect under the range; re-engage if the range is moved

Checking engagement after the install
On a model with a removable storage drawer, Whirlpool's check is visual: take the drawer out, shine a flashlight under the appliance and see the rear foot inside the bracket slot. GE's version is the same look underneath, removing the drawer or kick panel where the model allows.
Where no drawer comes out, Whirlpool uses a gentle tilt test with the top cool and clear. Place a foot against the bottom front, grasp the control panel or the back, and tilt slowly. Immediate resistance means the foot is held. If the back lifts more than 1/2 inch with no resistance, lower it gently: the foot is not engaged. A snap or pop while lifting points to a foot that is only partly in the slot, often because something behind the appliance is stopping it going fully back.
What keeps the foot out of the slot
Whirlpool's advice when the test fails is to look for whatever stops the appliance sliding fully to the wall, and to confirm the bracket's screws still hold it firmly. Behind a new install that is usually the power cord plug, a wall outlet box set too low, a shoe molding the old unit never touched, or a leveling leg screwed out so far that it rides over the bracket instead of into it.
Source: GE Appliances — Single oven gas ranges owner's manual (49-2000316) — Applies to free-standing and slide-in ranges; never completely remove the leveling legs; inspect under the range; re-engage if the range is moved; Whirlpool — Checking the anti-tip bracket installation — Flashlight check with the drawer removed; tilt test where the rear lifting more than 1/2 inch without resistance means not engaged; snapping or popping means partly engaged
Anchoring hardware on cold storage and dish care
Built-in columns need anchoring for a different reason: they are tall, deep and heavy, and a full door or a pulled-out drawer shifts a lot of weight forward. True's 42- and 48-inch built-ins weigh 720 to 820 pounds before any food goes in, ship with a bracket for each unit and list the bracket first on the installer's checklist. Its instructions call for a floor rated for at least 150 pounds per square foot, screws into as many joists and studs as possible, masonry screws for concrete, and a bracket depth that differs between flush and proud installs.
Dish care machines are anchored to the cabinetry. GE's instructions warn that a dish care machine will tip forward when its door is opened if the wood shipping base has been removed and it is not yet secured, and supply mounting brackets that fasten it under a wood countertop, or into the side cabinets when the countertop is granite or similar stone that will not take wood screws.
- Built-in columns: a floor bracket for every unit, including each half of a paired installation
- Dish care: brackets to the countertop or side cabinets, adjusted so they clear the door
- Freestanding cold storage: front legs lowered so the cabinet sits on its feet, not its rollers
Source: True Residential — 42/48 built-in installation manual — Units weigh 720 to 820 lb; anti-tip bracket for each unit and on the installer checklist; floor rated for 150 lb per sq ft; secure to joists and studs; masonry screws supplied; tip hazard while uncrating; GE Appliances — Installation instructions, built-in dishwasher — The dishwasher will tip over when the door is opened if the base is removed; brackets fasten it under a wood countertop or to side cabinets for granite; Whirlpool — Refrigerator moves when doors are opened — Lower the front leveling legs until they lift the front rollers off the floor
When the bracket has to be engaged again
Every maker's instructions say the same thing about the day after installation: if the appliance is pulled out for any reason, engage the bracket again when it goes back. That covers cleaning behind it, recovering something dropped down the side, and floor refinishing. It is the most common way a correctly installed appliance ends up unsecured.
Make the check part of the routine rather than a special event. Anyone who slides a freestanding cooking appliance out should be the one who tests it after sliding it back.
Source: GE Appliances — Single oven gas ranges owner's manual (49-2000316) — Applies to free-standing and slide-in ranges; never completely remove the leveling legs; inspect under the range; re-engage if the range is moved


