
Connectors, leak tests, brackets and circuits
Gas, power and water at the install
guides.
The safety side of fitting a new appliance: the gas connector, conversion kits and the leak test, the anti-tip bracket a freestanding range needs, and the outlet and circuit an appliance must find in place.
Mon–Sat, 8am–8pm
- Three guides
- Read before you book
- Says where to stop
Book a visit
Three short steps, about a minute.
or call (844) 638-8309
Loading appointment form…
The appointment form couldn’t load. Please try again.
Gas, power and water at the install,
guide by guide.
Three supplies reach an appliance at installation: gas, electricity and water. Each one is safe when it arrives through the connector, circuit and fittings the maker specifies, and each one is where a hurried install does its damage. This section covers what those specifications are and how an owner can recognize that they were met.
All 18 guides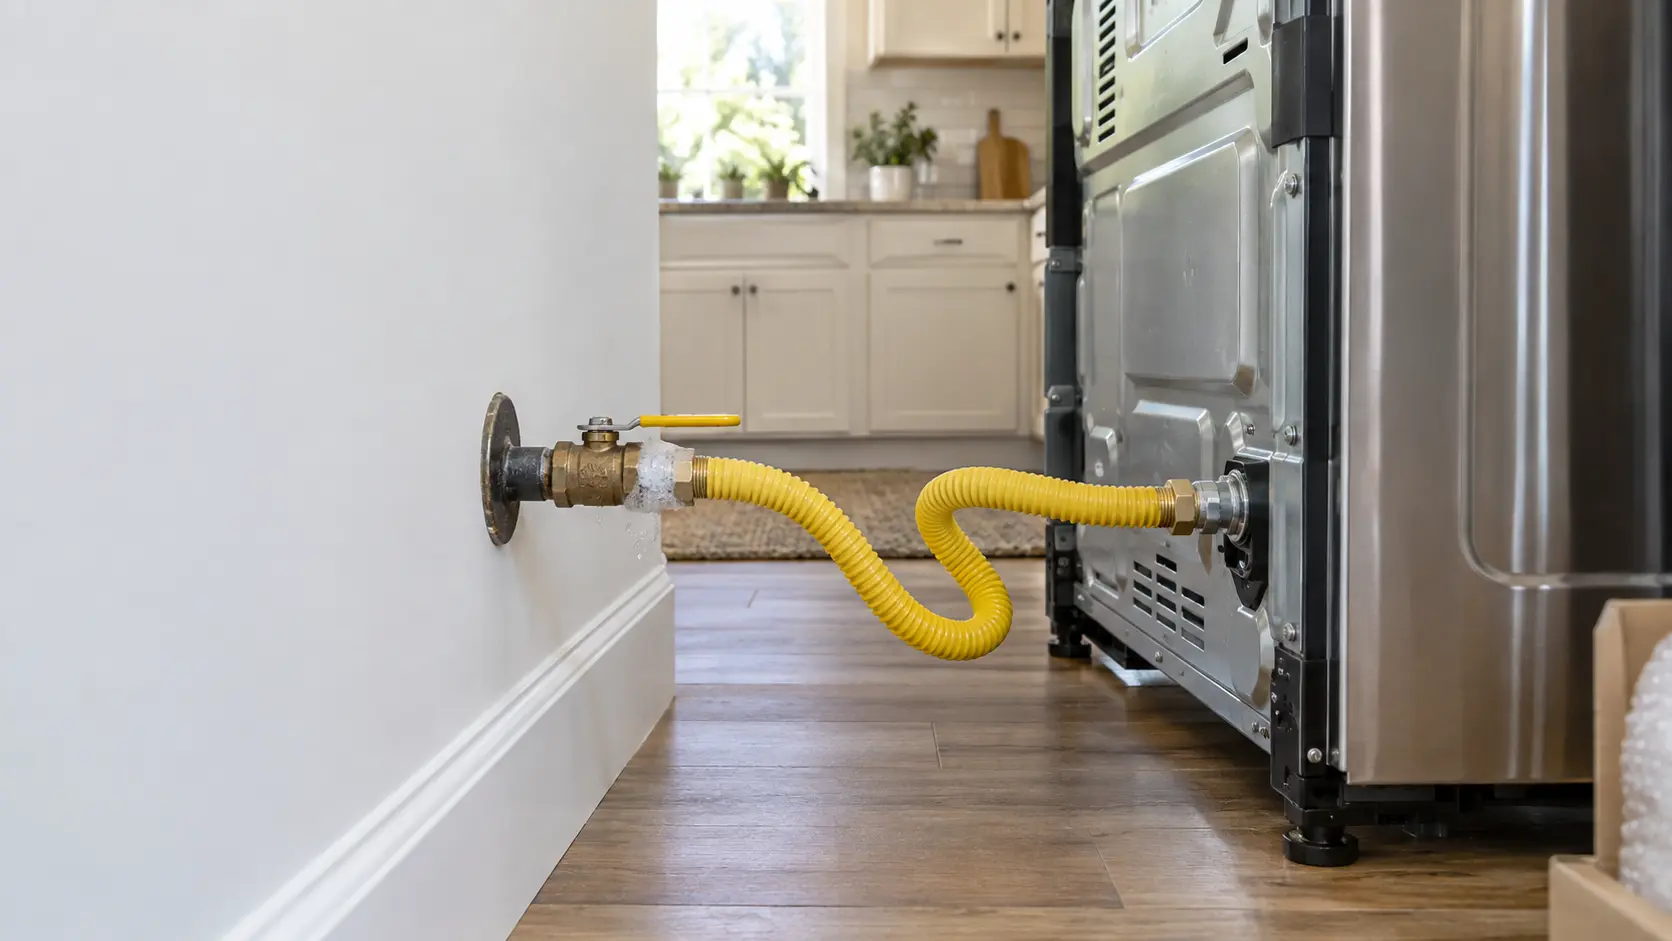

Connectors, leak tests, brackets and circuits.
One guide follows a gas hookup from the shutoff valve to the appliance regulator: the connector the makers allow, the difference between natural gas and propane, the altitude adjustment and the bubble test that proves every joint tight. Another explains the anti-tip hardware that holds cooking appliances, built-in columns and dish care machines in place. The third lists the circuit and outlet each appliance group needs, from 120-volt receptacles to 240-volt, 40-amp circuits.
The requirements come from the makers' installation instructions, which are written for installers but belong to the household, and from CPSC. Each guide cites them next to the figures they support, so a reader can compare their own installation with the original page.
The line between owner and installer is drawn clearly in every guide. An owner can know where the gas shutoff is, watch a leak test, check that a bracket holds and refuse an extension cord. An owner does not open a gas fitting, convert an appliance between gases, drill near a gas line or work inside an electrical panel. If you smell gas, leave the house first and call the gas utility or 911 from outside.
Not sure where to start?The short answerGas connectors, conversion kits and the leak test: what happens at a gas hookup
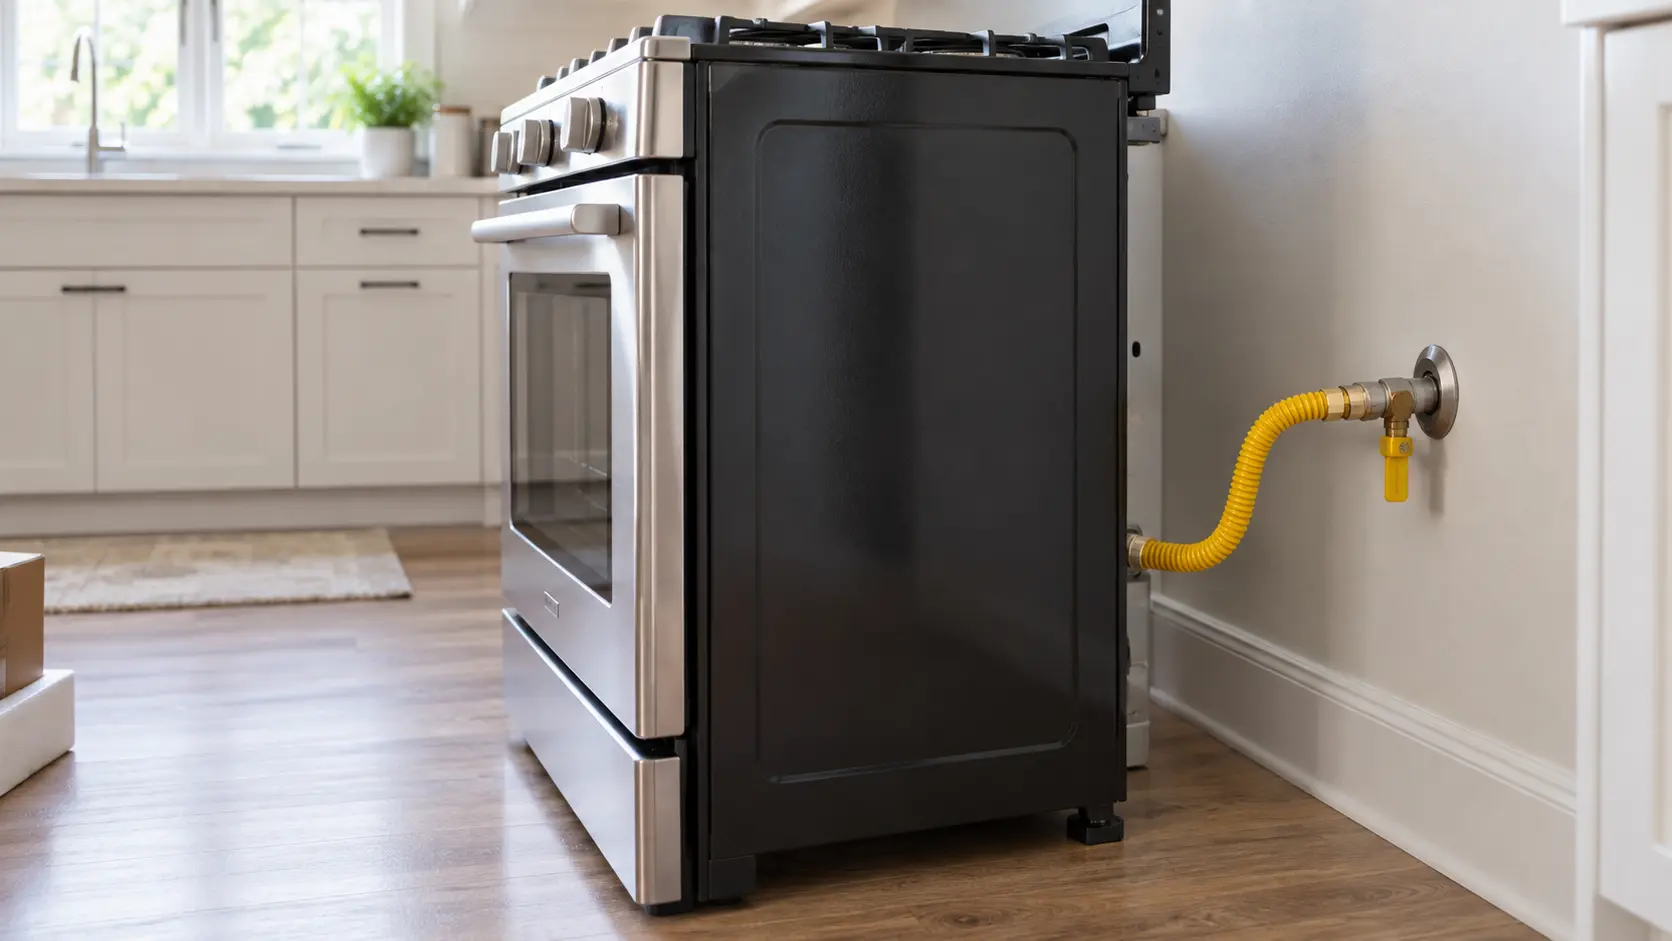
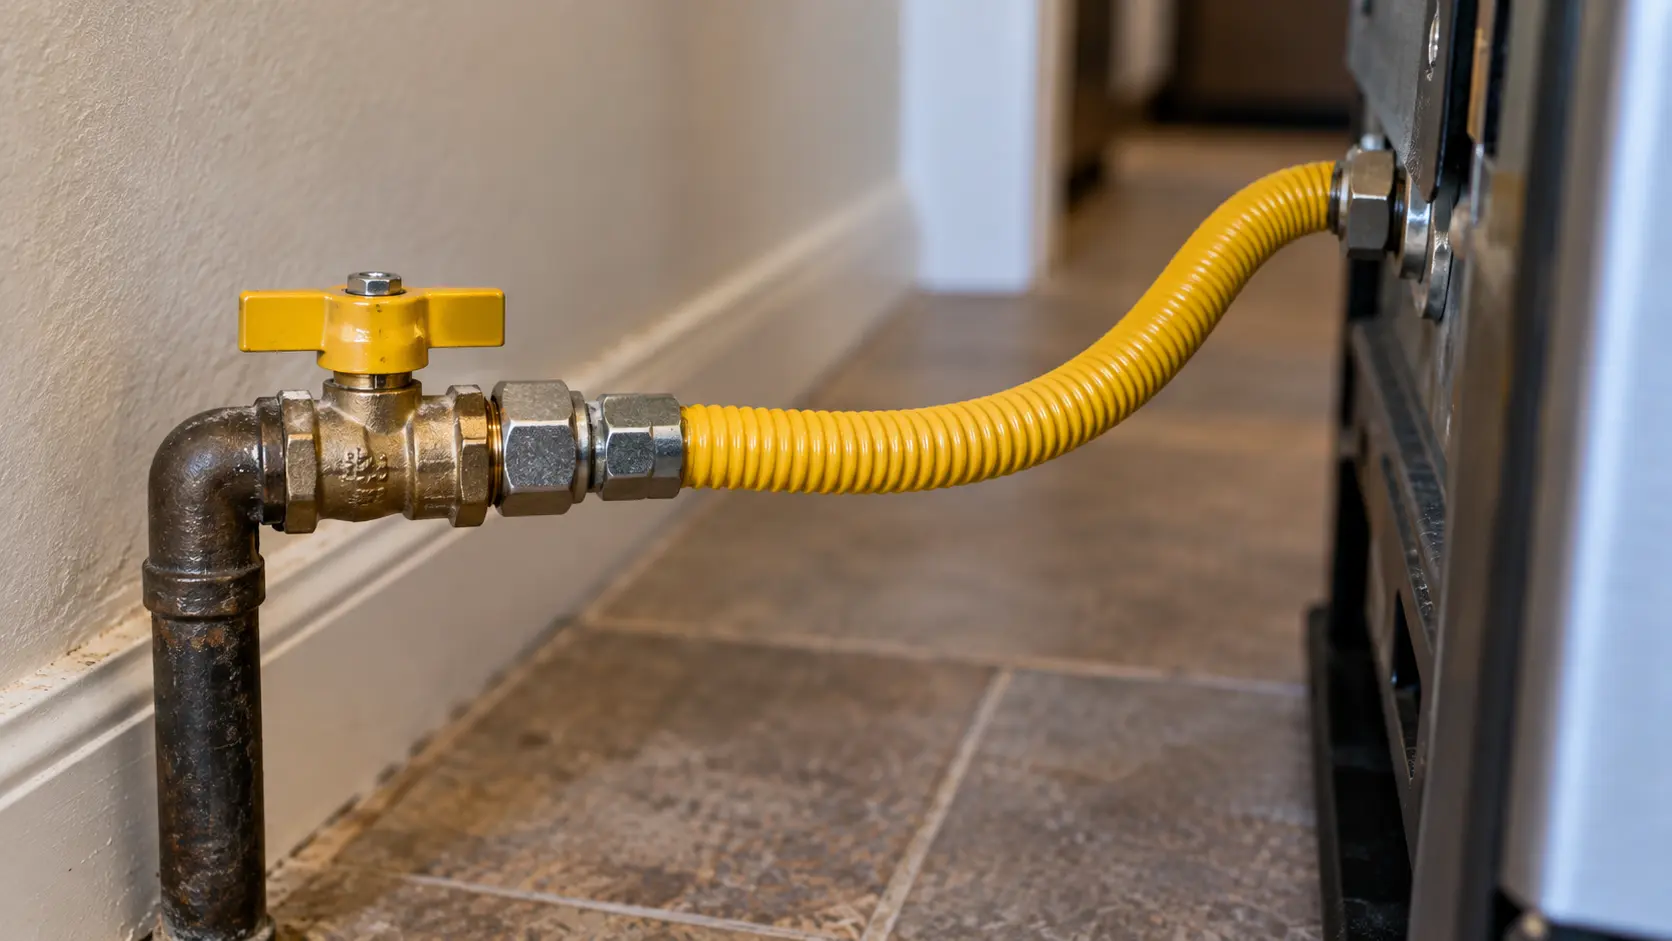
A gas connector and leak test finish every gas appliance installation: a new design-certified flexible connector within the maker's length limit, a manual shutoff in the same room, the appliance's own regulator set for natural gas or converted with the maker's kit for propane, burner input reduced above 2,000 feet, and every joint brushed with a noncorrosive bubble solution, never tested with a flame.
The short answerAnti-tip brackets and why they are required, from the cooking line to built-in columns
An anti-tip bracket holds a freestanding or slide-in cooking appliance down when weight lands on its open door; CPSC says voluntary standards have required one with new models since 1991.
The short answerThe circuit and outlet a new appliance needs, group by group
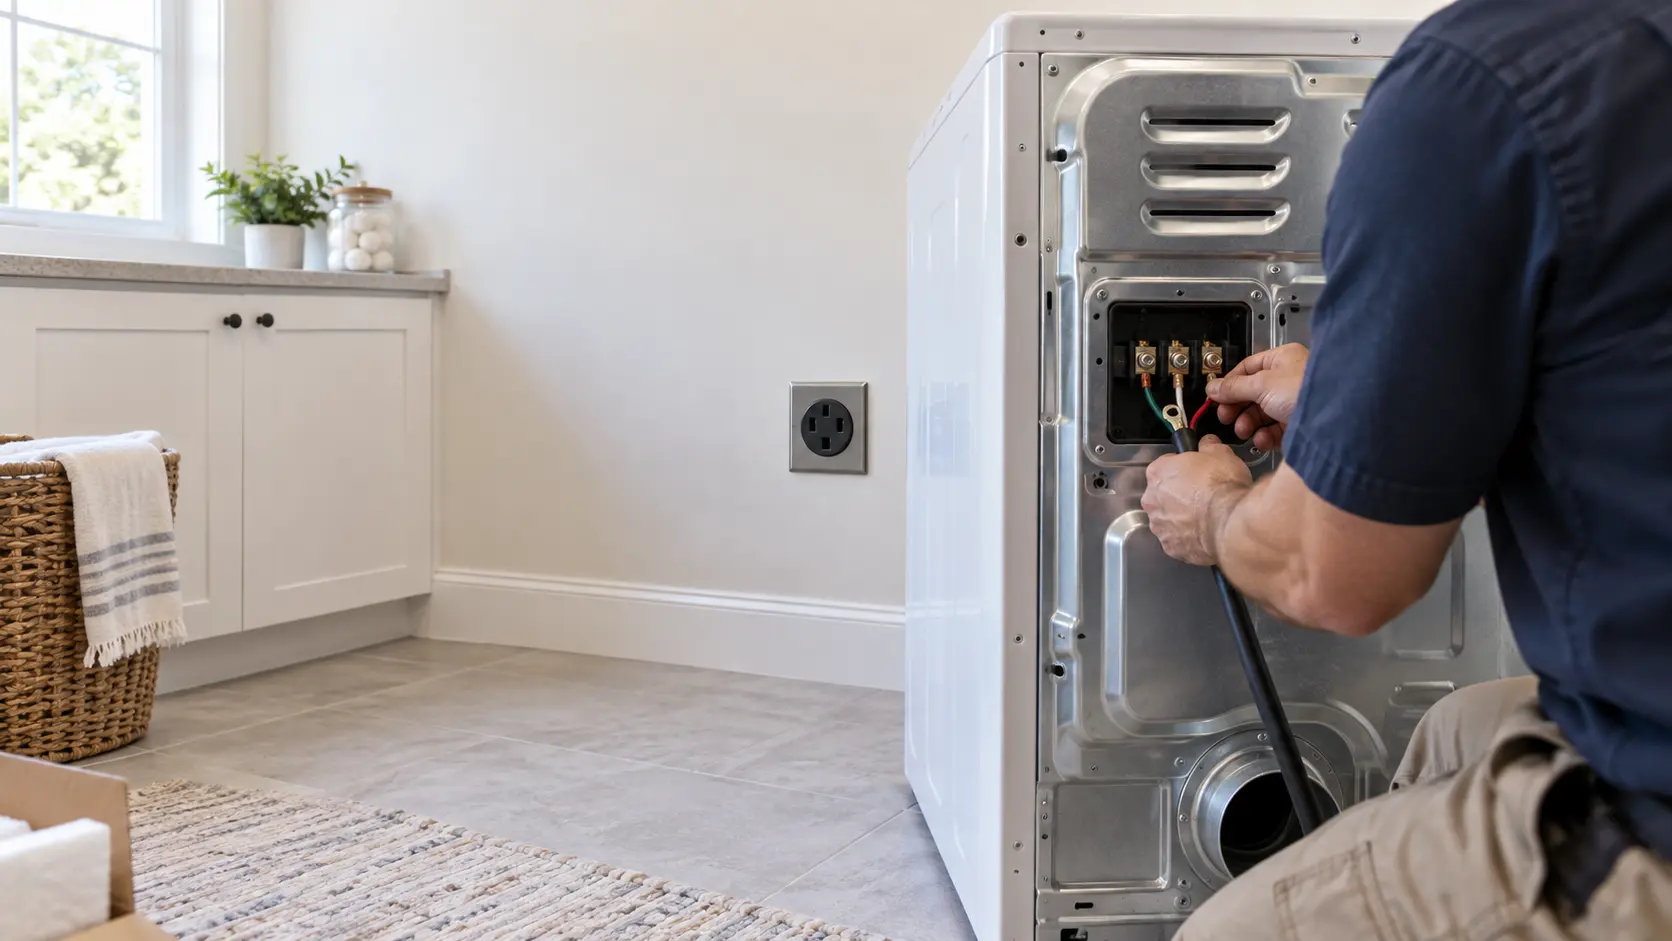
The appliance circuit and outlet come from the installation instructions: cold storage, dish care, washing machines and gas cooking appliances run on grounded 120-volt circuits, usually one per appliance; an electric cooking appliance needs an individual 240-volt circuit of 40 amps or more, and an electric drying machine a 240-volt, 30-amp circuit, both wired four-wire in new construction.
When reading
is not enough.
If the checks in these guides did not settle it, the visit picks up from there, stop by stop.
What installations cost- 01The opening and the hookups, checked first
- 02Connected the way the instructions say
- 03Set in, leveled and secured
- 04A first run with you there
The problems
these answer.
Each has a page of its own, with the causes in the order worth checking.
All 17 problems
Gas Smell After a Hookup: Leave the House, Then Call
6 causes, cheapest first

Igniter Clicking After a Gas Hookup: Air in the Line or a Wet Cap
6 causes, cheapest first

New Appliance Not Level: Rocking Cabinets and Uneven Gaps
6 causes, cheapest first

Door Not Closing Flush After the Install
6 causes, cheapest first

Questions about
gas, power and water at the install.
Which part of a new installation is most often done in a hurry?
What must be ready before a gas or electric appliance is delivered?
What should happen if there is a gas smell right after a hookup?
Why do makers warn against extension cords and adapters?
The other
sections.
Split by what you are trying to find out rather than by which part of the appliance it concerns.
All guides
When a new install goes wrong

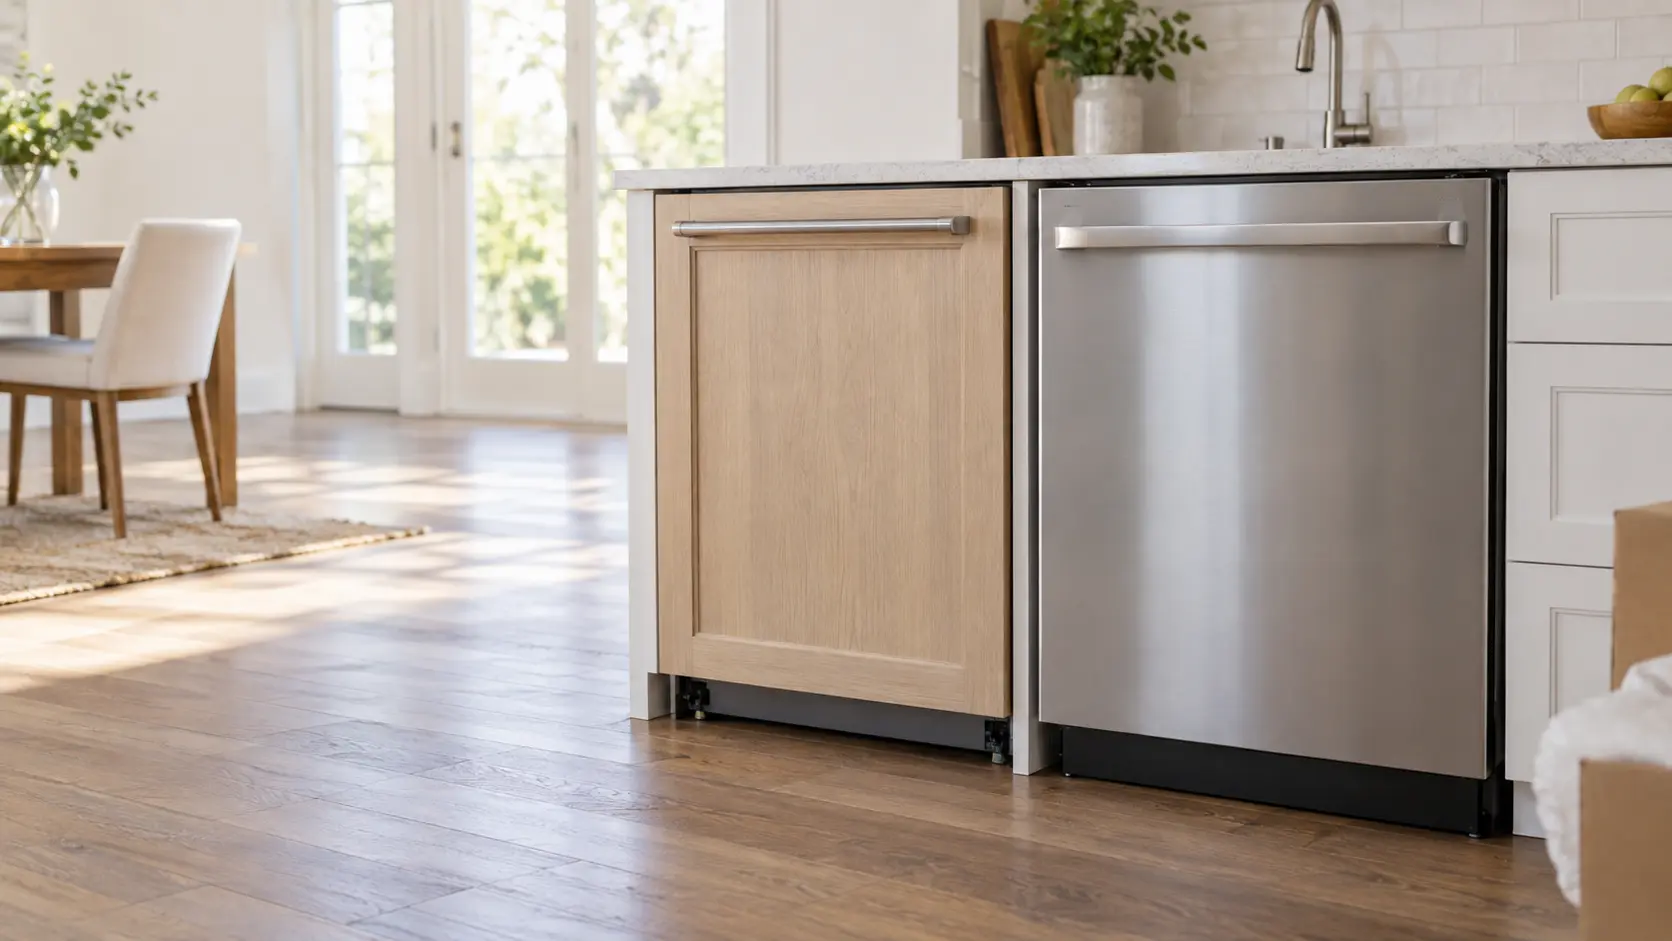

After the install
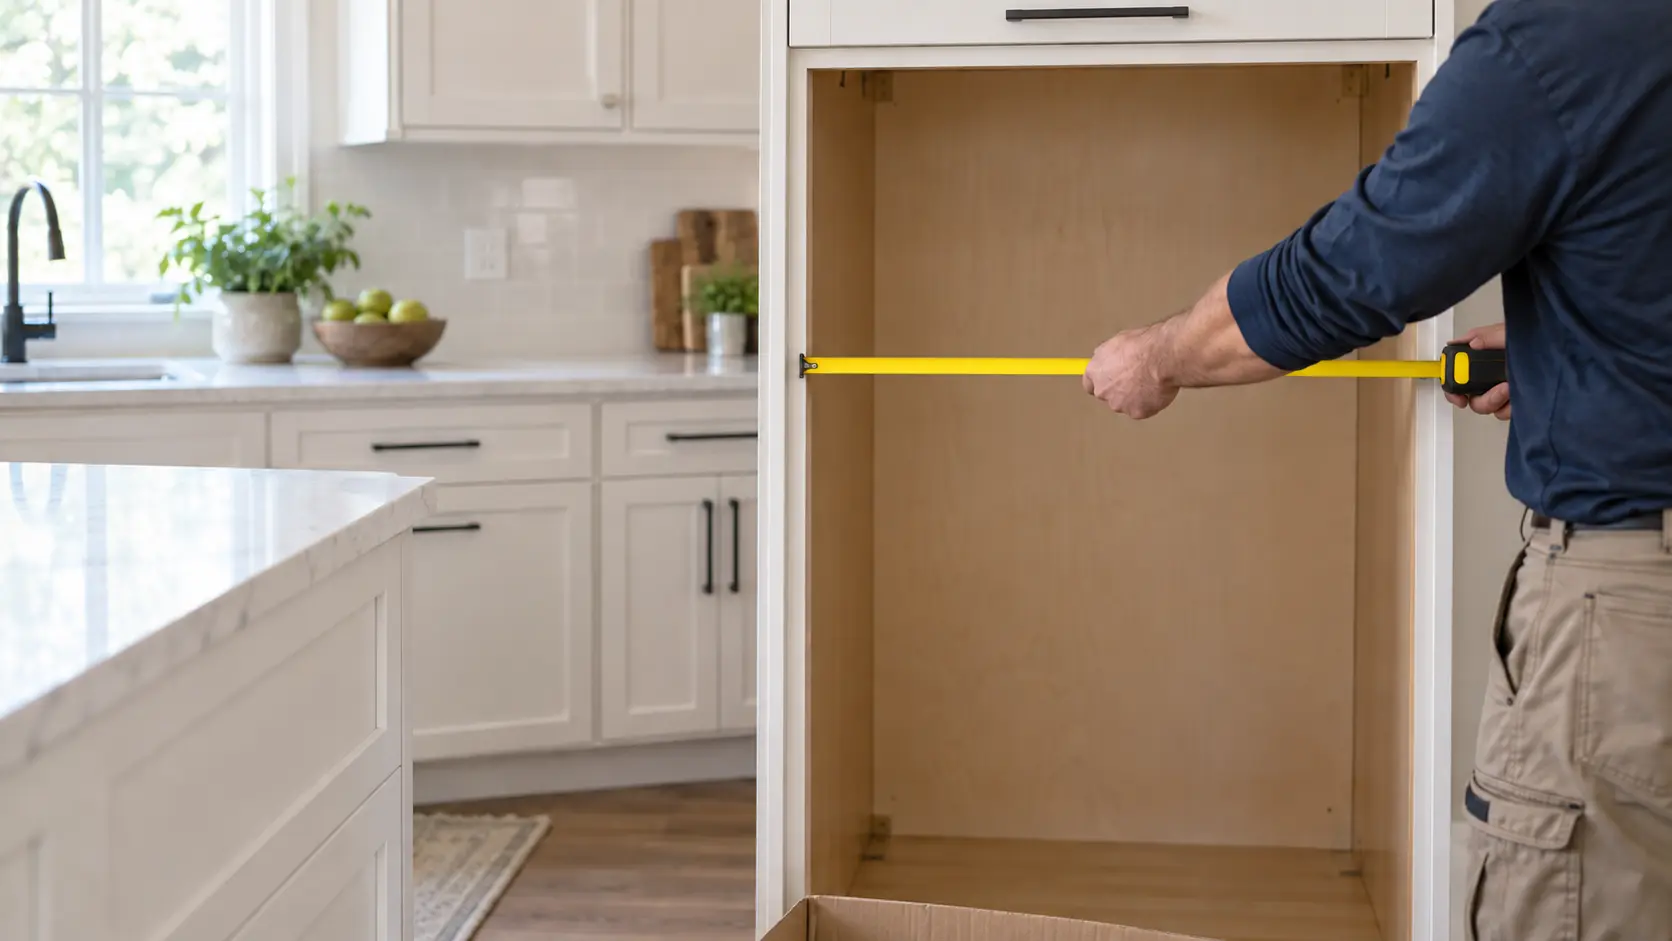
Get the space ready
Start from your question
The four questions most visits start with, each with the guide that answers it.
18 guidesWhere to start Where to startBack to your everyday
Let’s get your appliance working again.
Three short steps online, or one call. Tell us what you are seeing and pick a window that works.