
What a rough-in is, and why it comes first
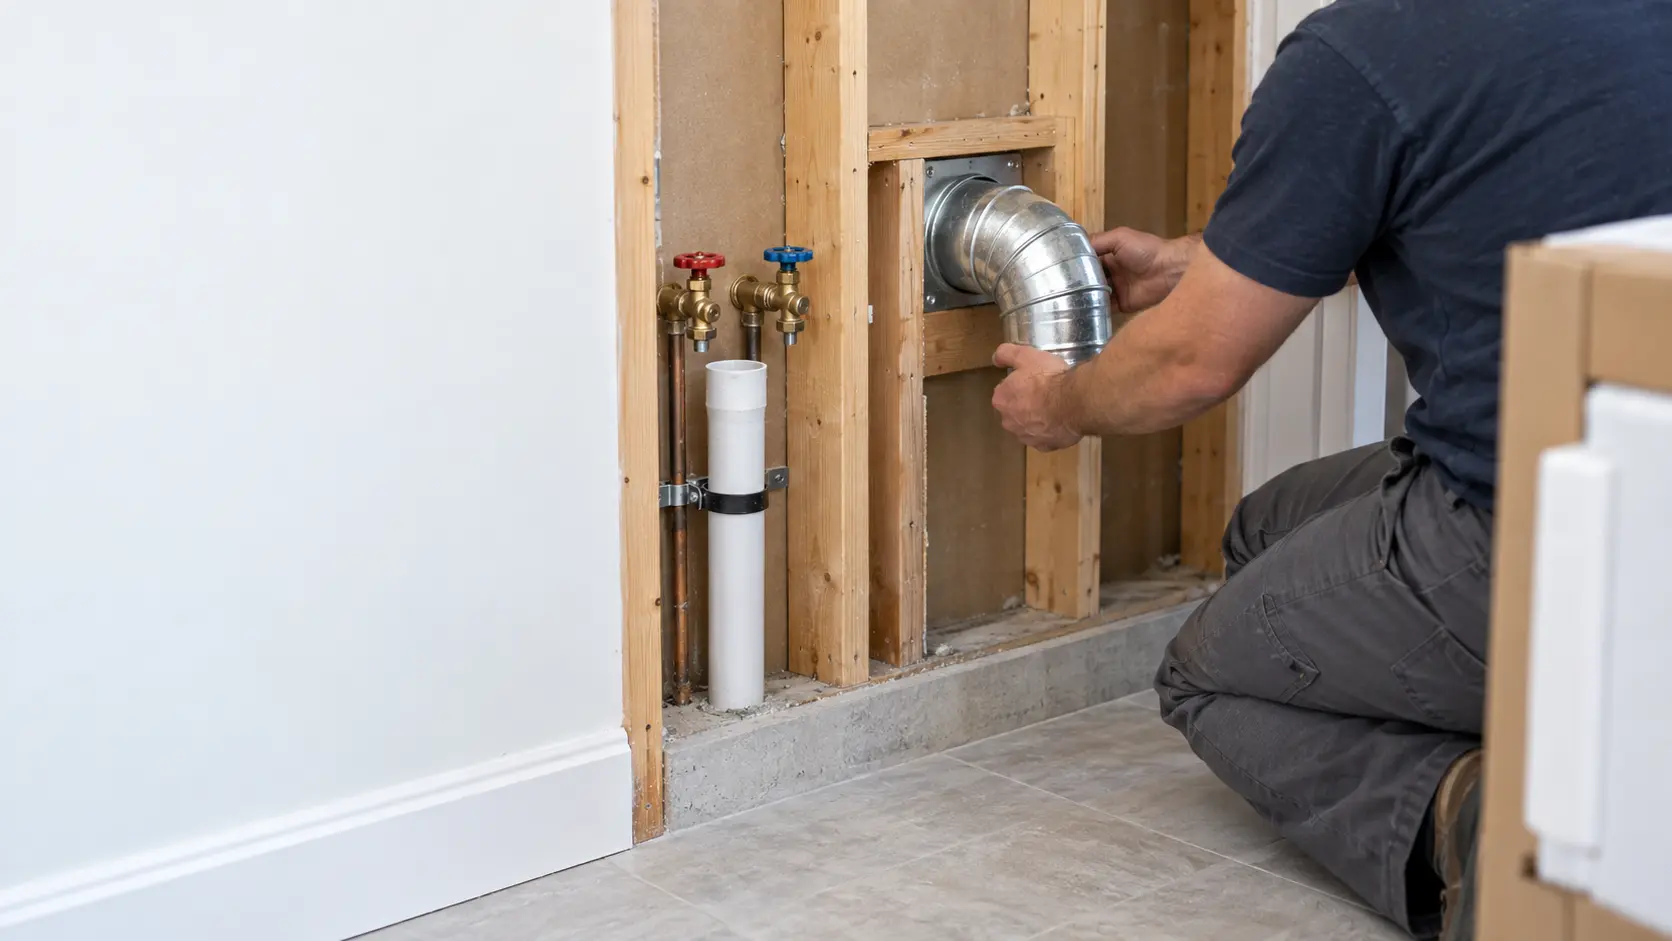
A rough-in is everything behind the finished surfaces that an appliance plugs into: supply pipes and their valves, drain pipes and their fittings, ducts and the openings where they leave the house. The installation instructions show where each one should come out of the wall or floor, usually as shaded zones on a drawing, and the appliance is designed so that its own hoses and connectors reach those zones and no farther.
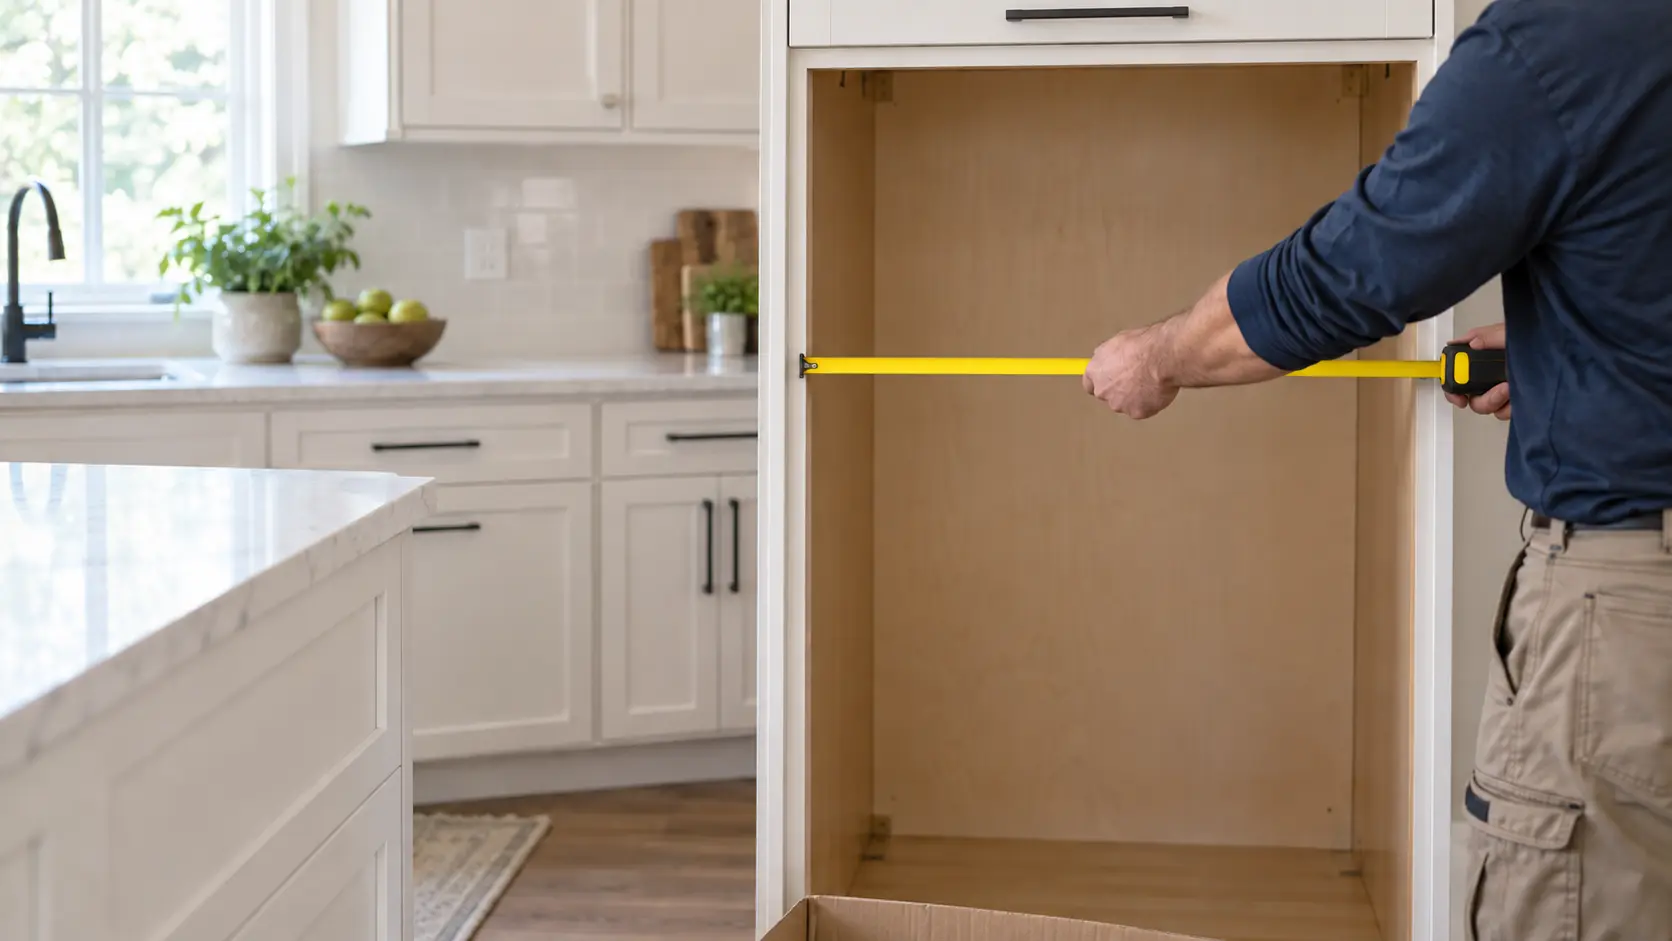
Getting the appliance rough-in right is mostly a matter of timing. Once drywall, tile and cabinets are in, moving a drain six inches means opening finished work. Walking the rough-in with the installation instructions in hand, before insulation goes up, catches most problems while they are still inexpensive.
One drawing per appliance on site
Print the rough-in page for every appliance and tape it near its future opening. Plumbers, electricians and duct installers work in sequence, and each one placing their part from the same sheet is how the water stub, the receptacle and the drain end up where the appliance expects them.
Water supply stubs for dish care, cold storage and laundry
GE's built-in dish care machines take hot water at 120 to 140°F and 20 to 120 psi through 3/8-inch copper tubing or a braided hose, from a shutoff in an accessible place such as under the sink. The line enters through a 1 1/2-inch hole in the zone the drawing shows and must reach at least 19 inches forward from the rear wall so it can be connected at the front. GE also asks for the line to be flushed before connection to clear out debris.
Cold storage lines are more particular than people expect. True's built-ins with ice makers want a cold potable supply only, of 1/4-inch PEX with 30 to 100 psi, and say copper is not recommended. The tubing named on the spec sheet, not a plumber's habit, is what should be roughed in. Laundry is simpler: Whirlpool wants hot and cold valves within 4 feet of the machine's fill valves, at 20 to 100 psi, with the water heater at 120°F.
- Dish care: hot supply, shutoff under the sink, line stubbed to reach 19 inches forward
- Ice maker: cold potable water only, in the tubing the maker specifies, purged before connection
- Laundry: hot and cold valves within 4 feet, both open for every cycle
- Every appliance: its own shutoff, reachable without moving the appliance
Source: GE Appliances — Installation instructions, built-in dishwasher — Hot water 120–140°F at 20–120 psi via 3/8 in. copper or braided hose; accessible shutoff; 1 1/2 in. holes; line 19 in. forward; flush the line; drain hose 12 ft maximum, 72 in. maximum height; air gap if code requires or the tee is under 18 in.; remove the disposer plug; True Residential — 42/48 built-in installation manual — Potable cold water only, 1/4 in. PEX, copper not recommended, 30–100 psi; purge the line before connection; Whirlpool — Electrical supply needed for a washer — Hot and cold faucets within 4 feet of the fill valves at 20–100 psi; water heater at 120°F

Drains: the air gap, the high loop and the standpipe
A dish care drain has limits on distance and height. GE keeps the drain hose to 12 feet or less and the connection no higher than 72 inches above the bottom of the machine. If local code calls for an air gap, or the waste tee or disposer inlet is less than 18 inches above the floor, an air gap is required; otherwise a high drain loop, fastened to the cabinet with the supplied hanger, is acceptable. Whirlpool sets its own high-loop minimum at 20 inches from the floor.
A laundry machine needs a standpipe or laundry tub. Whirlpool wants the top of the standpipe at least 39 inches above the floor, since below that water flows out of the tub by gravity, and the drain hose reaching more than 4.5 inches inside it without being sealed in with tape. LG fixes the hose in its elbow bracket within 4 inches of its end and straps it in place so it cannot jump out.
The knockout plug in a new disposer
A new disposer comes with a plug sealing its dish care inlet. Whirlpool and GE both flag it: the plug must be knocked in and removed before the drain hose is clamped on, or the machine cannot drain at all. It is one of the most common reasons a newly installed machine leaves water in the tub.
Source: GE Appliances — Installation instructions, built-in dishwasher — Hot water 120–140°F at 20–120 psi via 3/8 in. copper or braided hose; accessible shutoff; 1 1/2 in. holes; line 19 in. forward; flush the line; drain hose 12 ft maximum, 72 in. maximum height; air gap if code requires or the tee is under 18 in.; remove the disposer plug; Whirlpool — Checking the drain loop height — High loop at least 20 inches from the floor, or use an air gap; Whirlpool — Connecting dishwasher drain to garbage disposal — Knock the plug into the disposer and remove it before attaching the drain hose; Whirlpool — Front load washer installation checklist — Standpipe top at least 39 inches from the floor; hose more than 4.5 inches into the pipe; not sealed with tape; LG Electronics — Washer owner's manual (WM4080) — Elbow bracket within 4 inches of the hose end; secure with the tie strap
Laundry exhaust: where the wall opening goes
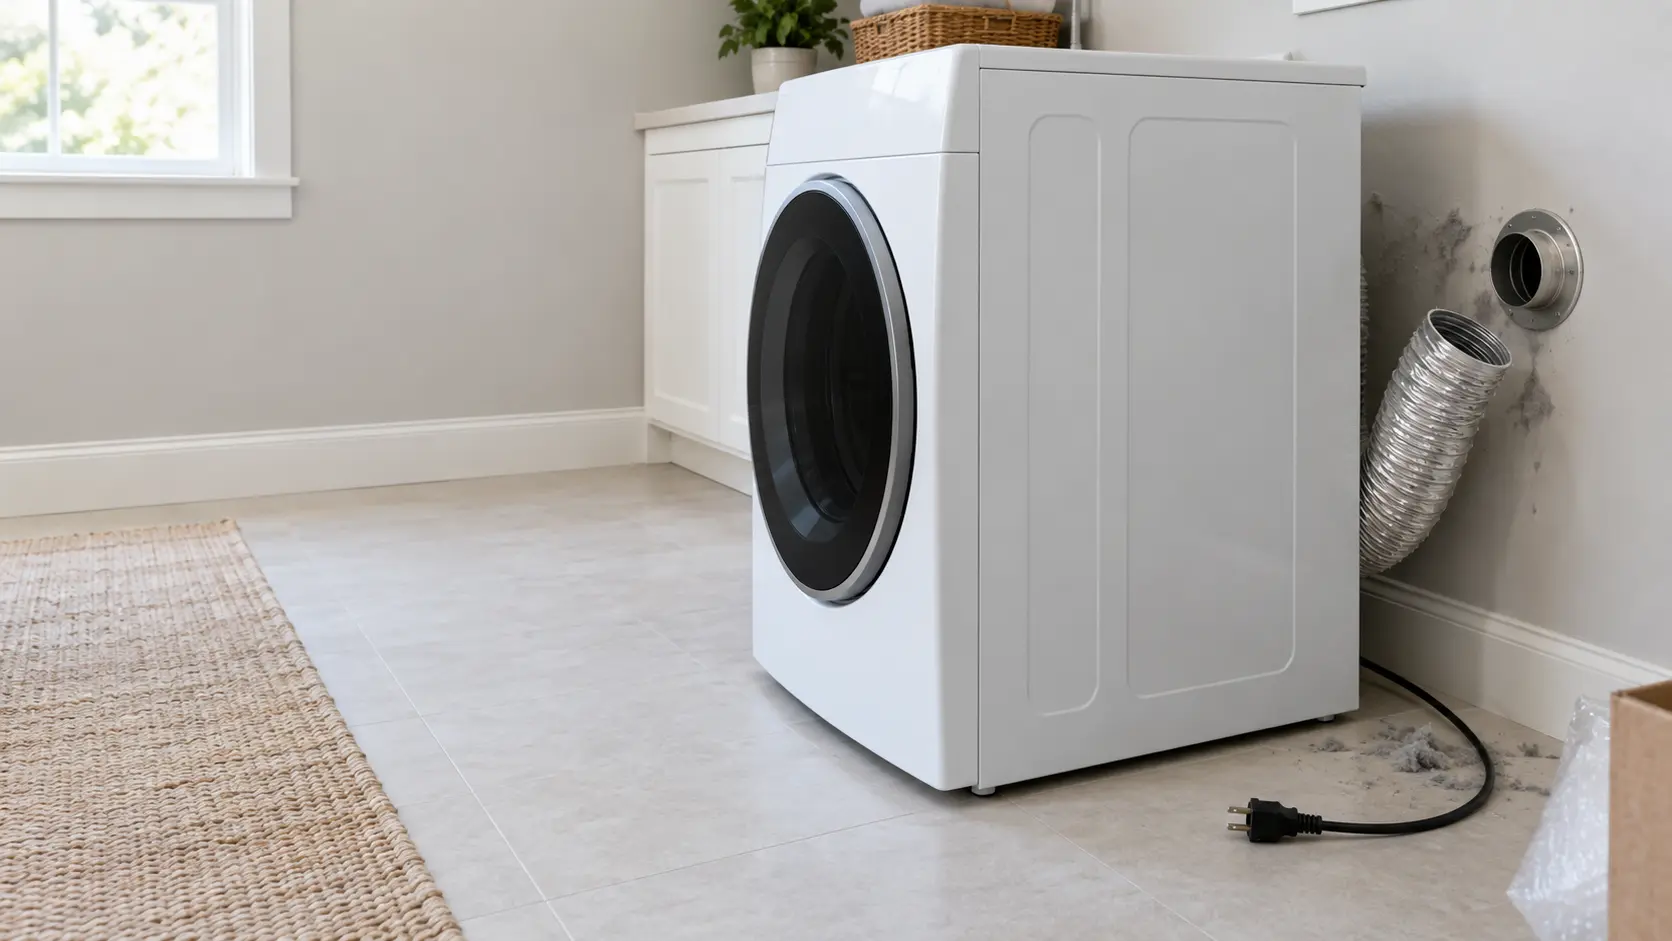
The exhaust run is mostly decided by where the hole in the outside wall is cut. GE's instructions call for 4-inch rigid metal duct to the outdoors, no plastic or foil, and no screen in or over the duct. Its chart for normal-vent models allows 90 feet of rigid metal with no elbows, 60 feet with one and 45 with two, less with some hood styles, while long-vent models reach up to 200 feet.
Elbows count against that length. GE treats any bend sharper than 45 degrees as a 90-degree elbow, two 45-degree bends as one 90, and a side-exhaust conversion as one extra elbow, and counts the transition duct in the total. Whirlpool wants the exhaust hood at least 12 inches above the ground and anything that could block it.
- Wall opening placed for the straightest, shortest run to the outside
- 4-inch rigid metal duct, with every elbow counted against the chart
- No screen at the hood, and the hood at least 12 inches above grade
- Room behind the machine for the transition duct without crushing it
Source: GE Appliances — Dryer owner's manual and installation instructions (49-3000386) — 4 in. rigid metal to the outdoors, no screen; 90/60/45 ft for 0/1/2 elbows on normal-vent models, up to 200 ft on long-vent; elbow counting rules including the transition duct; Whirlpool — How to check your dryer venting system — Exhaust hood at least 12 inches from the ground or obstructions
Hood ducting and make-up air
A ducted hood is only as good as its duct. Vent-A-Hood's instructions require smooth galvanized metal duct to the outdoors, never flexible or corrugated, never reduced below the blower's size, with a wall louver or roof jack on every run. Its single-blower models need 6-inch round duct or its 28-square-inch equivalent and its dual-blower models 8-inch round. It counts each 90-degree elbow as 5 feet of duct and adds an inch of diameter for every 10 feet beyond 20.
An over-the-range microwave with an exhaust fan follows its own figures. Sharp's connects to standard 3 1/4 by 10 inch rectangular duct, or 6-inch round through an adapter, with a total equivalent length under 140 feet; a rear exhaust must line up with the space between wall studs, which is far easier to plan before the wall is closed.
Make-up air in a tight house
A strong hood pulls air out of the house, and that air has to come from somewhere. Vent-A-Hood cites the ASHRAE residential ventilation standard, which limits total exhaust fans to 15 CFM per 100 square feet of living space unless a backdraft test is done or make-up air is provided, and warns that fuel-burning equipment needs enough air to vent properly. Ask an HVAC contractor about make-up air before choosing a large blower.
Source: Vent-A-Hood — Wall mount hood installation instructions — Smooth galvanized metal duct to the outdoors, never reduced or flexible; 6 in. round single blower, 8 in. dual; 90° elbow = 5 ft; +1 in. diameter per 10 ft over 20 ft; ASHRAE 62.2 limit of 15 CFM per 100 sq ft without a backdraft test or make-up air; Sharp — Over-the-range microwave installation instructions (R-1881LSY) — 3 1/4 x 10 in. rectangular or 6 in. round duct; total equivalent length under 140 ft; rear exhaust aligned between studs