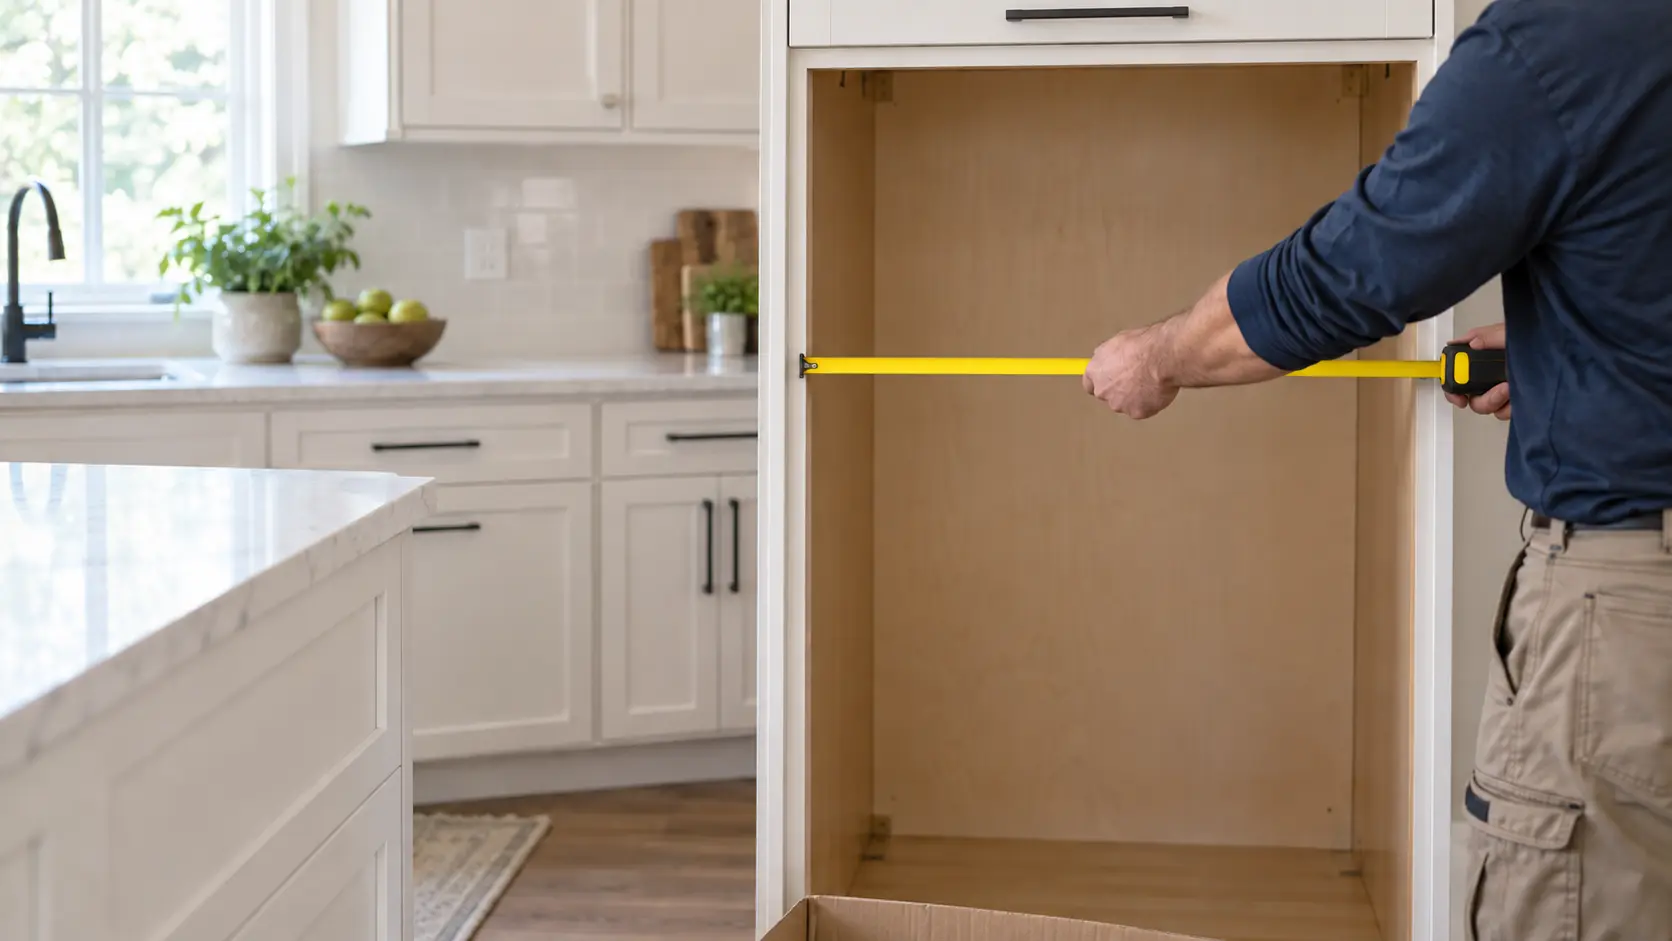
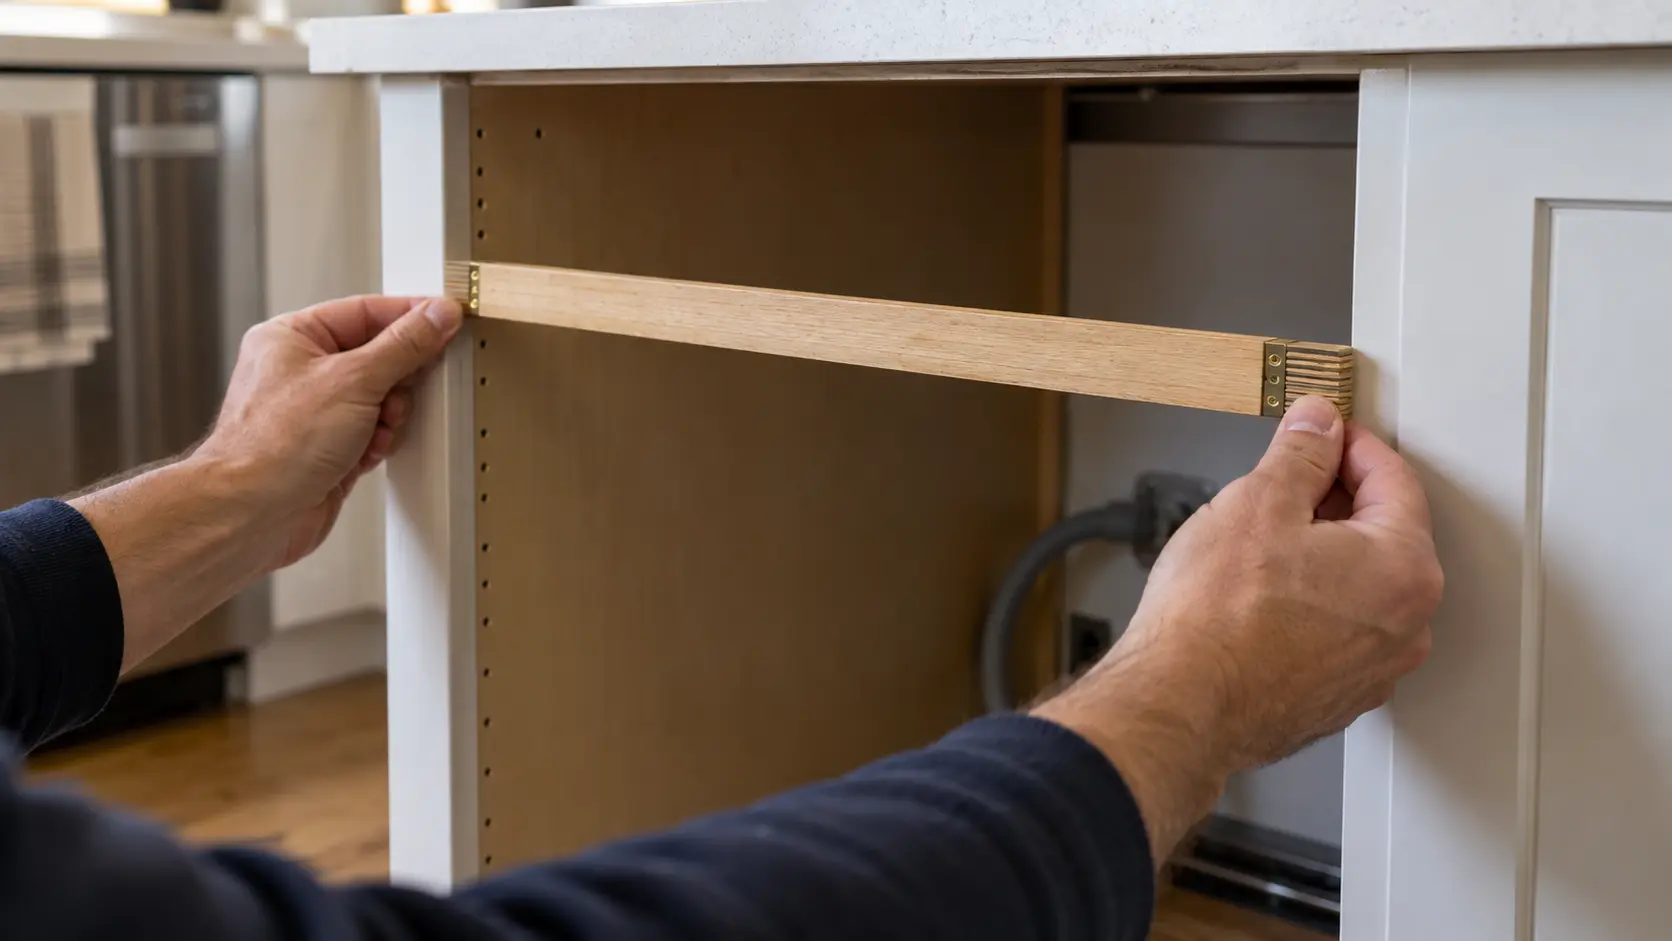

The opening, the path in and the rough-ins
Get the space ready
guides.
Everything worth having ready before delivery: an opening that matches the maker's cutout drawing, a clear path through doors, stairs and floors, and the water, drain and exhaust rough-ins the new appliance will need.
Mon–Sat, 8am–8pm
- Three guides
- Read before you book
- Says where to stop
Book a visit
Three short steps, about a minute.
or call (844) 638-8309
Loading appointment form…
The appointment form couldn’t load. Please try again.
Get the space ready,
guide by guide.
Most of what decides whether an installation goes smoothly is settled before the appliance arrives. The opening has to match the installation drawing, the route from the truck has to be wide enough and strong enough, and the water, drain and exhaust connections have to be waiting in the right places. This section is about getting the space ready.
All 18 guides
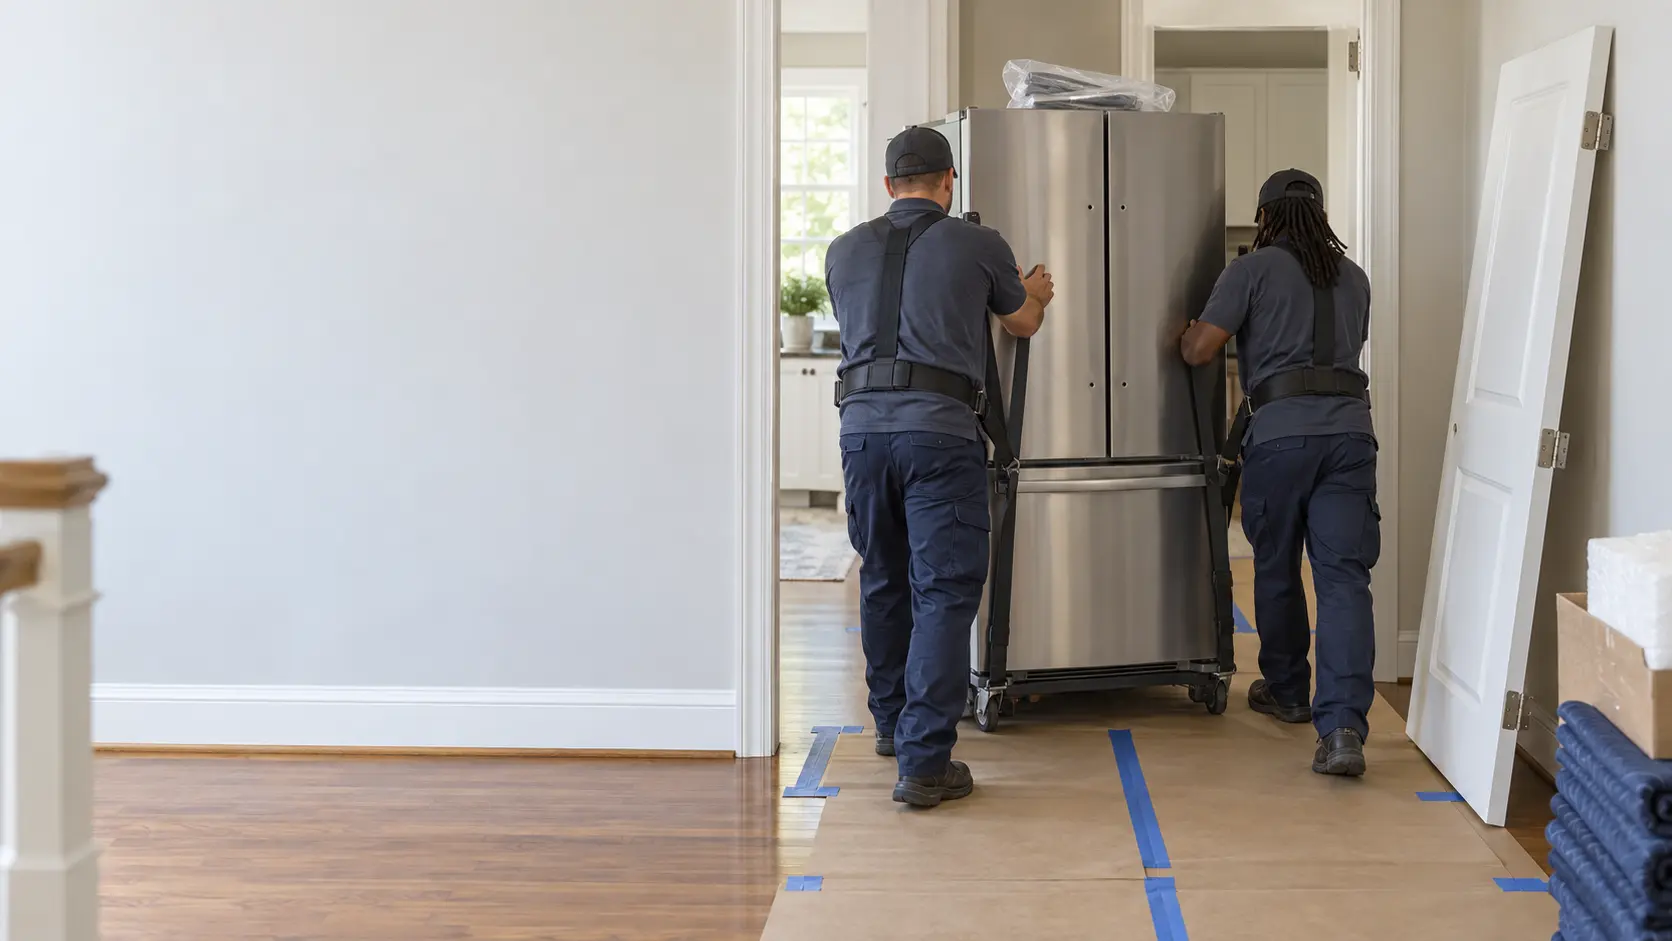
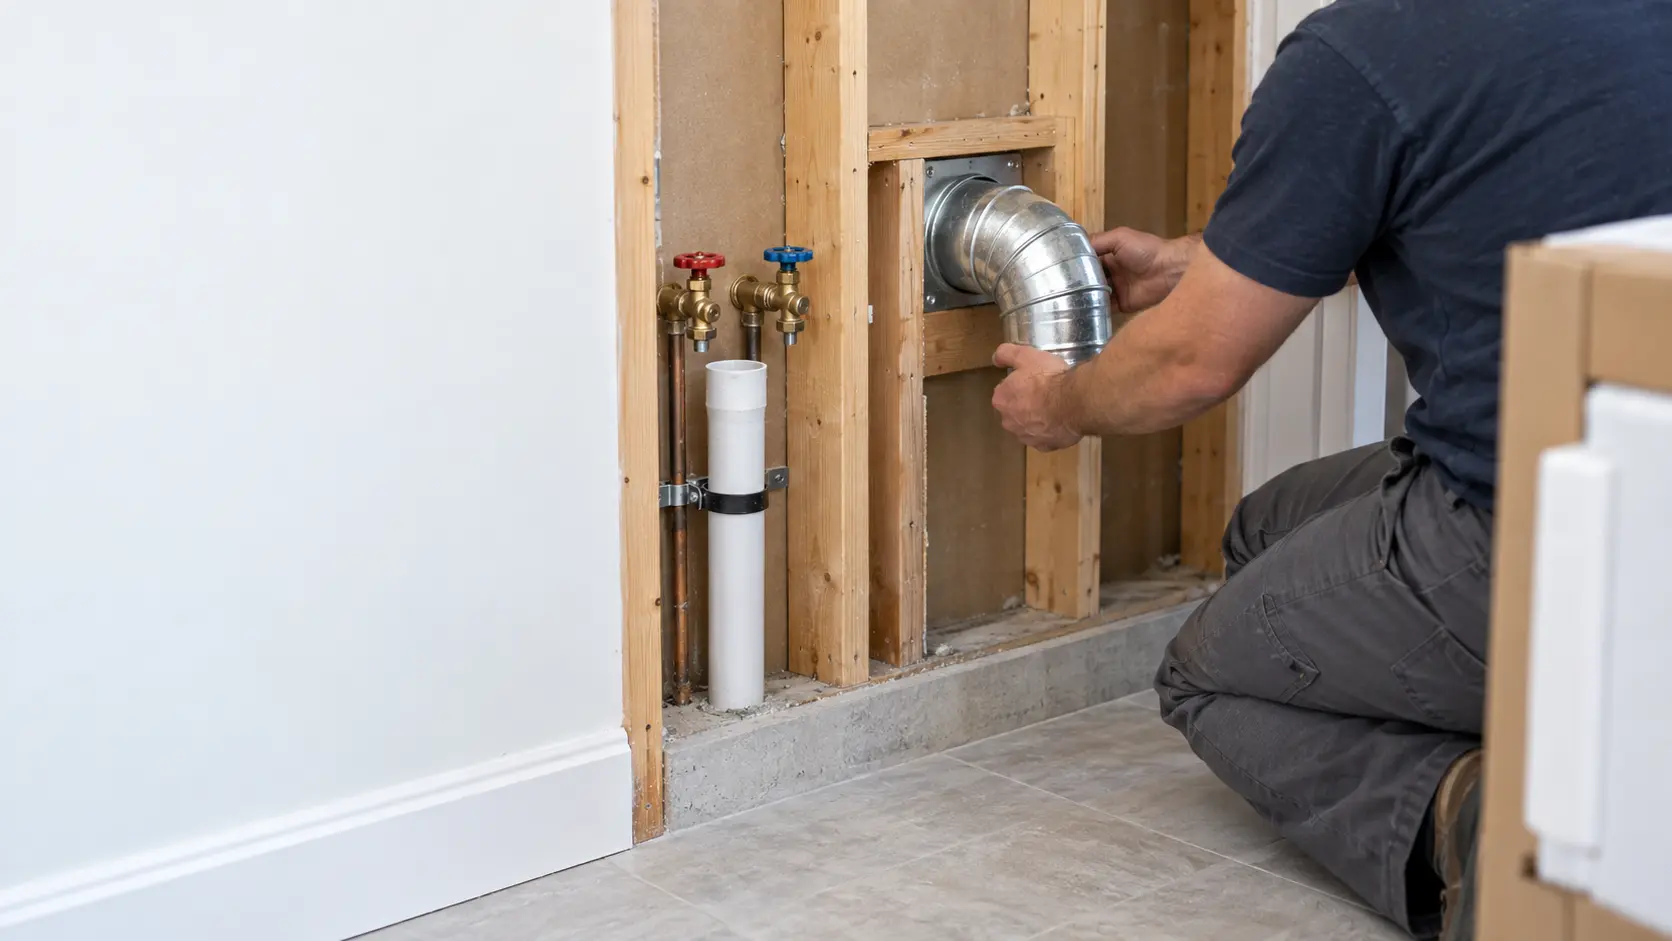
The opening, the path in and the rough-ins.
The guides take those three in turn. The first explains how to read a spec sheet: the difference between product size and opening size, flush and proud built-in fits, and the clearances above a cooking surface. The second walks the delivery path from the curb to the opening, including floor strength, inspection on arrival and how the old appliance should leave. The third covers the rough-in: supply stubs, drain heights, air gaps, standpipes, laundry exhaust runs and hood ducts.
The figures come from the makers' installation instructions, from GE, Whirlpool, True, Sharp, LG and Vent-A-Hood among them, and from EPA on disposing of old cold storage units. Every guide places its sources next to the numbers they back, and each figure applies to the model it was taken from, so check your own model's instructions before building to it.
Owners, designers and contractors planning a remodel will get the most from this section, ideally while walls and cabinets are still open. Each guide ends by saying which preparation an owner can do, such as measuring, clearing a route or marking zones, and which belongs to the plumber, electrician, duct installer or appliance installer.
Not sure where to start?The short answerCutout dimensions and the spec sheet: reading the numbers before cabinets are built
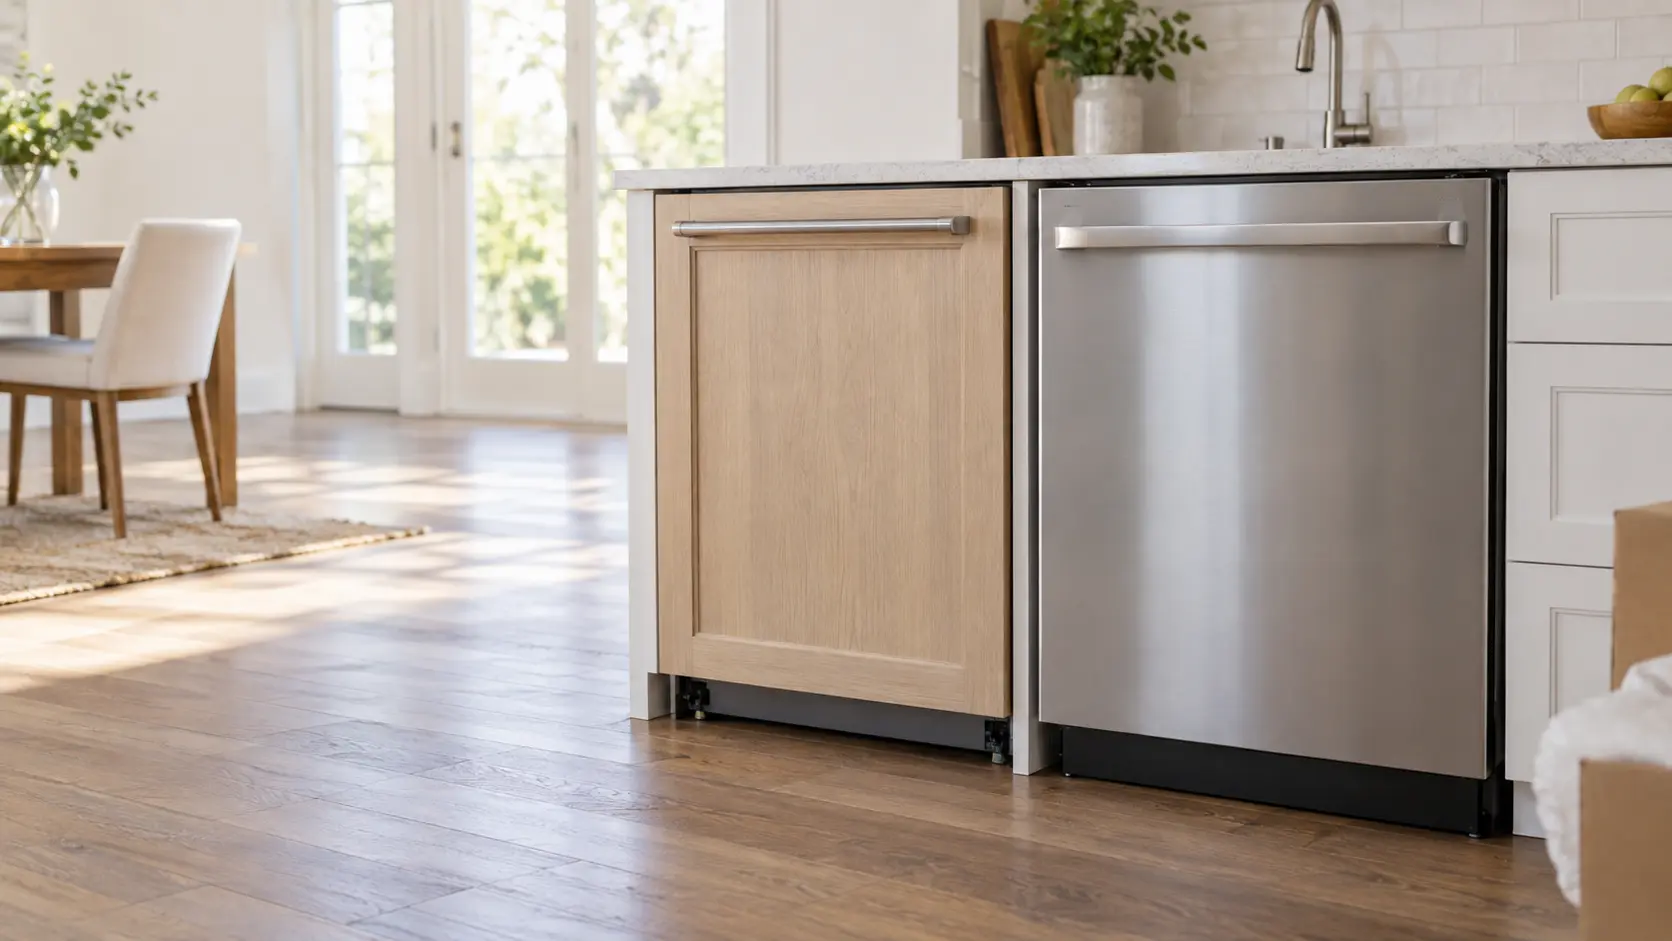
Appliance cutout dimensions are the opening sizes printed in the installation instructions, not the product's own size: a 30-inch freestanding cooking appliance measuring 29 7/8 inches wide needs a 30-inch opening, a dish care machine a 24 by 24 by about 34 1/2 inch space, and a built-in column a different opening for flush or proud fitting, plus the clearances above and beside each.
The short answerThe delivery path: doors, stairs and floors between the truck and the opening
The appliance delivery path is every doorway, hallway turn, stair and floor between the truck and the final opening.
The short answerWater, drain and exhaust rough-ins: what must be in the wall before the appliance
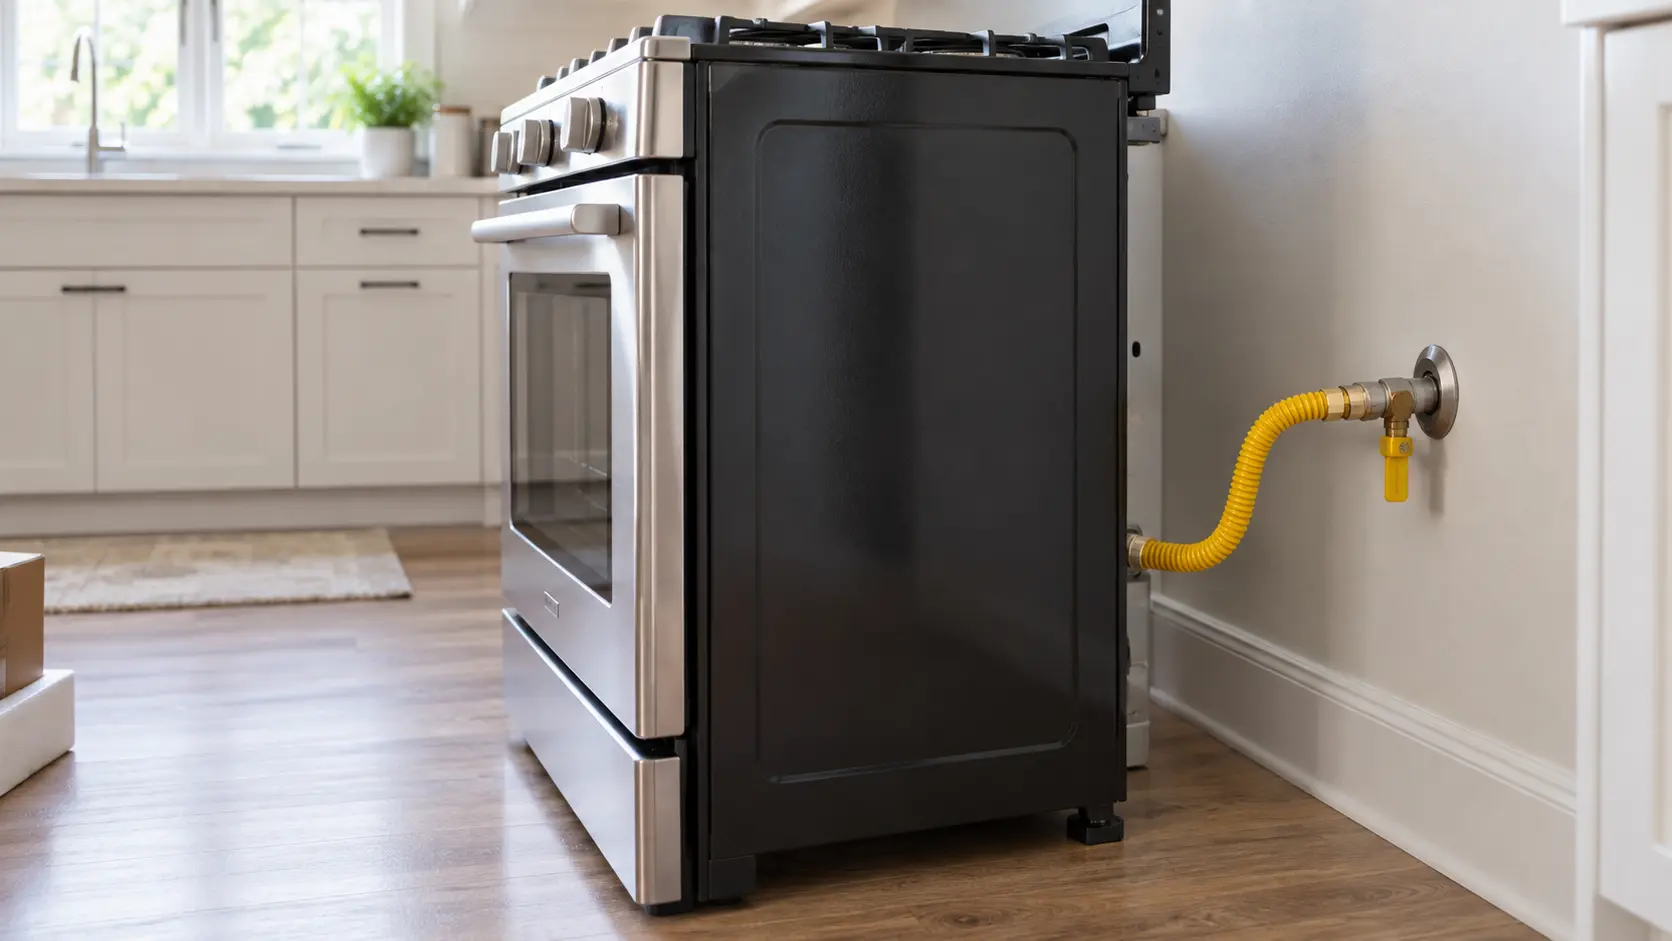
An appliance rough-in is the plumbing and ducting set before installation: a hot water stub and 1 1/2-inch cabinet holes for dish care, a cold line in the maker's tubing for an ice maker, laundry valves within 4 feet and a standpipe at least 39 inches high, a 4-inch rigid metal laundry exhaust within the length chart, and a full-size metal duct to the outside for a hood.
When reading
is not enough.
If the checks in these guides did not settle it, the visit picks up from there, stop by stop.
What installations cost- 01The opening and the hookups, checked first
- 02Connected the way the instructions say
- 03Set in, leveled and secured
- 04A first run with you there
The problems
these answer.
Each has a page of its own, with the causes in the order worth checking.
All 17 problems
Unit Too Big for the Opening: Cutout, Depth and the Delivery Path
6 causes, cheapest first

Door Not Closing Flush After the Install
6 causes, cheapest first

New Appliance Not Level: Rocking Cabinets and Uneven Gaps
6 causes, cheapest first

Drain Backing Up After an Install: Plug, Loop and Standpipe
6 causes, cheapest first

Questions about
get the space ready.
When should appliance installation planning start in a remodel?
Which document gives the real opening size?
What stops a delivery most often?
Can the old appliance's connections be reused for the new one?
The other
sections.
Split by what you are trying to find out rather than by which part of the appliance it concerns.
All guides
When a new install goes wrong


After the install
Gas, power and water at the install
Start from your question
The four questions most visits start with, each with the guide that answers it.
18 guidesWhere to start Where to startBack to your everyday
Let’s get your appliance working again.
Three short steps online, or one call. Tell us what you are seeing and pick a window that works.