Why a shortcut surfaces weeks after the install
A test run proves that power reaches the controls and water reaches the tub. It does not prove that the drain can empty against a full sink, that a cord will hold under a heating load, or that a connector will stay tight after a hundred warm-and-cool cycles. That is why install shortcuts rarely show on delivery day and so often show on the tenth load, the first holiday roast or the first time someone leans on an open oven door.
Time pressure is the usual cause. GE puts a built-in dish care installation at one to three hours and adds that a new installation takes longer than a replacement. A job booked as a quick swap that turns out to need a new drain route or a different cord is exactly the job where a step gets skipped.
Source: GE Appliances — Built-in dishwasher installation instructions — Completion time 1 to 3 hours, new installations take longer; an air gap is required below 18 inches or where code requires; the machine must be installable for future removal; square, level, four legs down, drain hose not pinched
Water and drain: the knockout, the loop and the hose height
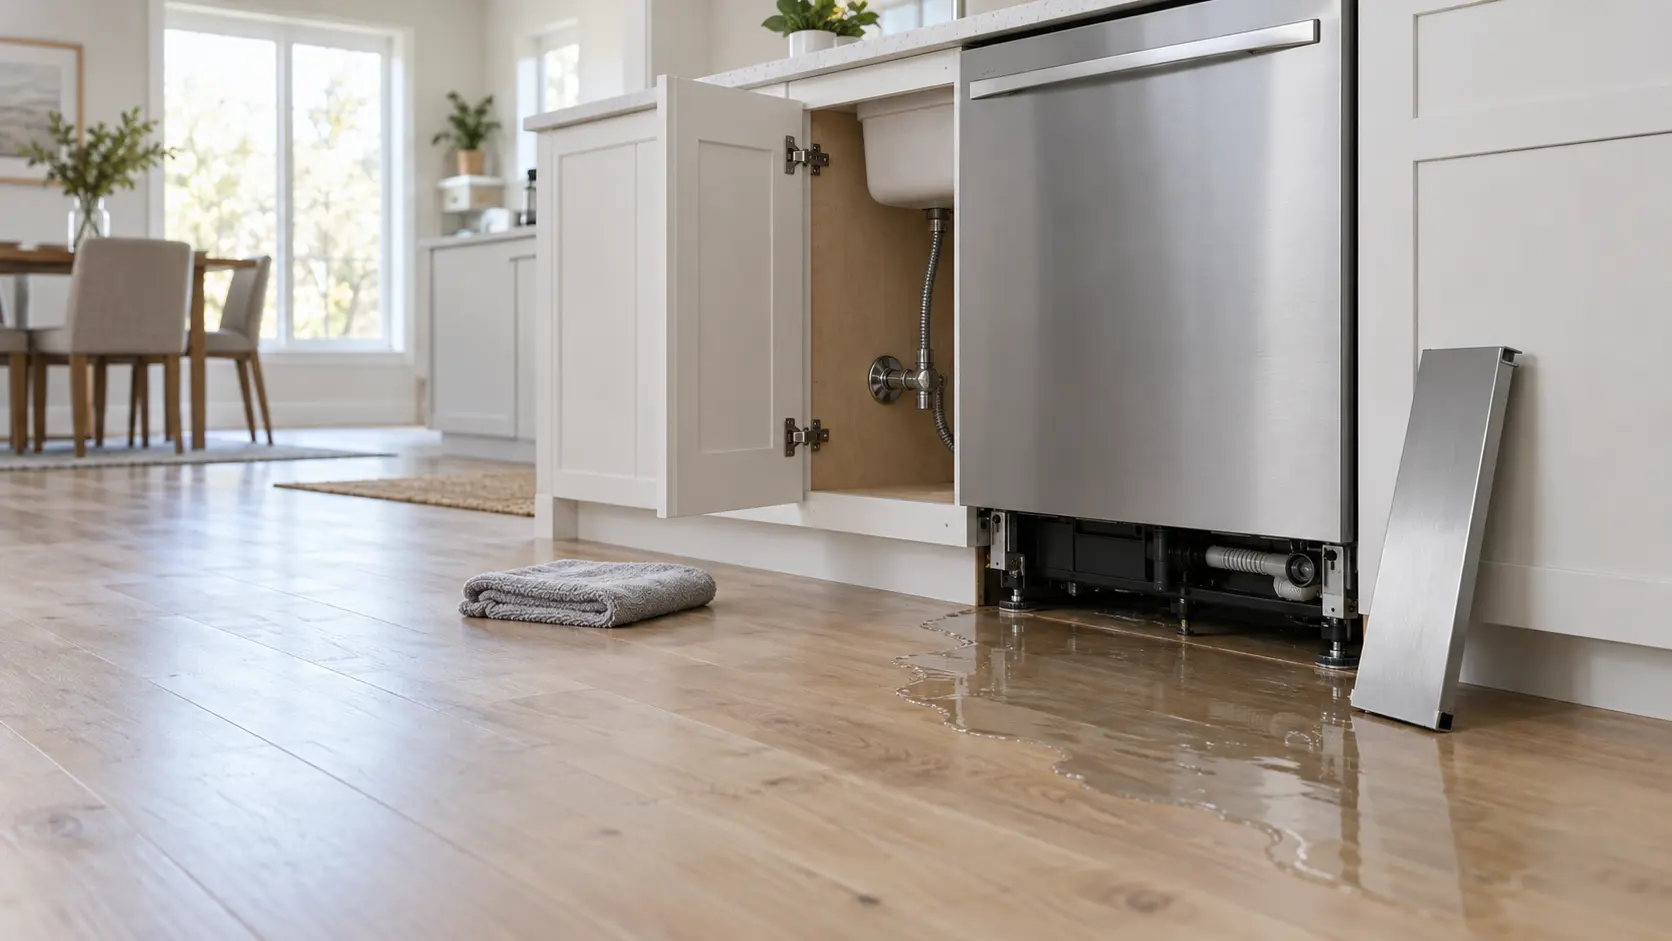
Whirlpool's first question about a newly installed dish care machine that will not drain is whether the knockout plug was removed from the garbage disposer inlet. The plug seals the disposer's side port until someone knocks it out, and a hose clamped over it leaves the machine pumping into a dead end. Its next question concerns the hose route. Many models need a high loop, with the hose climbing to just under the countertop and fastened there before it falls to the disposer or drain line, which stops dirty sink water from siphoning back into the tub.
GE's instructions go further and require an air gap when the waste tee or disposer connection sits less than 18 inches above the floor, or wherever local code asks for one. Laundry has its own numbers. LG wants the end of a front-load drain hose between 24 and 96 inches above the bottom of the machine, preferably no higher than 66 inches, held with the supplied tie strap, because a hose that jumps out of the standpipe floods the room.
- Knockout plug removed from the disposer inlet before the hose goes on
- Drain hose looped high or run through an air gap as the manual and local code require
- Laundry drain hose strapped at a height inside the maker's window
- Cold storage fed from the cold line only, at 20 to 120 psi, never the hot line
The pencil test for a knockout plug
The plug is recessed inside the disposer inlet, so it cannot be seen from the side. Whirlpool's check: with power off and a bowl under the fitting, loosen the drain hose from the disposer and push a pencil into the inlet. If it slides in about three inches, the plug is gone; if it stops short, the plug is still there.
Source: GE Appliances — Built-in dishwasher installation instructions — Completion time 1 to 3 hours, new installations take longer; an air gap is required below 18 inches or where code requires; the machine must be installable for future removal; square, level, four legs down, drain hose not pinched; Whirlpool Product Help — Not draining, newly installed dishwasher — Remove the disposer knockout plug, checked with a pencil that goes in about 3 inches; route the drain hose in a high loop to prevent siphoning; LG Electronics — Front-load washer owner's manual (WM4080) — Drain hose end 24 to 96 inches above the bottom, best at 66 inches or less, secured with the tie strap; shipping bolts left in cause severe vibration and damage; the power cord is secured with a shipping bolt; GE Appliances — Side by side owner's manual and installation instructions (49-60198) — Do not connect the water line to the hot water line; water pressure must be 20 to 120 psi

Power: old cords, adapters and loose terminal screws
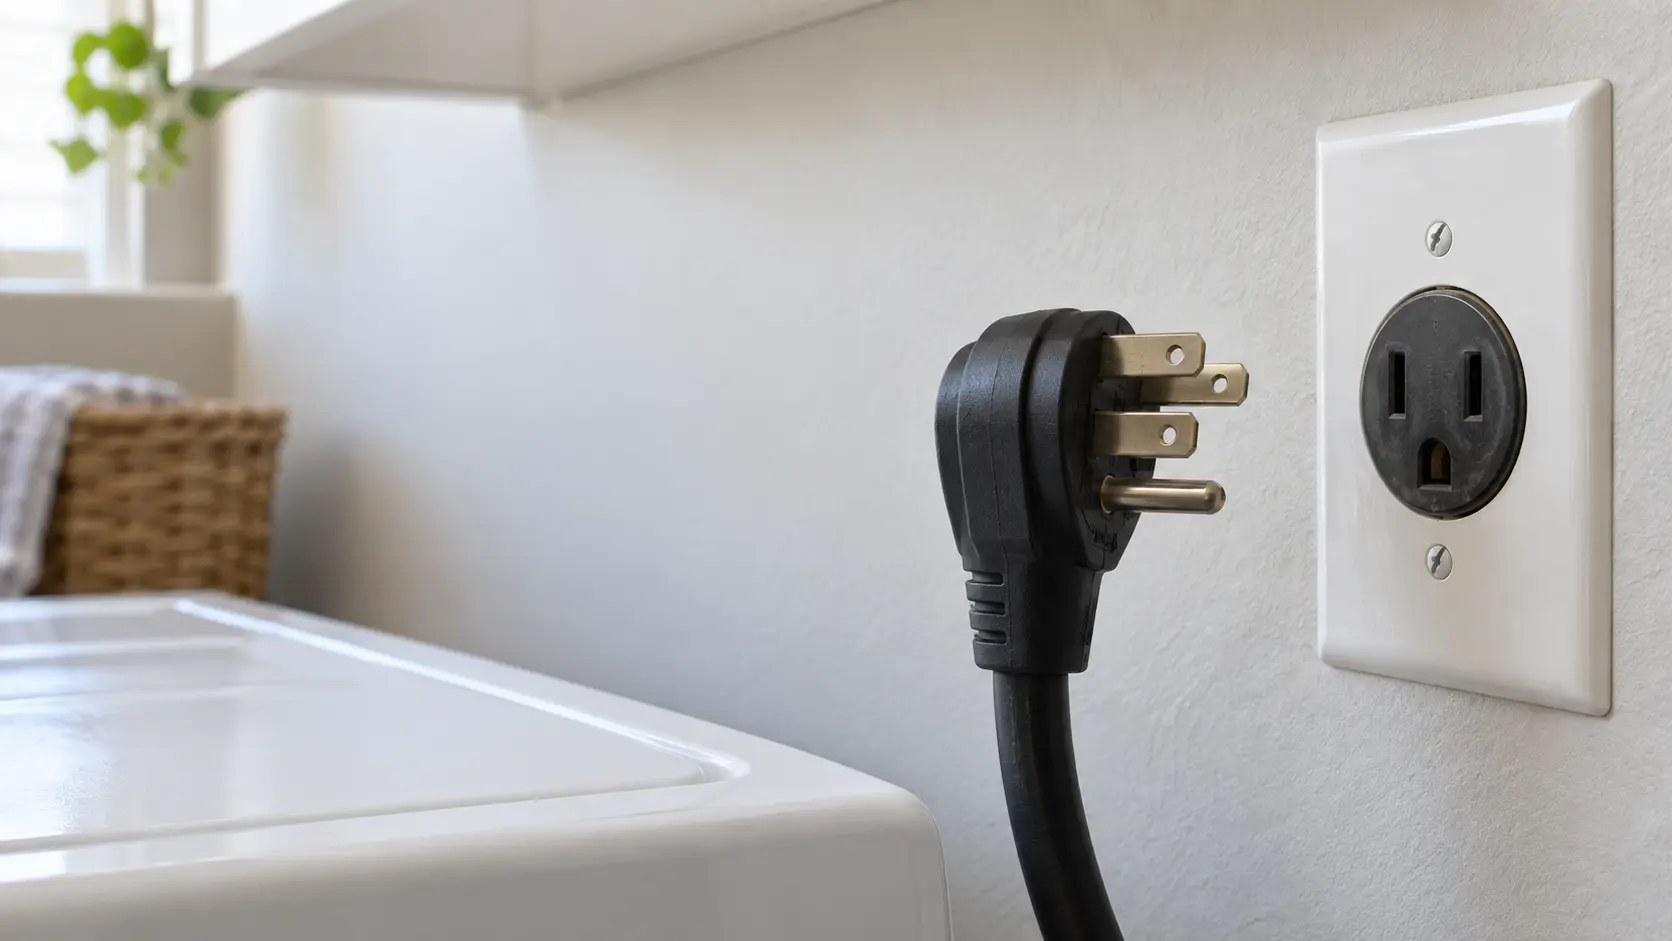
Electric laundry machines usually arrive without a cord. GE lists the power cord kit as not provided with its dryers and asks for a new UL-listed 240-volt, 30-amp cord. GE also cites the National Electrical Code: since the start of 1996, new construction has needed a four-wire hookup, and a three-wire connection is ruled out on any circuit with GFCI protection. Moving the old machine's three-wire cord onto the new one because it happens to fit the wall is a shortcut with a shock risk behind it.
Hard-wired and cord-connected cooking appliances fail in quieter ways. Whirlpool's checklist for a newly installed electric unit that will not work asks whether the strain relief is tightened against the cord, whether every terminal wire sits on the post of matching color, and whether the hex nuts on the terminal block are tight. A loose nut there can run for weeks before it heats, discolors and stops.
- A new cord or a hard-wired connection sized for the machine, never the old one moved across
- Strain relief clamped on the cord where it enters the cabinet
- Terminal wires on posts of matching color, nuts tight
- A grounded three-prong outlet for any unit with a plug, no adapter or extension cord
Why a gas cooking appliance still needs a proper outlet
Igniters, clocks and oven controls run on house current even when the heat comes from gas. GE's gas installation instructions leave it to the owner to replace a two-prong receptacle with a grounded three-prong one, forbid cutting the ground prong, and add that a GFCI is not recommended for the receptacle because it can trip at random and shut the controls down.
Source: GE Appliances — Dryer owner's manual and installation instructions (49-3000386) — Power cord kit not provided; use a new UL-listed 240V 30A cord; the NEC has required 4-wire in new construction since January 1, 1996; 3-wire not permitted on a GFCI-protected circuit; Whirlpool Product Help — Nothing is working, electric unit — After a new installation check that the strain relief is tight, terminal wires match colors and terminal block hex nuts are tight
Gas: the old connector and the untested joint
The flexible connector between the shutoff and the appliance is the part most often reused, because the old one is right there and looks fine. GE's gas instructions rule out putting a used connector on a new unit, warning that old flexible connectors are a source of leaks. They also ask for pipe joint compound or gas-rated thread tape on every male thread and a liquid leak detector at every joint, and they forbid testing with a flame.
Whirlpool's instructions put a manual shutoff on the supply and insist it stays reachable. A connector bunched tightly behind the cabinet does both jobs badly: it kinks, and it can keep the appliance from sliding back onto its anti-tip bracket. Testing the joints and opening fittings belong to whoever made the connection, never to an owner with a wrench.
Source: GE Appliances — Gas range installation instructions (31-2001181) — Never use an old connector; old flexible connectors can cause leaks; seal male threads; leak test with a liquid detector, never a flame; replace two-prong receptacles; GFCI not recommended because of nuisance tripping; Whirlpool — Installation instructions, 30-inch freestanding gas units (W10658550B), archived copy — The supply line must have a manual shutoff valve and access to it must not be blocked; leak testing per the manufacturer's instructions
Transit bolts, brackets and square fit left for later
LG warns that transit bolts left in a front-load laundry machine cause severe vibration and noise that can permanently damage it. It even secures the power cord to the back panel with one of those bolts, so the machine cannot easily be plugged in until they are out. Cooking appliances have the equivalent safety step: GE says a freestanding or slide-in unit must be secured by a properly installed anti-tip bracket, with the rear leveling leg sitting under it, and re-engaged whenever the unit is pulled out.
A dish care machine fitted too tight to come out
GE's instructions say the machine must be installed so it can be removed later for service. Wires and the water line pinned under the base, a drain hose crushed against the next cabinet or screws driven into a stone countertop all break that rule. GE's own checklist asks for the tub to be square and level at top and bottom, all four legs on the floor and the drain hose free.
Source: LG Electronics — Front-load washer owner's manual (WM4080) — Drain hose end 24 to 96 inches above the bottom, best at 66 inches or less, secured with the tie strap; shipping bolts left in cause severe vibration and damage; the power cord is secured with a shipping bolt; GE Appliances — Electric free-standing ranges owner's manual (49-2000951) — The unit must be secured by a properly installed anti-tip bracket with the rear leveling leg under it, and re-engaged if moved