
What the choice actually is
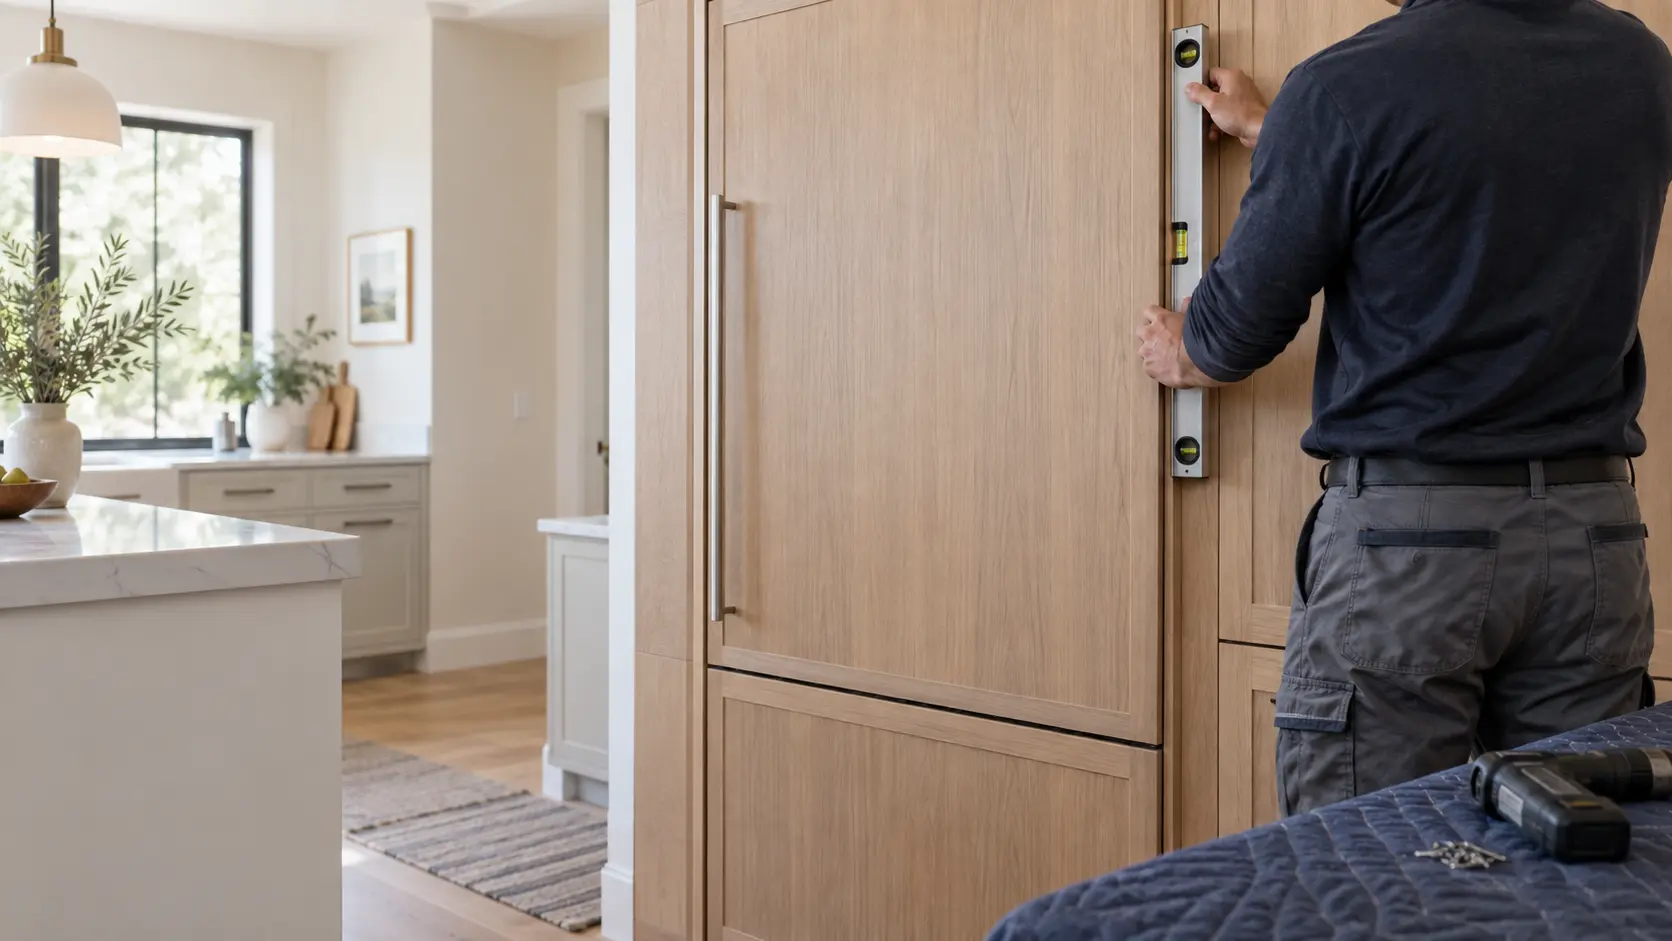
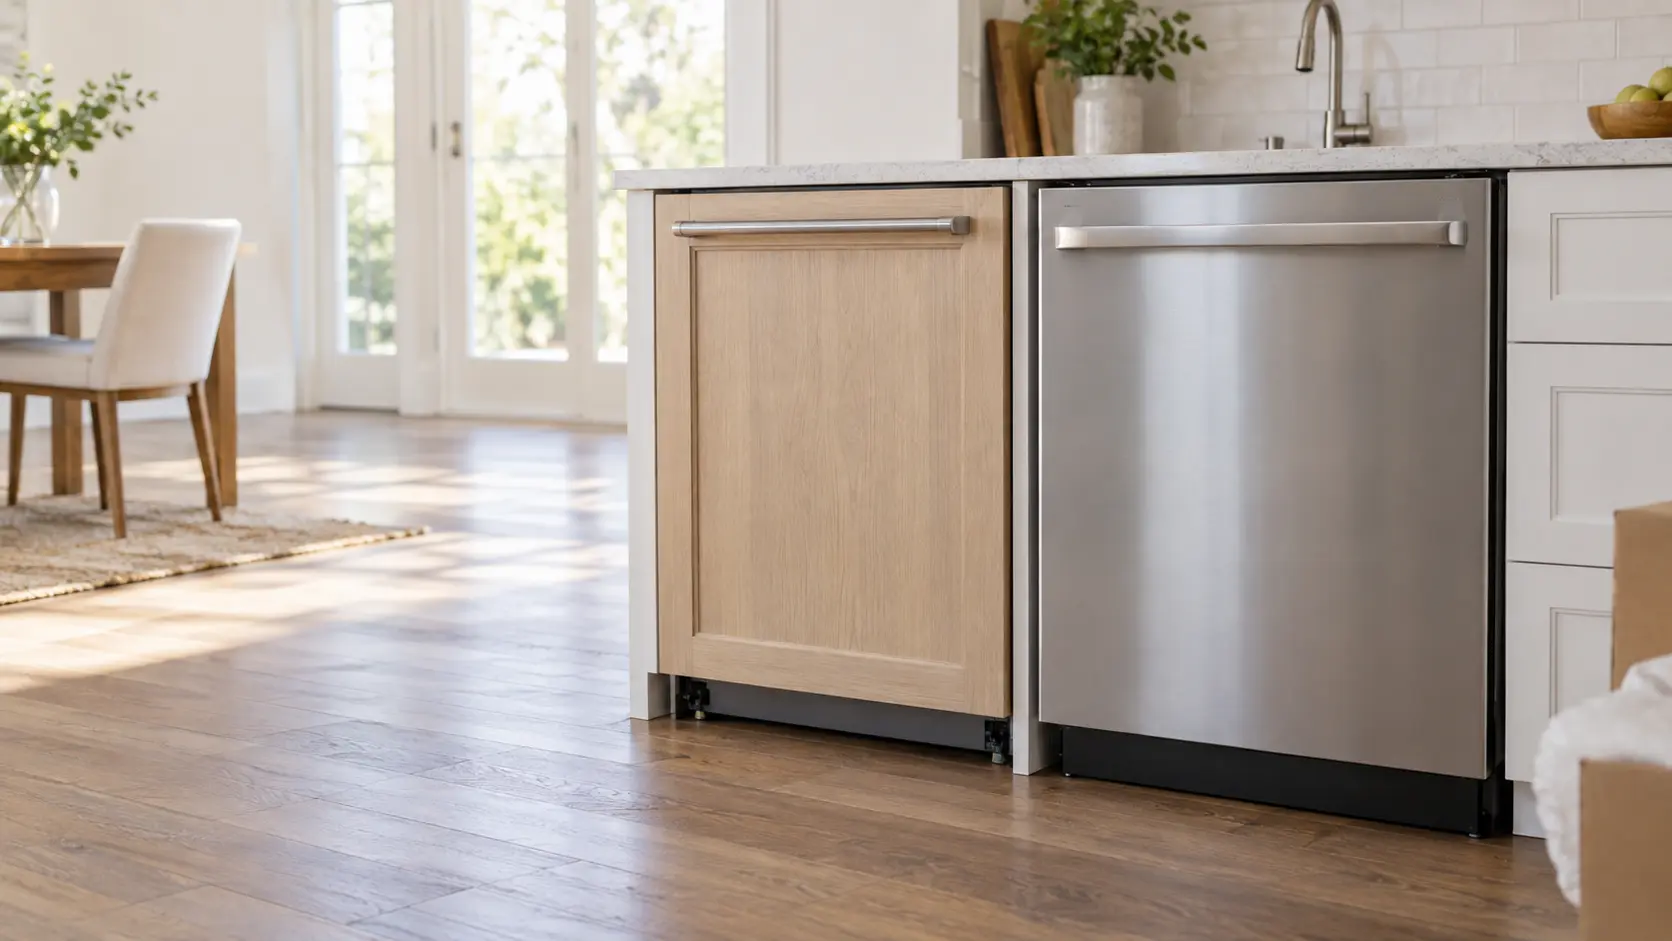
A finished front is the door the factory sends: stainless, black, white or a color, with its handle and trim, ready to run the day it is set in place. A panel-ready unit ships with a bare door built to receive a front made by the kitchen's cabinetmaker, so the appliance reads as another cabinet. Some built-ins leave no choice at all; GE's Monogram built-in side-by-side manual states that custom panels are required on the front.
Between the two sit hybrids: finished doors with a stainless trim kit around a built-in, or cold storage that accepts either a panel or a factory door. Deciding between panel-ready or finished front is really deciding how many trades touch the installation and in what order.
Source: GE Appliances — Monogram 36, 42 and 48-inch built-in side-by-side owner's manual — Since it is designed as a built-in product, custom panels are required on the front
What panel-ready adds to installation
The panel is joinery with engineering limits. True's installation guide for its 24-inch and 15-inch undercounter units, for example, specifies panel width and height to the thirty-second of an inch, a maximum thickness of 3/4 inch, a minimum rail width of 2 inches and a maximum weight of 20 pounds for a solid door panel. The frame around a glass door is limited to 10 pounds. The same guide gives different heights for a standard overlay panel and an integrated overlay panel, so the cabinetmaker needs to know which look was chosen before cutting.
Dish care adds a door-balance check. GE offers custom door panel kits for some of its built-in models, and its installation steps ask that the door close on its own from within 20 degrees and stay put anywhere between 20 and 70 degrees. A panel heavier or lighter than the springs expect upsets that balance, so it is checked with the panel on, not before.
Why panel-ready often means two visits
Panels are usually finished to match the cabinets and made after the appliance is chosen, which puts them on the cabinet shop's schedule rather than the delivery date. The common sequence is a first visit to set, connect and start the unit, and a second to hang and align the panels once they arrive. Running without its panel for a few weeks does the appliance no harm.
Send the drawing, not the model name
Give the cabinetmaker the panel page from the installation guide for the exact model, with the overlay style circled and the weight limit marked. Catalog dimensions describe the cabinet box; the panel page describes the front, and only the second is useful at the saw.
Source: True Residential — 15 and 24 inch undercounter install guide and user's manual — Custom panels provided by others; 3/4 inch maximum depth, 2 inch minimum rail, 20 lb maximum for a solid door panel and 10 lb for a glass door panel; different heights for standard and integrated overlay panels; GE Appliances — Built-in dishwasher installation instructions — Custom door panel kits available on some models; the door closes within 20° and stays in position from 20° to 70°

What a finished front asks instead
A finished front simplifies the day: one delivery, one connection, one visit. Its demands are about exposure rather than joinery. The sides of a freestanding unit may show at the end of a run, the handles add to the depth the unit takes from the room, and the steel carries protective film that must come off completely before the first use; GE warns that adhesive left on its cooking units cannot be removed once baked on.
It also keeps the appliance independent of the cabinets. A finished-front unit can be replaced with any model that fits the opening, and a kitchen repaint does not touch it.
- One visit to set, connect and start
- Handle depth counted when measuring the room
- Exposed sides planned with filler or an end panel
- Protective film removed completely before first heat
Source: GE Appliances — Electric free-standing ranges owner's manual (49-2000951) — Remove all protective film before first use; adhesive cannot be removed once baked on
Who coordinates a panel-ready job
A panel-ready installation involves at least three parties: the appliance seller, the cabinetmaker and the installer, plus the electrician or plumber if a connection has to move. Someone has to hold the drawing and the dates. In most kitchens that is the designer or the homeowner, and the job goes smoothly when each party gets the same installation guide at the same time.
- Choose the exact model and download its installation guide
- Send the panel page to the cabinetmaker with the overlay style marked
- Install, connect and start the unit
- Hang the panels, set the reveals and check door balance
- Fit the toe kick or grille panel last, keeping the air openings clear
Between the two visits
A panel-ready unit that is running without its front still needs care. Leave the bare door's film or cardboard corners in place until the panel goes on, keep the toe-kick opening clear so the unit can breathe, and do not stack tools or boxes against a door that has nothing yet to spread the load. If the cabinet shop's date slips by more than a few weeks, nothing about the appliance changes; it simply keeps working behind a plain door.
When the panels arrive, check them against the drawing before the installer comes back: the thickness, the overlay style and the weight on a bathroom scale. A panel that is heavier than the limit is cheaper to change at the shop than on the hinge.
Living with the choice years later
The front outlives the first owner's taste in one direction or the other. A finished front ties the kitchen to the appliance finish; a panel ties the appliance to the cabinet finish, so repainting the kitchen means repainting or remaking the panels too. A panel-ready replacement later has to match the old unit's panel dimensions and weight limits, or new panels are made.
Neither is the cheaper route in every kitchen, but the panel-ready one nearly always carries more parts and more visits, which puts it at the higher end for installation. That is worth knowing before the design is signed rather than after.


