
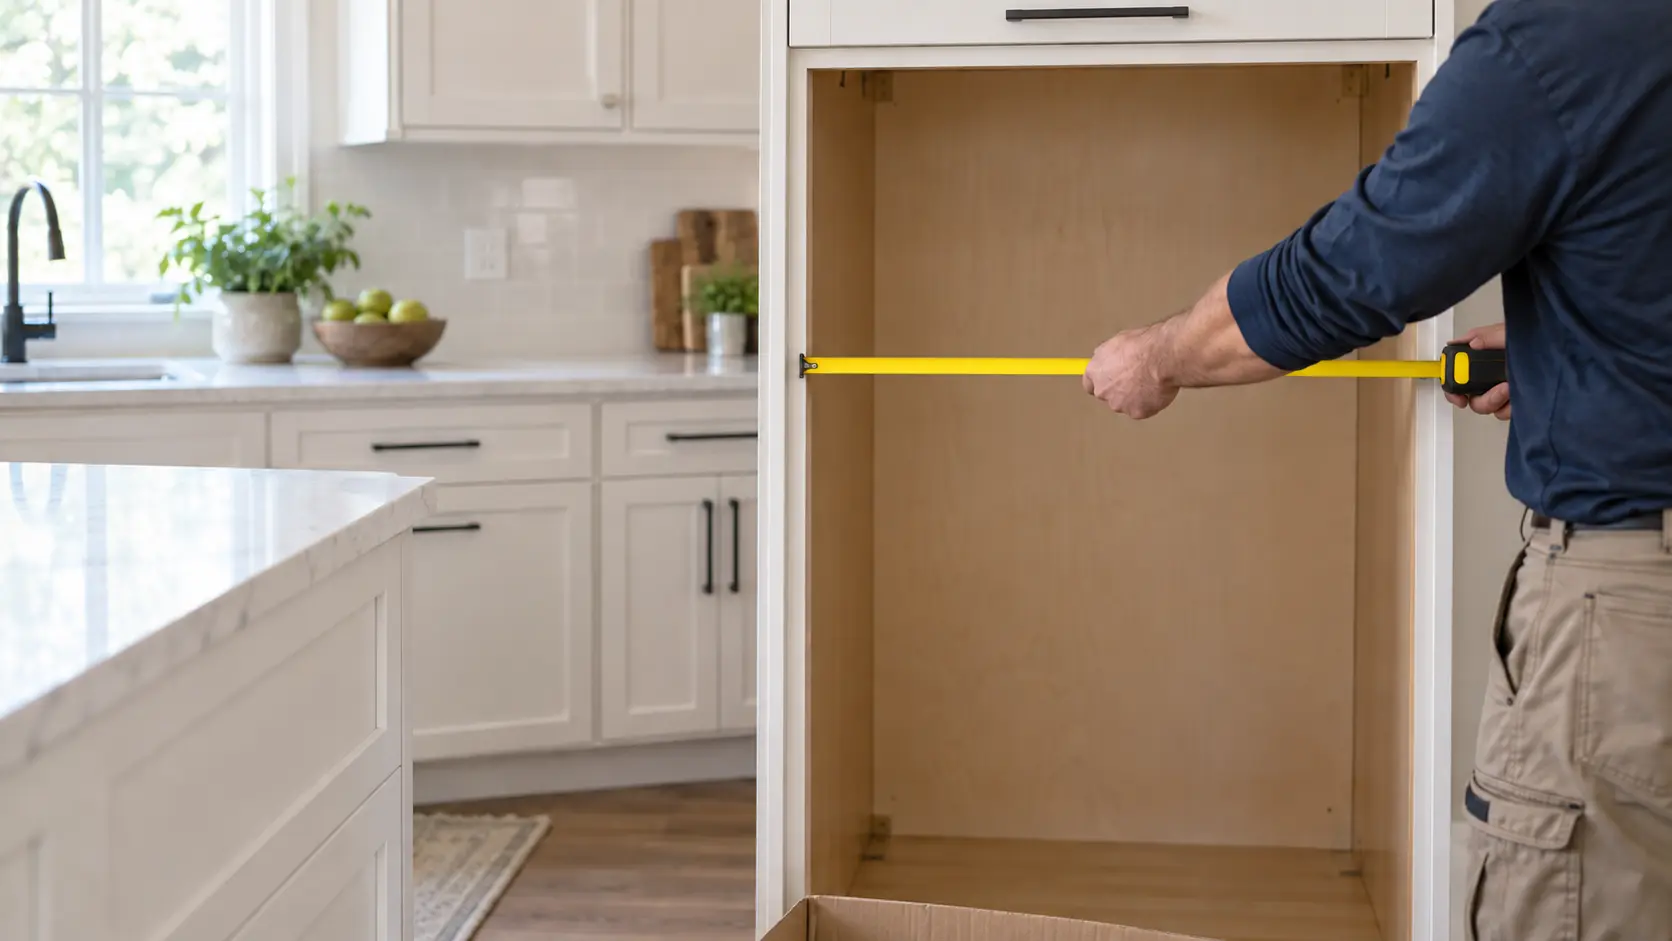
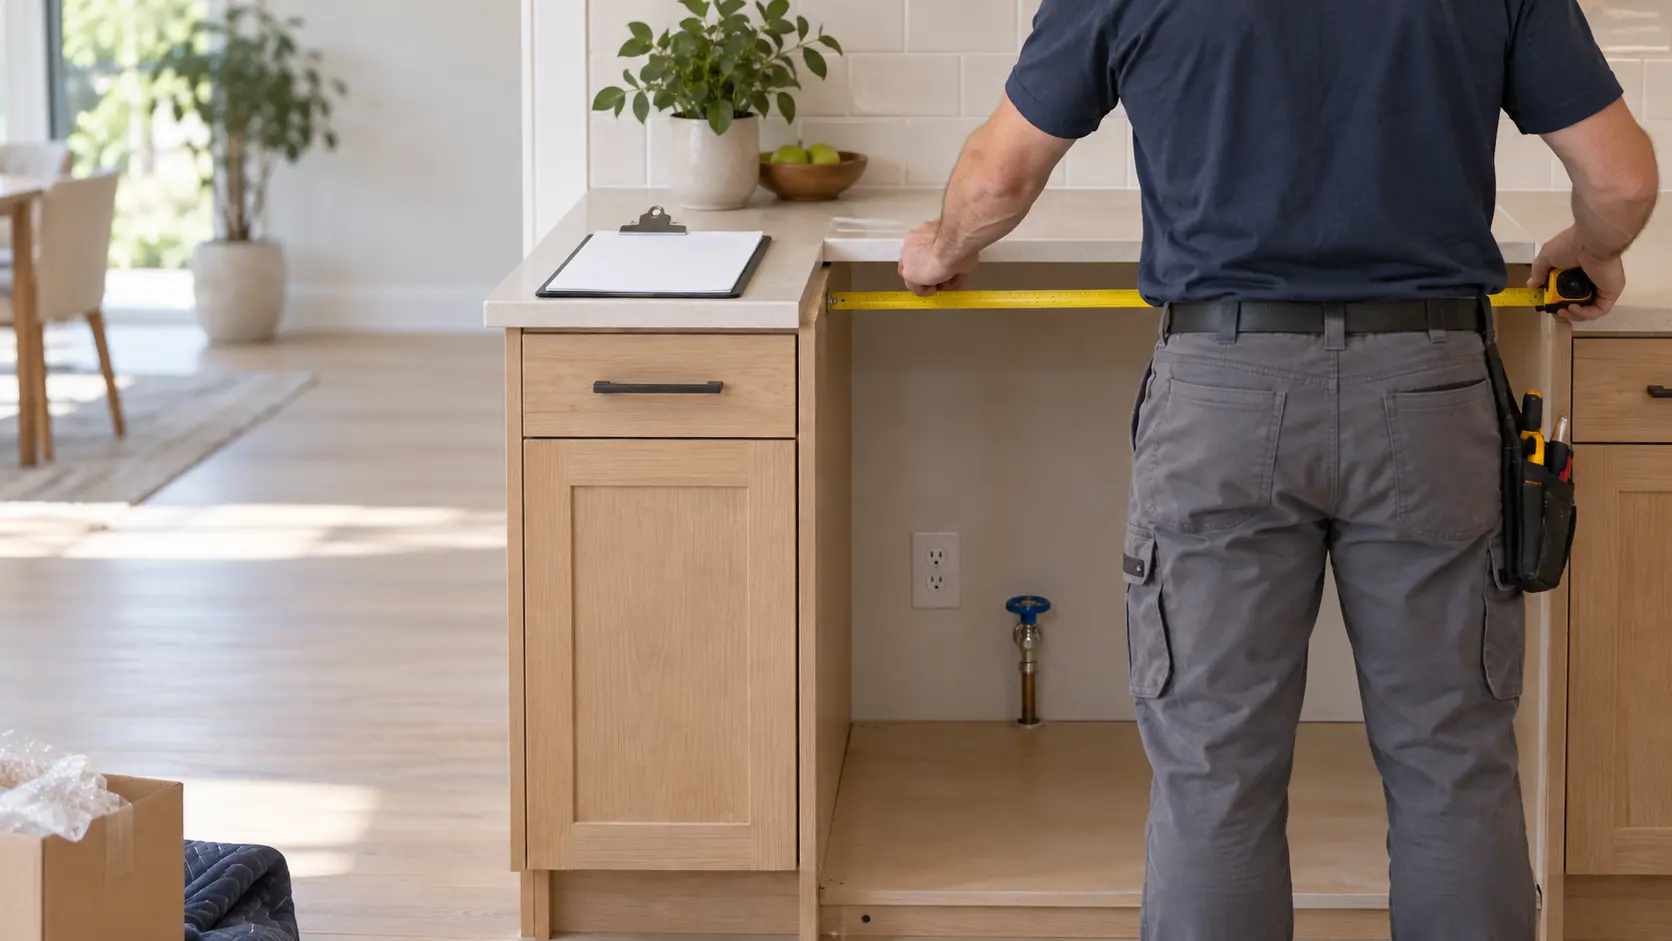
Product size and opening size are different numbers
The product dimensions describe the appliance on the showroom floor. The opening dimensions describe the hole it goes into; these appliance cutout dimensions are the ones cabinetmakers and countertop fabricators need. Whirlpool's 30-inch freestanding gas models are a good example: the appliance is 29 7/8 inches wide, while the cabinet opening must be at least 30 inches, and 30 1/8 inches at countertop level. Build the opening to the product figure and it will not go in.
Read the fine print under the drawing as well. Whirlpool's opening figures assume a 25-inch countertop depth, a 24-inch base cabinet and a 36-inch countertop height, and its cooking surface sits no higher than 36 inches with the leveling legs screwed all the way in, rising about 1 inch as they are extended. The instructions state that the cabinet opening dimensions shown must be used, and that they are minimum clearances.
Minimums, not targets
A minimum clearance is the smallest space in which the maker will stand behind the installation, not a recommended fit. Tile set after the cabinets, a thicker countertop edge or a wall out of plumb eats into it, so build to the minimum plus whatever the finishes will take away.
Source: Whirlpool — Installation instructions, 30-inch freestanding gas ranges (W10658550) — 29 7/8 in. wide, 30 in. minimum opening and 30 1/8 at the countertop; figures for 25 in. countertop, 24 in. cabinet, 36 in. height; openings shown must be used and are minimums; 30 in. to an uncovered cabinet, 24 with millboard and sheet metal; 18 in. side cabinets, 13 in. maximum depth; 2 in. to combustible side walls
Built-in cold storage: flush or proud changes the opening
Built-in columns are sold in nominal widths, but the opening depends on how the fronts sit against the cabinets. True's TR-48 needs a rough opening 48 1/4 inches wide, 26 inches deep and 84 1/4 inches high for a flush installation, where the doors line up with the cabinet faces, and 47 3/4 by 24 by 84 inches for a proud one, where they stand forward. The unit weighs 820 pounds, so the floor under that opening is part of the specification.
The same drawing marks where the water line and the electrical receptacle must land inside the opening. Services placed outside those zones can stop the unit from sliding fully home, and nobody finds out until the delivery crew is holding it.
- Width, depth and height of the rough opening for the chosen fit
- Zones for the receptacle and the water line on the rear wall
- Floor load rating and whether the floor is level across the opening
- Space in front to tip the unit upright and roll it in
Freestanding units still need a few gaps
Whirlpool asks for 1/4 inch at each side and the top of a freestanding unit for ventilation, and at least 2 1/2 inches between the hinge side and a fixed wall so the door can open far enough. A tall unit tucked into a corner is where the second figure is usually missed.
Source: True Residential — 42/48 built-in installation manual — TR-48 rough opening 48 1/4 x 26 x 84 1/4 in. flush and 47 3/4 x 24 x 84 proud; 820 lb; water and electrical areas marked on the opening drawing; Whirlpool — Proper location and environment for a refrigerator — 1/4 inch at each side and the top for ventilation; 2 1/2 inches beside a fixed wall for the door to open
Dish care: the 24-inch opening and the space in front of it
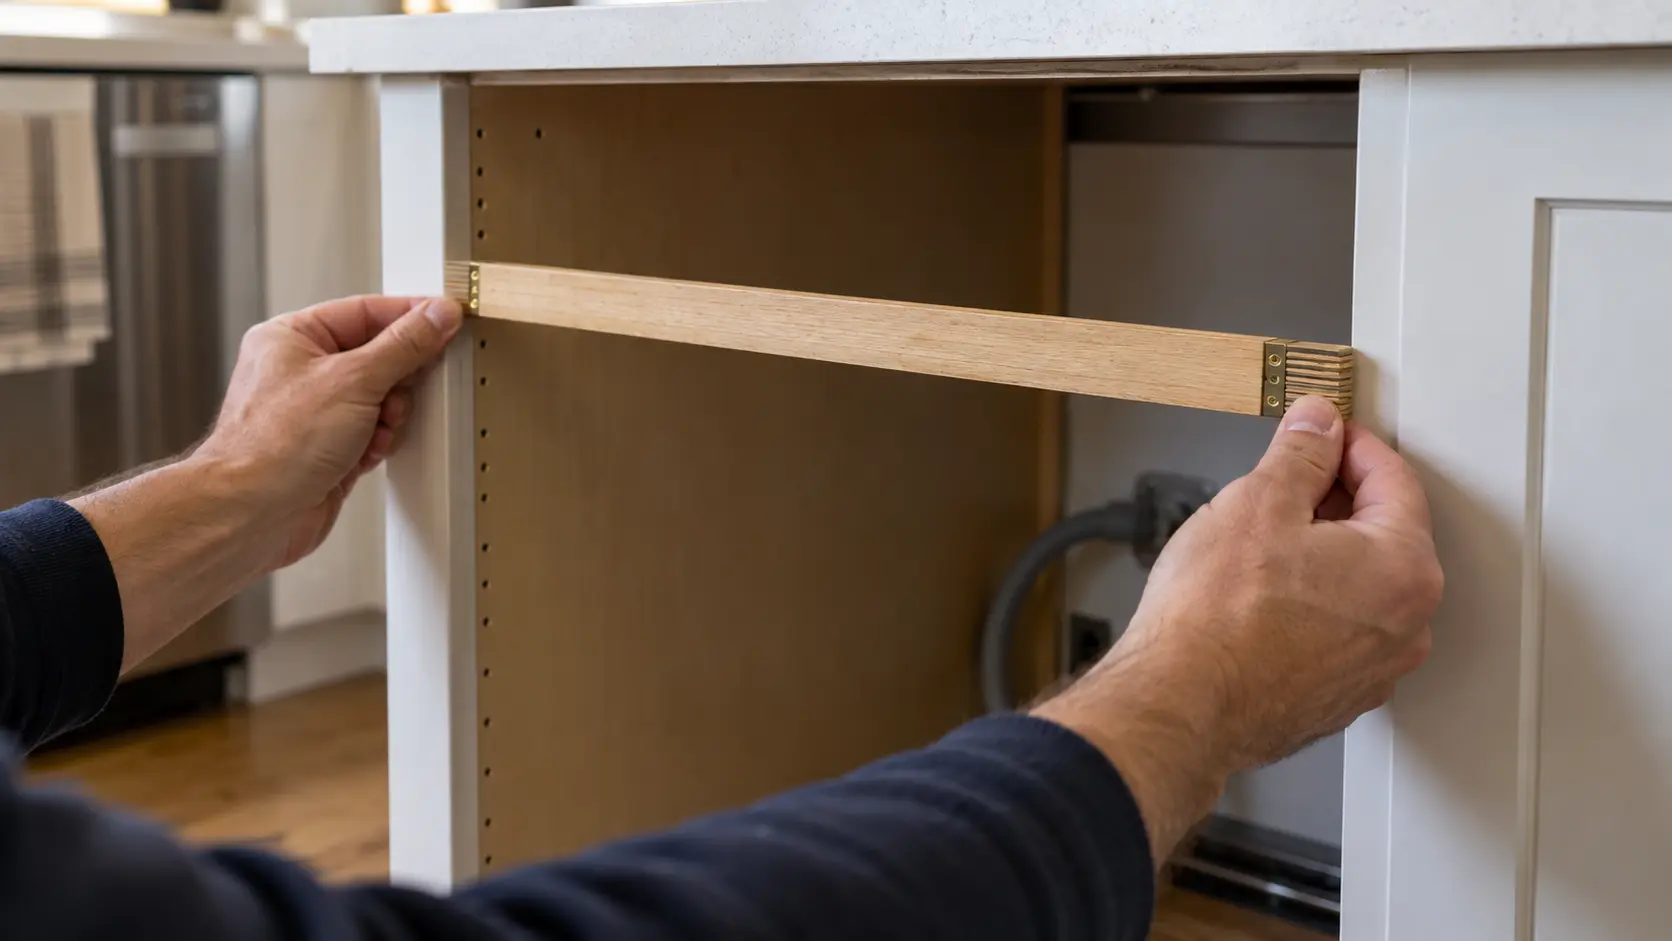
GE's built-in dish care machines need a rough opening at least 24 inches wide and 24 inches deep, and about 34 1/2 inches from the floor to the underside of the countertop, with the unit adjusting over a range of roughly 33 1/2 to 34 3/4 inches. The machine must be fully enclosed on the top, sides and back, must not carry any of the cabinet's weight, and must be installed so it can be pulled out again for service.
Clearances continue outside the opening. In a corner, GE wants at least 2 inches between the machine and the adjacent cabinet, wall or appliance, and 25 1/2 inches of clear floor in front so the door can open fully. Its drawing also shows where the 1 1/2-inch holes for the drain, water line and power may pass through the side cabinet.
When the floor goes down after the cabinets
In many remodels the base cabinets are set first and the finished floor laid up to them. Every fraction of an inch of new tile or wood under the dish care opening comes off the height between floor and countertop, so measure that height after the floor is down, not from the cabinet drawings.
Source: GE Appliances — Installation instructions, built-in dishwasher — Opening at least 24 in. deep and wide, about 34 1/2 in. high (33 1/2 to 34 3/4); fully enclosed and removable for service; 2 in. in a corner; 25 1/2 in. in front for the door; 1 1/2 in. service holes
Above the cooking surface: the vertical figures
Whirlpool's cooking instructions require 30 inches between the cooking surface and the bottom of an uncovered wood or metal cabinet above it, reduced to 24 inches only when the cabinet bottom is protected with flame-retardant millboard covered in sheet metal. Upper side cabinets must sit at least 18 inches above the countertop and be no deeper than 13 inches, and the sides of the appliance need 2 inches to a side wall or other combustible material.
An over-the-range microwave has its own set. Sharp asks for a 30-inch-wide mounting space, the unit at least 66 inches from the floor, 30 inches or more from the cooking surface, and 2 inches between the top of the backsplash and the bottom of the microwave. The wall must be framed with 2x4 studs, at least one stud must carry the unit, and the wall has to hold 110 pounds plus whatever is stored in the cabinet above.
- 30 inches to an unprotected cabinet above the cooking surface
- 18 inches from countertop to the upper side cabinets, 13 inches maximum depth
- 2 inches from the sides of the appliance to any combustible wall
- At least one wall stud behind an over-the-range microwave
Source: Whirlpool — Installation instructions, 30-inch freestanding gas ranges (W10658550) — 29 7/8 in. wide, 30 in. minimum opening and 30 1/8 at the countertop; figures for 25 in. countertop, 24 in. cabinet, 36 in. height; openings shown must be used and are minimums; 30 in. to an uncovered cabinet, 24 with millboard and sheet metal; 18 in. side cabinets, 13 in. maximum depth; 2 in. to combustible side walls; Sharp — Over-the-range microwave installation instructions (R-1881LSY) — 30 in. wide mounting space, 66 in. or more from the floor, 30 in. from the cooking surface, 2 in. above the backsplash; 2x4 studs, at least one stud; wall supports 110 lb plus cabinet contents


